English Manual
Installation
•
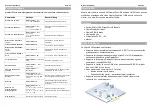
Use the supplied DisplayPort, USB and Audio cables to connect your computers and the
KVM Switch
•
Connect your display, audio devices, keyboard and mouse to the KVM Switch. Do not
connect any peripheral USB devices yet. Your display should be connected to the
“Console” port
•
Connect the power supply to the KVM Switch and turn on your display for the handshake
process to begin.
•
Turn on your computers
•
Connect peripheral USB devices to the “Device” ports as required
Note: To use a VGA or DVI monitor with the KVM switch use LINDY DisplayPort to VGA
Adapter (LINDY 41017) or LINDY DisplayPort to DVI Adapter (LINDY 41019). Simply connect
the adapter to the ‘Console’ port and connect the adapter to your monitor using the appropriate
cable.
Switching Operation
There are two methods for controlling your KVM Switch for computer and Audio/Mic channel
selection, using either the front button or using HotKey sequences.
Front panel button
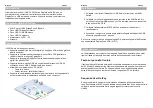
The front button gives you direct control over the KVM switching operation. Simply press the
button to switch to the corresponding computer port. By default, PC port switching and
Audio/Mic port switching are bound together, unless you specify the audio to be fixed to a
specific port.
User HotKey Sequence
HotKey Sequences give you a greater degree of control over switching functions. You will need
a keyboard with Caps Lock (CapsLock) to perform this option.
If you are using a Mac with a keyboard without Caps Lock you can remap your Keyboard
Shortcuts using the Keyboard & Mouse Preferences panel in System Preferences by un-
checking the Display HotKey options.
See the following page for HotKey Sequences.
English Manual
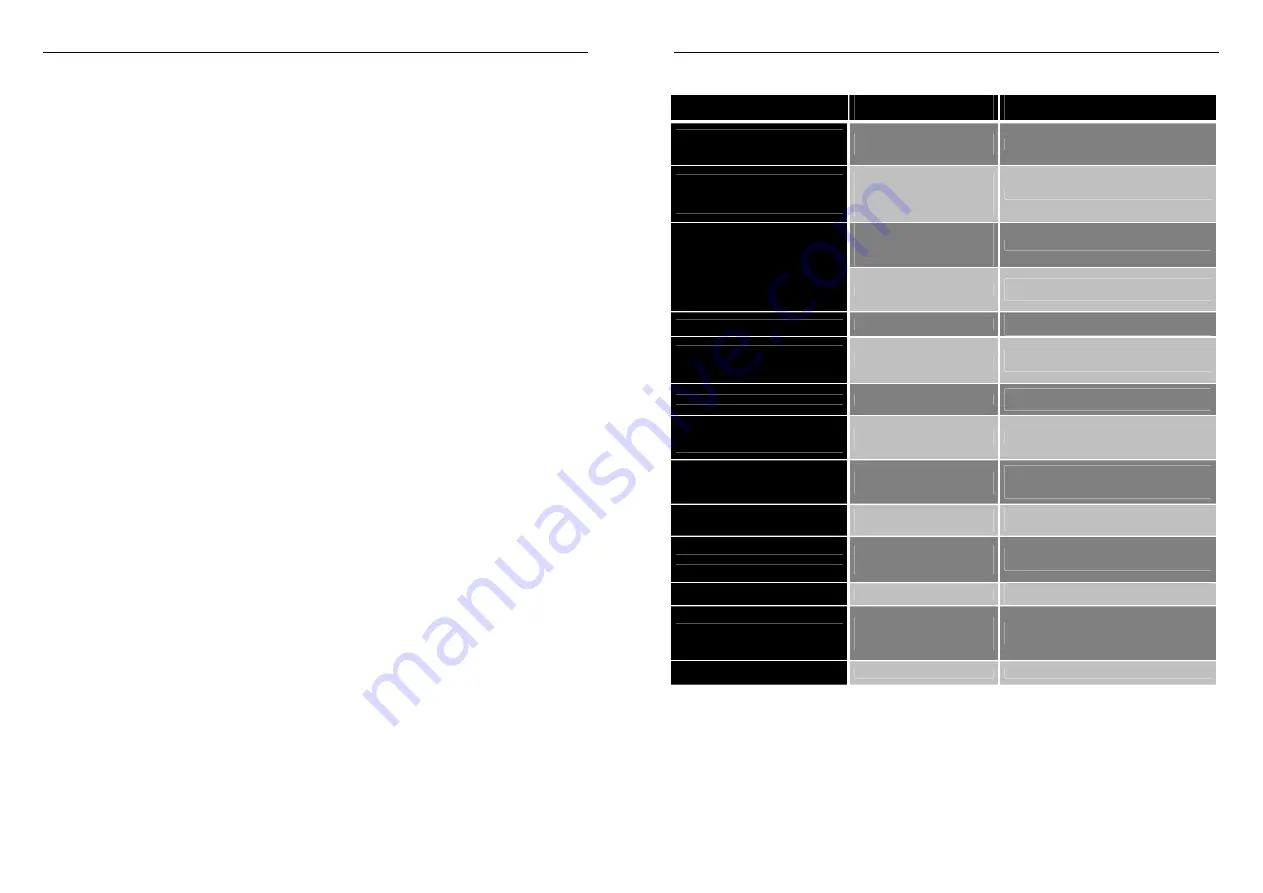
HotKey Sequences
Command
HotKeys
Description
Select PC Port
Jointly select PC port/ hub port control /
Audio & Mic, if binding is enabled
Caps Lock + Caps Lock + (x)
x = 1~2 for PC port number
Select the active PC port
Select Hub Port Control
Jointly select PC & Hub port control, if
binding is enabled
Caps Lock + Caps Lock + (Fx)
Fx = F1~F2
(Fx is a function key)
x = 1~2 for PC port number
Select the PC port that control all USB hub ports
Select Audio & Mic Port
Jointly select PC port and Audio & Mic,
if binding is enabled
Caps Lock + Caps Lock + (Fy)
Fy = F5~F6
(Fy is a function key)
y = 1~2 for audio/Mic port no
Select the active Audio & Mic port
Bound PC & Hub Port Control Switching
Default - Once enabled, any PC and/or
hub port control switch is bound
together
Caps Lock + Caps Lock + Z
Enable the binding of PC port and hub port
control switching.
Unbind PC & Hub Port Control Switching
Caps Lock + Caps Lock + X
Disable the binding of PC port and hub port
control switching
Bound PC & Audio & Mic Switching
Default - Once enabled, any pc and/or
Audio & Mic switch is bound together
Caps Lock + Caps Lock + Q
Enable the binding of PC port and Audio & Mic
switching.
Unbind PC & Audio & Mic Switching
Caps Lock + Caps Lock + W
Disable the binding of PC port and Audio & Mic
switching
Previous PC port
Jointly selects PC /hub port control, if
binding is enabled
Caps Lock + Caps Lock +
(arrow up)
Select the previous connected PC port
Next PC port
Jointly select PC /hub port control, if
binding is enabled
Caps Lock + Caps Lock +
arrow down)
Select the next connected PC port
(Jointly select PC/hub port control, if binding is
enabled)
Previous PC port
Caps Lock + Caps Lock +
(Backspace)
Toggle between the previous port and current
port
Define HotKey Preceding Sequence
Caps Lock + Caps Lock + H + (y)
y = SCROLL LOCK, CAPS, ESC,
F12 or NUM LOCK
Select the HotKey preceding sequence among 5
alternative keys
AutoScan
5 sec scan Delay Time
Caps Lock + Caps Lock + S
AutoScan through every connected port for
quick screen browsing of each port
AutoScan
with Programmable Delay Time
Caps Lock + Caps Lock + S +
(z)
Multiple z = 10 ~ 100
AutoScan with a user-defined delay time within a
range of 10 ~ 100 seconds
Stop AutoScan
Press any key on keyboard
Terminate AutoScan activity


