


User Manual KVM Terminal LCD
7
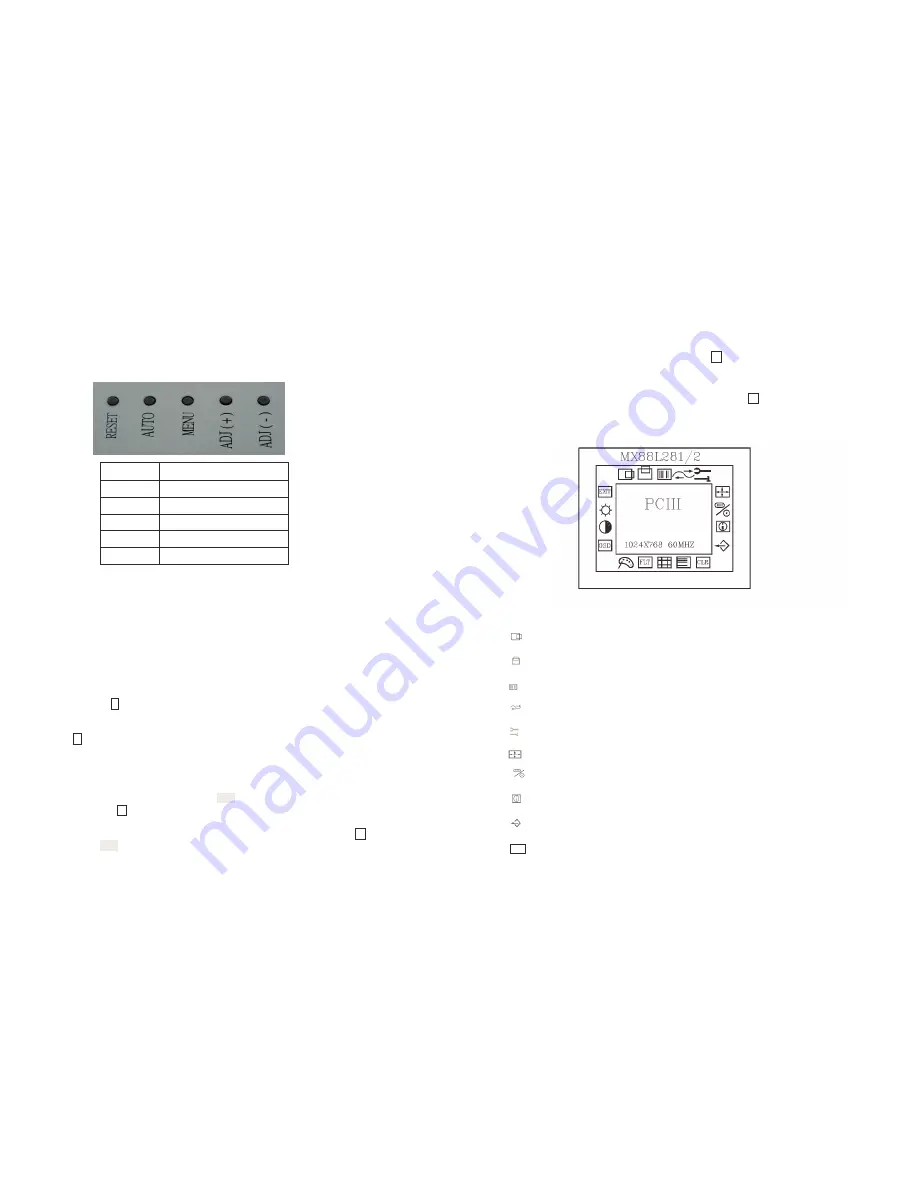
2-3 The Display Controls
Display Controls
SWITCH NO.
FUNCTION
1
RESET
2
AUTO CONFIG
3
MENU
4
ADJUST (+)
5
ADJUST (-)
1
Reset: Hardware Reset
2
Auto: Auto adjusts the image.
3
Menu: Enter the OSD adjust menu and select the menu.
4
Adjust (+): To scroll up in menu or to increase value of selected item.
5
Adjust (-): To scroll down in menu or to decrease value of selected item.
2-4 Screen Adjustment Operation Procedure
1. Entering the screen adjustment
Push the 3 button once to display the main menu of the screen adjustment.
2. Entering the settings
Use the Adjust (+) and Adjust (-) buttons to select the desired setting icon and push the
3 button to enter sub-menu.
3. Change the settings
After the sub-menu appears, use the Adjust (+) and Adjust (-) buttons to change the
setting values.
4. Save
After finishing the adjustment, select exit icon button to exit and set save "yes", and
then push 3 to save.
5. Return & Exit the main menu
To go back to the previous menu or exit the screen adjustment, push the 3 button and
select exit icon to exit the main menu.
User Manual KVM Terminal LCD
8
2-5 Main Menu
The OSD main menu is displayed on screen when 3 key is pressed. The OSD menu is
a combination of graphic and text display. The bottom line of the main menu shows the
current selected or active menu item.
The adjust (+) and adjust (-) keys are used to scroll through items within the menu. The
selected item is highlighted as the scrolling move along. The 3 key is used to close the
sub-menu.
H Position
Adjust the horizontal image position
V Position
Adjust the vertical image position
Clock
Adjust the pixel clock
Phase
Adjust the pixel phase
Auto Comfit
Auto comfit the clock phase and position
EXPAND
Expand the image
INPUT SELECT
Select the input signal source
INFORMATION
Check the Input information
RECALL
Recall EEPROM default
CLR
CLEAR EEPROM
Set to the factory default


