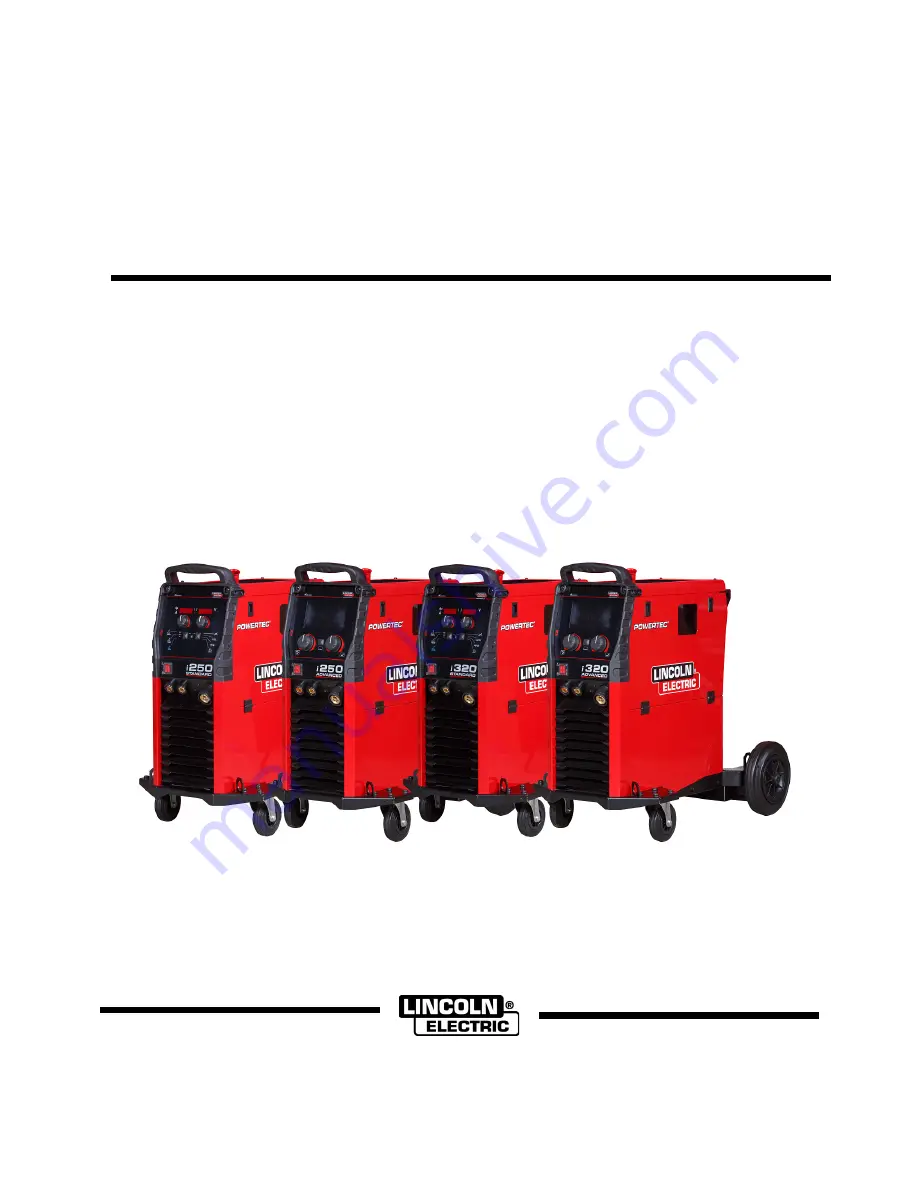
background image

English  

English 

IM3070 

09/2018 

REV03 

POWERTEC i250C STANDARD  

POWERTEC i250C ADVANCED 

POWERTEC i320C STANDARD  

POWERTEC i320C ADVANCED 


OPERATOR’S MANUAL 


ENGLISH 


Lincoln Electric Bester Sp. z o.o. 

ul. Jana III Sobieskiego 19A, 58-263 Bielawa, Poland 

www.lincolnelectric.eu

Содержание POWERTEC i250C STANDARD

Страница 1: ...REV03 POWERTEC i250C STANDARD POWERTEC i250C ADVANCED POWERTEC i320C STANDARD POWERTEC i320C ADVANCED OPERATOR S MANUAL ENGLISH Lincoln Electric Bester Sp z o o ul Jana III Sobieskiego 19A 58 263 Bielawa Poland www lincolnelectric eu ...

Страница 2: ...eference record in the table below your equipment identification information Model Name Code Serial Number can be found on the machine rating plate Model Name Code Serial number Date Where Purchased ENGLISH INDEX Technical Specifications 1 Electromagnetic Compatibility EMC 2 Safety 3 Introduction 4 Installation and Operator Instructions 4 WEEE 31 Spare Parts 31 Authorized Service Shops Location 31...

Страница 3: ...Vdc 60 250A 26 5Vdc 100 195A 23 8Vdc FCAW 49Vdc 60 250A 26 5Vdc 100 195A 23 8Vdc SMAW 49Vdc 60 250A 30Vdc 100 195A 27 8Vdc PTi320C STANDARD PTi320C ADVANCED GMAW 49Vdc 40 320A 30Vdc 100 195A 23 8Vdc FCAW 49Vdc 40 320A 30Vdc 100 195A 23 8Vdc SMAW 49Vdc 40 320A 32 8Vdc 100 195A 27 8Vdc WELDING CURRENT RANGE GMAW FCAW SMAW PTi250C STANDARD PTi250C ADVANCED 10A 250A 10A 250A 20A 250A PTi320C STANDARD ...

Страница 4: ...mplies with the impedance restrictions Consider the following guidelines to reduce electromagnetic emissions from the machine Connect the machine to the input supply according to this manual If disturbances occur if may be necessary to take dditional precautions such as filtering the input supply The output cables should be kept as short as possible and should be positioned together If possible co...

Страница 5: ...MAGNETIC FIELDS MAY BE DANGEROUS Electric current flowing through any conductor creates electric and magnetic fields EMF EMF fields may interfere with some pacemakers and welders having a pacemaker shall consult their physician before operating this equipment CE COMPLIANCE This equipment complies with the European Community Directives ARTIFICIAL OPTICAL RADIATION According with the requirements in...

Страница 6: ... bought by user was mentioned in the chapter Accessories Installation and Operator Instructions Read this entire section before installation or operation of the machine Location and Environment This machine will operate in harsh environments However it is important that simple preventative measures are followed to assure long life and reliable operation Do not place or operate this machine on a su...

Страница 7: ...n be supplied from a power generator of output power at least 30 larger than input power of the welding machine WARNING When powering the machine from a generator be sure to turn off welder first before generator is shut down in order to prevent damage to welder Output Connections Refer to points 3 4 and 5 of the Figures below Controls and Operational Features Front Panel Standard Version Figure 1...

Страница 8: ...hread 18 Cold Inch Gas Purge Switch This switch enables wire feeding or gas flow without turning on output voltage 19 Wire drive feeding system 4 Roll wire drive mechanisms with quick change feed rolls 20 Terminal Block of Changing Polarity Plug for GMAW FCAW SS process This terminal block enables to set the welding polarity which will be given at the welding gun see Accessories chapter 21a USB Re...

Страница 9: ...present the codes will be separated by green light Read the error code before the machine is turned off If occurs to clear the error try to turn Off the machine wait for a few seconds then turn ON again If the error remains a maintenance is required Please contact the nearest authorized technical service center or Lincoln Electric and report the error code read Steady Red Indicate no communication...

Страница 10: ... default settings of Quick Access Parameter Definition Inductance controls the arc characteristics when short arc welding increasing Inductance greater than 0 0 results in a crisper arc more spatter while decreasing the Inductance to less than 0 0 provides a softer arc less spatter Adjust range from 10 to 10 Factory default Pinch is OFF The 2 Step 4 Step changes the function of the gun s trigger 2...

Страница 11: ...0 1 seconds to 25 seconds Postflow Time adjusts the time that shielding gas flows after the welding output turns off Factory default Postflow Time is set at 0 seconds Adjust range from 0 1 seconds to 25 seconds Arc Loss Time this option can be used to optionally shut off output if an arc is not established or is lost for a specified amount of time Error 269 will be displayed if the machine times o...

Страница 12: ...reased to clear short circuit connections between the electrode and the workpiece Lower values will provide less short circuit current and a softer arc Higher settings will provide a higher short circuit current a more forceful arc and possibly more spatter Adjust range from 10 to 10 Restore to Factory Settings it allows to restore the factory settings View Software version used for viewing the so...

Страница 13: ...Crater Procedure t Spot Welding Settings 4 Step Start Procedure Cold Feed Brightness Level Restore Factory Setting View Software and Hardware Version Information A B A B Procedure USB Memory Check Mark Resignation Mark Lock Unlock Error ESCape Button Confirm Button min in Wire Feed Speed in in min V Welding Voltage A Welding Current Locked Unlocked min m Wire Feed Speed in m min Set the Language S...

Страница 14: ...Knob 36 Use the Right Knob 36 to highlight the Configuration icon Press the Right Knob 36 to confirm decision Use the Right Knob 36 to highlight UI look icon Press the Right Knob 36 to confirm decision Select one of the view Standard Figure 7 or Advanced Figure 8 Press the button 37 or Left Knob 35 to retutn to main menu Table 6 Different display veiews 44 38 39 41 42 40 Figure 7 38 39 41 42 43 44...

Страница 15: ...change Pinch Configuration Menu Setup User Setup WARNING The availability parameters depend on the selected welding program welding process Table 8 SMAW Welding Parameters Bar Symbol Description Welding Process Choice Support Arc Force A Hot Start Configuration Menu Setup User Setup Welding Program Choice To select the Welding Program Press the Button 37 or Right Knob 36 to get access of Welding P...

Страница 16: ...se the Right Knob 36 to highlight the icon Support Press the Right Knob 36 to confirm the selection The Support Menu enables to get knowledge of the following points Accessories Rolls for aluminum wire Rolls for fluxed cored wire Rolls for steel stainless steel wire TIG torches Electrode Ground cable MIG MAG LINC GUN Standard Tips and Tricks Tutorial Welding variables effect MIG User Setup To acce...

Страница 17: ...which will be added to the Welding Parameters Bar 44 for example Run in WFS Figure 14 Press the Right Knob 36 to confirm the selection Run in WFS icon will drop Figure 15 WARNING To remove the icon press the Right Knob 36 once again To exit the User Setup Menu press the Left Button 35 The Selected parameters or function is added to the Welding Parameters Bar 44 Figure 16 To remove the selected par...

Страница 18: ... arc is established Adjust range from minimum to maximum WFS factory default is set at Auto mode The Start Procedure controls the WFS and Volts or Trim for a specified time at the beginning of the weld During the start time the machine will ramp up or down from the Start Procedure to the preset Welding Procedure Adjust time range from 0 seconds OFF to 10 seconds Crater Procedure controls the WFS o...

Страница 19: ...ory number which from the Welding Program will be recall Confirm the select press the Right Button 36 USB When the USB storage device is connected to USB port user have access to Table 10 USB Menu Symbol Description Save Load Save the following data can be save on a USB Memory Stick Table 11 Save and restore selection Symbol Description Current Welding Settings Advanced Parameters Configuration P ...

Страница 20: ...e USB Menu press the Left Button 37 or disconnect the USB Memory Stick from the USB receptacle Load restore the data from the USB Device to the machine memory To load the data from USB Memory Connect the USB to welding machine Add USB icon to the Welding parameters bar 44 Use the Right Knob 36 to highlight the icon USB Figure 29 Press the Right Knob 36 to confirm the selection the USB menu is show...

Страница 21: ... access of Welding Parameters Bar Use the Right Knob 36 to highlight the icon Configuration Press the Right Knob 36 to confirm the selection Figure 35 Table 12 Symbol Description Set the Memory Limits Set the Display Configuration Set the Brightness Level Lock Unlock Job Mode Set the Language Restore Factory Setting View Software and Hardware Version Information Access to the Configuration Menu Se...

Страница 22: ...rm Figure 39 shows the effect of changing the values of parameters Figure 39 Press the Button 37 to exit with changes Display Configuration Two Display Configuration are available Table 13 Standard view Advanced view To set the Display Configuration Access to the Settings and Configuration Menu Use the Right Knob 36 to highlight the Display Configuration icon Figure 40 Press the Right Knob 36 The ...

Страница 23: ...ck function it allows to lock unlock some functions on welding parameters bar To lock functions Access to the Settings and Configuration Menu Use the Right Knob 36 to highlight the Lock functions icon Figure 45 Press the Right Knob 36 The Lock Function menu is shown on the display Use the Right Knob 36 to highlight the function for example Advanced setup Figure 46 Press the Right Knob 36 The icon ...

Страница 24: ...ctivated To select Jobs for Job Work Access to the Settings and Configuration Menu Use the Right Knob 36 to highlight the icon Figure 52 Press the Right Knob 36 to confirm Use the Right Knob 36 to highlight the job number Press the Right Knob 36 to confirm the icon of chosen parameter will appear on the lower part of the display Figure 53 Press Button 37 to return to main menu Job Mode user has ac...

Страница 25: ...hlight the Set the Language icon Figure 56 Press the Right Knob 36 The Language Menu is shown on the display Figure 57 Use the Right Knob 36 to choose the Language Confirm the select press the Right Knob 36 Restore Factory Settings Note After Factory Settings restore the settings stored in user memory are deleted To restore Factory Settings Access to the Settings and Configuration Menu Use the Rig...

Страница 26: ...to highlight the configuration menu icon Figure 60 Press the Right Knob 36 The Configuration Menu is shown on the display Use the Right Knob 36 to highlight the Parameter Number which will be changed for example P 1 allows change WFS units factory default Metric m min Figure 61 Press the Right Knob 36 Use the Right Knob 36 to highlight the English in min Figure 62 Confirm the select press the Righ...

Страница 27: ...e will function normally if enabled OFF 0 to 10 0 seconds default Off P 20 Display Trim as Volts Option Determines how trim is displayed No factory default The trim is displayed in the format defined in the weld set Yes All trim values are displayed as a voltage Note This option may not be available on all machines The power source must support this functionality or this option will not appear in ...

Страница 28: ...ameters menu Accept starts updating process Service Menu It allows the access to special service functions WARNING Service Menu is available when USB storage device is connected Figure 63 Table 16 Symbol Description Service weld logs Weld History SnapShot Service weld logs allows recording welding parameters which were using during the welding To access the menu Make sure that USB device is connec...

Страница 29: ...o Socket 5 Depending on the using wire connect the work lead 15 to output socket 3 or 4 See 20 point terminal block of changing polarity Connect the work lead 15 to the welding piece with the work clamp Install the proper wire Install the proper drive roll Make a sure if it is needed GMAW process that the gas shield has been connected Turn the machine on Push the gun trigger to feed the wire throu...

Страница 30: ... holder with lead to SMAW 3 Work lead 4 Connect the work lead to the welding piece with the work clamp Install the proper electrode in the electrode holder Turn the input power ON Set the SMAW welding program Set the welding parameters The welding machine is now ready to weld By applying the principle of occupational health and safety at welding welding can be begun For SMAW program can set Weldin...

Страница 31: ... is being come out of the threated end Changing Driving Rolls WARNING Turn the input power off before installation or changing drive rolls POWERTEC i250C STANDARD ADVANCED POWERTEC i320C STANDARD ADVANCED is equipped with drive roll V1 0 V1 2 for steel wire For others wire sizes is available the proper drive rolls kit see Accessories chapter and follow instructions Turn the input power OFF Unlock ...

Страница 32: ...ch electrically live parts WARNING Before the case of machine will be removed the machine has to be turned off and the power lead has to be disconnected from mains socket WARNING Mains supply network must be disconnected from the machine before each maintenance and service After each repair perform proper tests to ensure safety Customer Assistance Policy The business of The Lincoln Electric Compan...

Страница 33: ...er is not listed Contact the Lincoln Electric Service Department for any code number not listed Use the illustration of assembly page and the table below to determine where the part is located for your particular code machine Use only the parts marked X in the column under the heading number called for in the assembly page indicate a change in this printing First read the Part List reading instruc...

Страница 34: ... G 5 0M MIG GUN AIR COOLED ROLL KIT FOR SOLID WIRES KP14150 V06 08 ROLL KIT 0 6 0 8VT FI37 4PCS GREEN BLUE KP14150 V08 10 ROLL KIT 0 8 1 0VT FI37 4PCS BLUE RED KP14150 V10 12 ROLL KIT 1 0 1 2VT FI37 4PCS RED ORANGE KP14150 V12 16 ROLL KIT 1 2 1 6VT FI37 4PCS ORANGE YELL KP14150 V16 24 ROLL KIT 1 6 2 4VT FI37 4PCS YELL GREY KP14150 V09 11 ROLL KIT 0 9 1 1VT FI37 4PCS KP14150 V14 20 ROLL KIT 1 4 2 0...

Отзывы: