Lilin PDR 6164 Скачать руководство пользователя страница 26


Chapter 3-1. Other Playback Features


After selecting a playback time, please click ENTER button to play the video clips.    While the 

DVR is in playback mode, features such as fast forward (FF), fast rewind (FR), pause, stop, step, 

and re-play can then be used. 

FF:

 Turn shuttle ring right on the front panel, or press FF key on the 

remote controller to fast forward the playing video.    The speed of fast 

forwarding is range from 2X ~ 16X of the original playback speed. 

FR:

 Turn shuttle right left on the front panel, or press FR key on the 

remote controller to fast rewind the playing video.    The speed of fast 

rewinding is range from 2X ~ 16X of the original playback speed. 

Pause & Stepping:

 press Pause button while playing video that can 

pause the video.    Roll the Jog dial that can see the slow motion of the 

recorded video. 

Stop:

 To stop video playback, press Stop button on the keypad or the 

remote controller.     


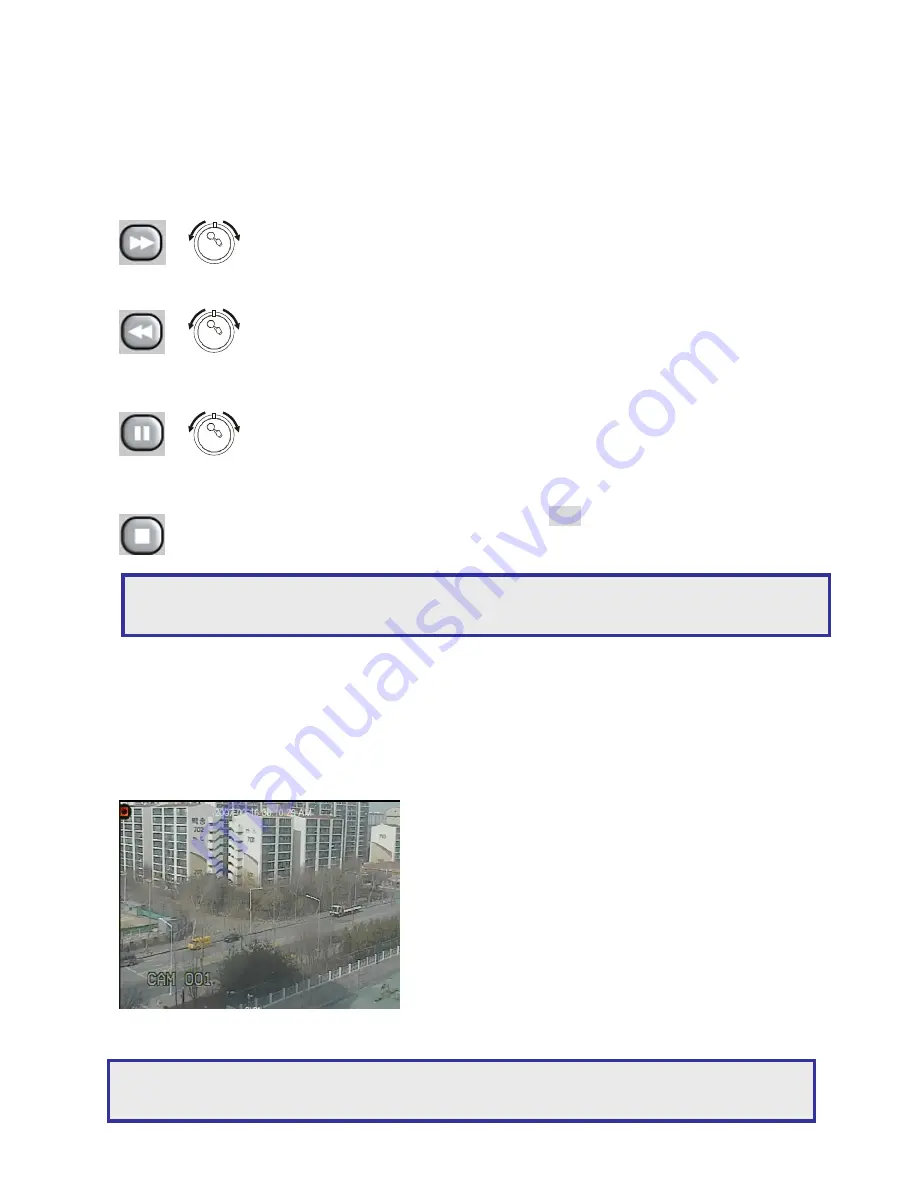
Chapter 4. PTZ Control


To control PTZ device, please first select the camera using camera button from CH1 to CH16 in 

front panel of DVR.    Follow steps bellow to control a PTZ device. 

● 

Press PTZ button to select PTZ mode. PTZ Mode 

OSD is displayed on upper right corner of monitor. 

● 

Use UP, DOWN button for up and down 

movement of PTZ camera, LEFT, RIGHT for         

left and right movement and buttons for zoom IN 

and OUT. 

● 

To escape PTZ control mode, press ENTER 

button or any button.    The PTZ Mode OSD on 

upper right corner of monitor is disappeared. 


Note:

 DVR supports x2,x4,x8,x16 playback for Fast Forward, x2,x4,x8, x16 play back for Fast 

Backward.


Note:

 Before using PTZ control mode, please check that PTZ protocol in PTZ TYPE of   

CAMERA SETTING is correctly selected.


Содержание PDR 6164

Страница 1: ...INSTRUCTION MANUAL 16CH DVR CD RW...

Страница 2: ...mentioned in this manual may be trademarks or registered trademarks of their respective owners Caution Do not drop or strike this equipment Do not install the equipment near any naked flames or heat s...

Страница 3: ...720x576 Compression MPEG 4 for video G 723 for audio Multiple search categories date time motion alarm and manual Real time recording and playback support Pre alarm recording by event HDD circular re...

Страница 4: ...d or rewind video at playback mode 4 Enter button a Enter operation in menu setup b Increase or decrease 15 IR receiver 5 Up button a Move cursor up in menu b Tilt up at PTZ control mode 16 USB 2 0 co...

Страница 5: ...t 14 Power in DC 12V 7 0A Chapter 1 3 System LED Status Panel System LEDs are meaningful while operating the DVR The status of each LED is described as in the following table Item LED Description 1 PO...

Страница 6: ...able Playback search button Playback stop Fast forward Fast rewind Stepping backward Stepping forward 4 split display 9 split display 16 split display SEQ Sequential display BACKUP Video backup Move u...

Страница 7: ...ymbols and icons indicating DVR operation status The detail are described as follows Icons Meaning Manual recording Motion recording Alarm recording Key lock Network PTZ mode Backup USB device Chapter...

Страница 8: ...user authentication to enter setup menu To login the DVR press 1 button 8 times and press ENTER button to enter menu system MENU button Enter DVR s menu system ESC button Exit MENU system or return t...

Страница 9: ...etting move cursor to Password in the SYSTEM Menu using UP or DOWN button Press ENTER button to change the password After entering old password type new password and confirm password by using button f...

Страница 10: ...ion in search list will be changed together Chapter 2 3 6 Date Format Move cursor to DATE FORMAT in the SYSTEM Menu using DOWN or UP button Date format can be changed using LEFT or RIGHT button The fo...

Страница 11: ...ppears on monitor Chapter 2 4 1 SEQ Dwell Time SEQ DWELL TIME can be adjusted using LEFT or RIGHT button Changing SEQ DWELL TIME from none can change sequential display period of cameras in full scree...

Страница 12: ...IDEO LOSS OSD will be displayed in blue screen Chapter 2 4 6 Pop up Display Pop up Display ON OFF can be changed using LEFT or RIGHT button When it is set as ON a pop up camera in full screen caused b...

Страница 13: ...oes not want to get displayed on main monitor a user can select LEFT or RIGHT button on Private menu item for the setting Private channels are displayed in black screen for live and playback Chapter 2...

Страница 14: ...Each option is described as follow Resolution Full 4 CIF D1 Half D1 2 CIFs or Normal CIF Quality Very Low Low Standard High or Very High FPS 1 to 30 FPS NTSC 1 to 25 FPS PAL REC ON Manual Event Sched...

Страница 15: ...Event Recording of a camera including Quality Frame Rate and Duration can be set separately Chapter 2 6 1 Event Setup Parameter 1 Event setup options are described as bellow Chapter 2 6 2 Event Setup...

Страница 16: ...g ENTER button cursor becomes or mode Mark can define a motion area Mark can disable a motion area Chapter 2 7 Schedule Setup Schedule Setup in the main menu can be selected by movement button such as...

Страница 17: ...press or key To remove a schedule please press or key Chapter 2 7 2 Daily If weekly schedule is set ALARM MOTION or MANUAL can be set To enable a schedule please press or key To remove a schedule ple...

Страница 18: ...value or DOWN button to decrease a value To move in between fields press LEFT or RIGHT button To move in between IP address Subnet and DNS can be done by UP or DOWN button Chapter 2 8 2 Port Number Ne...

Страница 19: ...t DDNS server s reply status please perform DDNS status option DDNS is described as follows ERR DDNS IP update failure OK Normal operation Warrning To use this feature the DVR needs to be on Internet...

Страница 20: ...To backup video please first select the backup media The medias can be USB USB flash disk CD Backup CD R CD RW optional Chapter 2 9 2 Backup Log All of the DVRs operational log information including 1...

Страница 21: ...hown on main monitor Chapter 2 9 5 Backup for All Recordings When Option ALL is selected you can select recording types including manual alarm motion and schedule recordings Please use UP or DOWN butt...

Страница 22: ...x is shown in below After entering date and time please specify camera s for backup After above procedure please press Check OK button to start backup procedure Chapter 2 10 HDD Information HDD in the...

Страница 23: ...ecorded video The setting can be set by pressing LEFT or RIGHT button Chapter 2 10 2 HDD Format To format HDD please select HDD format menu item and press ENTER button A confirmation dialog box gets s...

Страница 24: ...please choose PTZ type and assign PTZ ID for the camera Enter the RS 485 ID number at PTZ ID menu item To setup PTZ baud rate please set the baud setting Chapter 2 11 2 Camera ID After selecting CAMER...

Страница 25: ...ck If search button is selected for playback the search list with options All Schedule Motion Alarm Manual and Time searched can be found To search video clips please first select UP or DOWN button fo...

Страница 26: ...ause the video Roll the Jog dial that can see the slow motion of the recorded video Stop To stop video playback press Stop button on the keypad or the remote controller Chapter 4 PTZ Control To contro...

Страница 27: ...monitoring playback and AVI file conversion The detail is described as below No Button Description 1 Folder Open for playback 2 File Open for playback 3 Display Channel Selection for Full screen QUAD...

Страница 28: ...ck on PTZ control Chapter 5 1 3 Local Setting When the Local Setting button is clicked Local Setting consists of OSD setting motion alarm window pop up local recording path setting and remote firmware...

Страница 29: ...ch channel To update the setting please click on Update button Chapter 5 1 6 Record Each video channel from CH1 to CH16 can be assigned for recording resolution from D1 720x480 Half D1 720x240 CIF 352...

Страница 30: ...igh and very high Frame rate 30 15 10 5 1FPS NTSC 25 16 v10 5 1FPS for PAL Sensor type N O Normal Open or N C Normal Close can be selected REC Event recording for each channel can be selected as Enabl...

Страница 31: ...Monday to Sunday and time of 24 hour can be set for weekly schedule recording In the weekly schedule the schedule recording can be set v Chapter 5 1 10 HDD Setting To show the total capacity of all t...

Страница 32: ...s through FTP Download icon can be clicked Chapter 5 3 Video Capturing and Printing Capture feature can be utilized for both single picture saving and picture printing When Capture button is pressed S...

Страница 33: ...hannel is detected event information can notify to NetViewer NetViewer shows additional message box representing an alarm signal Chapter 6 Play Backup Video File on PC File Player application can be f...

Страница 34: ...e directory related to BACKUP media like USB or CD can be chosen by using this button For file playback searched file can be selected And then click play button of No 8 to playback it Channel Select C...

Страница 35: ...playback speed Frame Skip Backward Frame Skip Forward GOP Skip Forward This icon is used for faster playback in forward Fast Playback The higher number means the faster playback Plus means forward fa...

Страница 36: ...rk connection consists of total 16 groups Each group has maximum 16 viewing channels Each viewing channel can be assigned by different IP address It means that each viewing channel can be allocated to...

Страница 37: ...tton To modify a Connection Address click on Modify button Chapter 7 3 How to delete Connection Address First select one Connection Address in Address list box Click on Delete button to delete the Con...

Страница 38: ...rogram files DVR_APP Please copy E Map pictures into this directory The picture can be loaded by Image Load button Cameras number can be placed in somewhere in E MAP by dragging the camera icon The ca...

Страница 39: ...nel in your DVR 7 While lease wait is appearing S W upgrade will be executed It takes around 10 minutes After completing S W upgrade your DVR will be automatically rebooted 8 After performing S W upgr...

Страница 40: ...6 1Vp p 75 Live PAL 400 FPS NTSC 480 FPS Video Out 1 BNC 1Vp p 75 VGA output Intellectual motion adoptive refinement with vivid image enhancement VGA engine Multiplexer Sequence Split screen 4 9 16 Sp...

Страница 41: ...DISTRIBUTOR 66 6164OOE 1...

Отзывы: