2.ProductOverview
HDMI-TPS-TX200series–User'sManual
18
Appliedfirmwarepackage:v1.3.2b3 | LDCsoftware:v2.5.7b2
2.5.
Front Panel Buttons
2.5.1.
Video Select Button
DIFFERENCE:
OnlyforSW4-TPS-TX240andTX240-Plusmodels:desiredvideoinputcanbe
selected by the
Video Select button
from the front panel. The selection order of the inputs is the
following:
SW4-TPS-TX240 and
SW4-TPS-TX240-Plus:
DP
HDMI 1
HDMI 2
Autoselect
DVI-D
2.5.2.
Audio Select Button
Desired audio input can be selected by the
Audio Select button
from the front panel. The selection
orderoftheinputsdependsonthemodelasfollows:
HDMI-TPS-TX220:
Analog audio
Embedded digital audio
DVI-HDCP-TPS-TX220:
DP-TPS-TX220:
SW4-TPS-TX240:
SW4-TPS-TX240-Plus:
2.5.3.
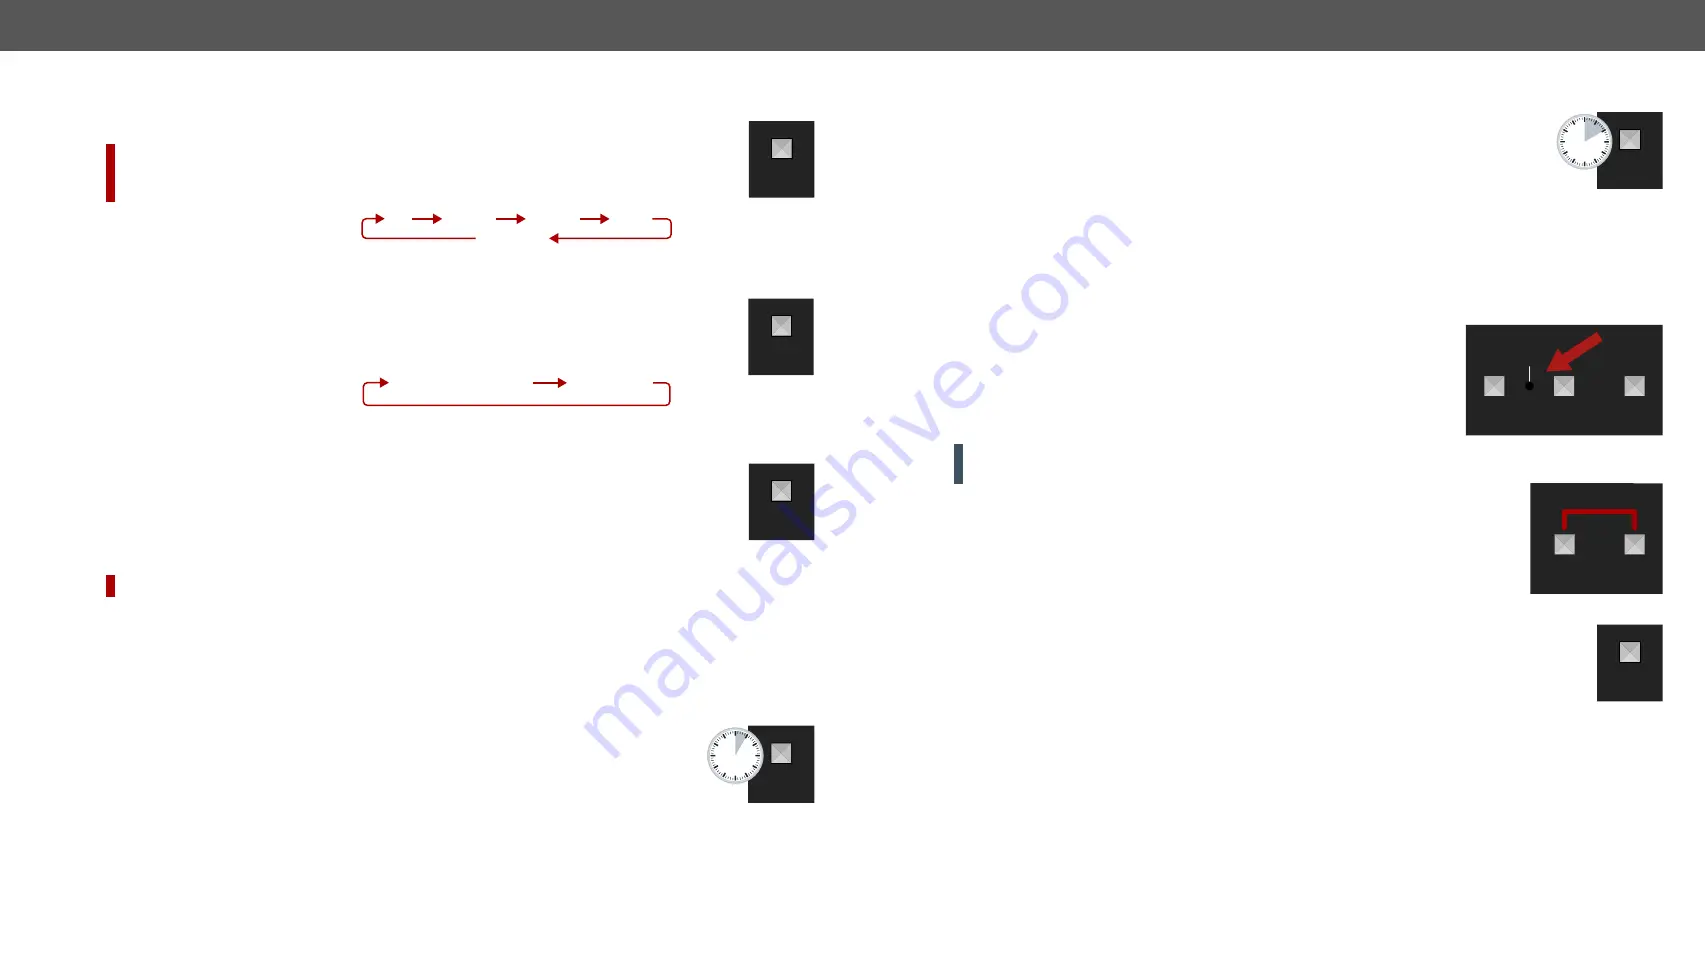
Programmable Show Me Button
ActionoranoperationcanbeassignedtotheShowMebutton.
“Show Me button pressed”
is a
conditionthatcanbeselectedintheEventManager.Seemoredetailsinthe
section.
#function #showme
HighlightMe (Default Function)
DIFFERENCE:
ThisfeatureisavailableonlyfromFWpackagev1.3.0b6.
This feature is to help finding the desired device in the Device discovery window of Lightware Device
Controllersoftware.Pressthe
Show Me
button for
5 seconds
untilthefrontpanelLEDsstarttoblinkslowly,
then release the button. In parallel, the device is
highlighted in green for 4 seconds
in the Device discovery
windowoftheLDC,seethe
HighlightMe(DefaultFunction)
2.5.4.
Enable DHCP (Dynamic) IP Address
ThedevicehasastaticIPaddressasafactorydefaultsetting.Ifthissettingdoesnotfit
tothecircumstancesduringinstallorusage,DHCPcanbeenabledfromthefrontpanel:
Step 1.
Make sure the device is powered on and operational.
Step 2.
Pressandkeeppressedthe
Show Me
buttonfor5seconds.
Step 3.
After5secondsfrontpanelLEDsstartblinking;releasethebuttonandpressit3
timesagainquickly(within3seconds).
Step 4.
TheLEDsgetdark,DHCPgetsenabled.
#dhcp #ipaddress
#network
VIDEO
SELECT
AUDIO
SELECT
SHOW
ME
SHOW
ME
5
sec
2.5.5.
Reset to Factory Default Settings
Torestorefactorydefaultvalues,dothefollowingsteps:
Step 1.
Make sure the device is powered on and operational.
Step 2.
Pressandkeeppressedthe
Show Me
buttonfor10seconds.After5secondsfront
panelLEDsstartblinkingbutkeeponpressingthebutton.
Step 3.
After10secondstheLEDsstartblinkingfaster;releasethebuttonandpressit3timesagainquickly
(within 3 seconds).
Step 4.
TheLEDsgetdark,thedevicerestoresthefactorydefaultsettingsandreboots.
Factorydefaultsettingsarelistedinthe
2.5.6.
Reseting the Device
Infewcases(afterfirmwareupdate,etc)youmayneedtoresetthedevice.
Pushingtheresetbuttonresultsthesameasyoudisconnectandreconnect
thepoweradaptortothetransmitter.Toresetingthedevicefollowthesteps:
Step 1.
Pushthebuttonwithathinobjectforasecond.
Step 2.
Waituntilthedevicereboots.Youcanusethetransmitterwhenthe
LIVELEDisblinkingslowlyagain.
ATTENTION!
Resetingthedevicedoesnotresetthesettingstofactorydefaults.Toresetfactorydefault
settingsseeprevioussection.
2.5.7.
Control Lock
PresstheFronpanelbuttons
together
(within100ms)todisable/enablethebuttons;
frontpanelLEDsblink4timeswhenlocking/unlocking.Ifthecontrollockisenabled
andabuttonispressed,frontpanelLEDsblink3times.
2.5.8.
Entering Firmware Update Mode
Itmayhappenthatthefirmwareupdateprocessisnotsuccessfulandthedevicecannotbe
switchedtobootloadmodeautomatically.Inthiscase,thedevicecanbeforcedintofirmware
updatemodeasfollows:
#bootload
Step 1.
Make sure the transmitter is powered off.
Step 2.
Pressandkeeppressedthe
Show Me
button.
Step 3.
Poweronthetransmitterwhilethe
Show Me
buttonisbeingpressed.Ifthedeviceisswitchedto
firmwareupdatemodetheLIVELEDisblinkingquickly(lessthan500msdutycycle).TheotherLEDs
are off.
Theprocedureoffirmwareupdatecanbefoundinthe
chapter.
#buttonlock #lockbutton
SHOW
ME
10
sec
SHOW
ME
AUDIO
SELECT
VIDEO
SELECT
RESET
SHOW
ME
AUDIO
SELECT
SHOW
ME


