


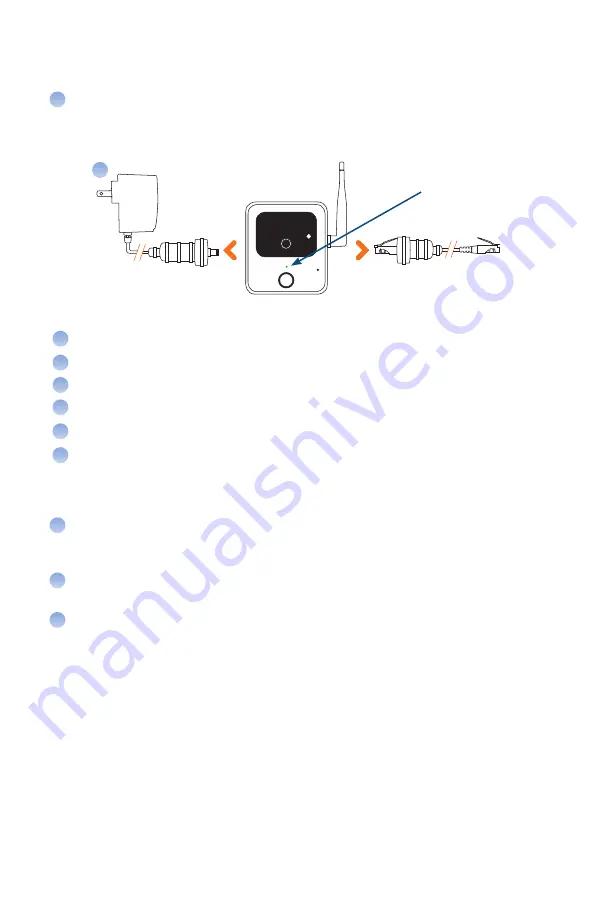
Plug the Ethernet cord and then the power cord into the back of the
camera. Wait for power LED to stay solid, which takes about 2 minutes
Note: Power light is light green (see Diagram A)
Using your Console, press
Menu
Scroll to Cameras, press
Select
Enter Master Code*
Scroll to <Add New>, press
Select
Your screen will display “Use Auto Search”. Scroll to YES and press
Select
Your screen will then display “Connect all Cameras to Power and
Ethernet”. Select OK (This should have been completed during step 1.
If it was not done, plug the Ethernet cord, then the Power cord into the
back of the camera now)
The system will search for the camera to be added to your system, and
the screen will say “Searching...” and display how many cameras are
found. The console will then start a 120 second countdown
Once the console displays the number of cameras you added to the
system (example: 1 camera found), select OK
Edit Camera Name (optional)
To edit the name of your sensor press the DELETE button to
erase text and use the keypad keys to type in a new name.
Press OK
A
B
C
D
E
F
K
Add Outdoor Camera
Model OC810 OC810
(if included)
Outdoor Camera—Wireless Setup
NOTE: You must know your Network SSID, Security Type (WPA/WPA2, WEP
or None), and Password to complete this process. Your camera must also be on
the same wireless network and router as your LifeShield Base to setup properly.
- 2 -
•
*Maser Code on the inside front cover of your set up guide
Power light – faint green light will
display. You may need to cover
with your hand to see
A
G
K
K
Содержание OC810
Страница 1: ...Outdoor Camera Setup OC810 ...


