17
3
. I
NITIAL
S
ETUP
Read the entire User Manual before setting up the cross-trainer.
W
HERE TO
P
LACE THE
C
ROSS
-T
RAINER
After following all safety instructions move the cross-trainer to the place where it will be
used. See specifications for full dimensions if needed. The cross-trainer is equipped
with front and rear wheels so that it is simple to push or pull the cross-trainer to its final
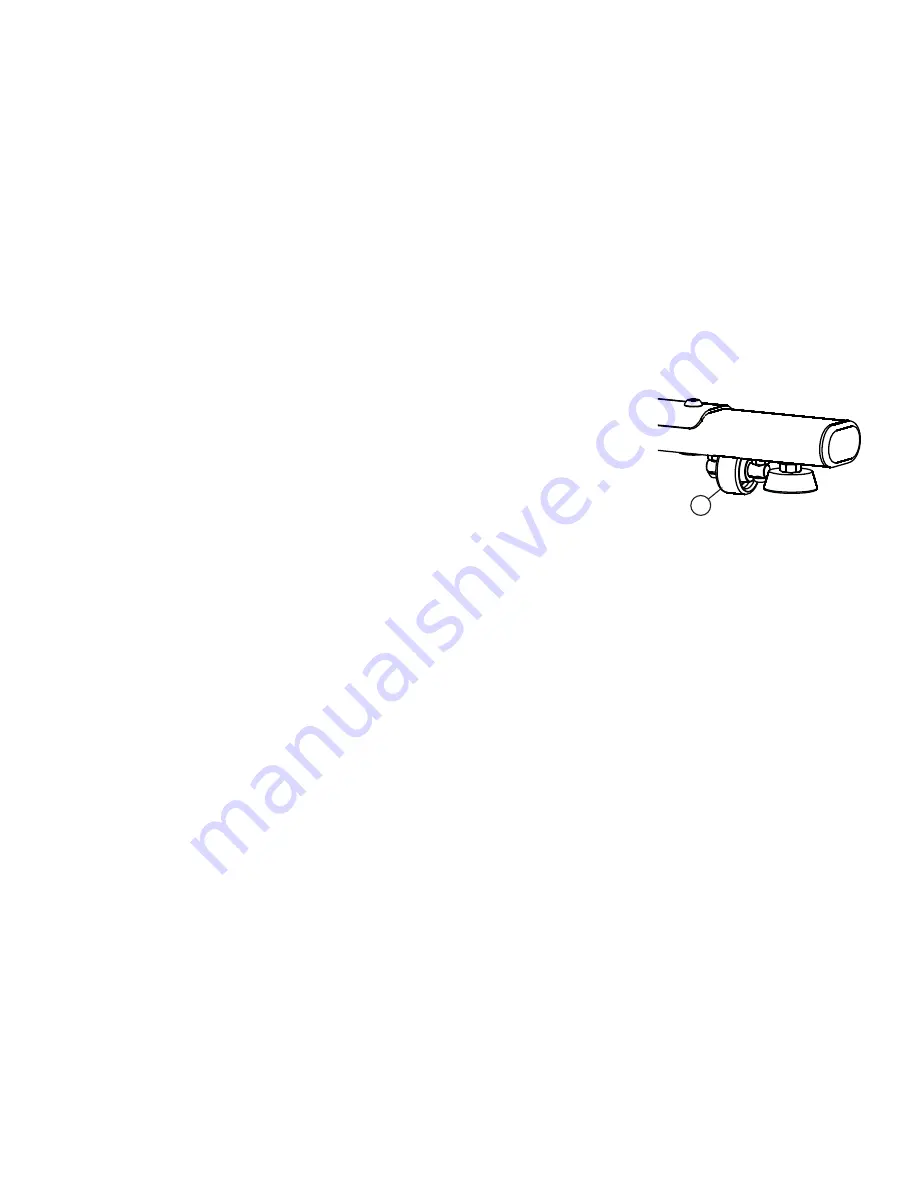
destination. To use the wheels make sure that the front and rear stabilizers are twisted
up far enough so that all wheels (A) can engage with the floor. Once the cross-trainer is
properly positioned, allow enough space in the front of the cross-trainer for the movement of the
pedals levers. Also be sure to allow space on the side so that it is easy to mount the cross-trainer from the side.
CAUTION:
Make certain you have plenty of room for the swing of the moving arms. Test the cross-trainer at all stride
lengths before finalizing its location.
CAUTION:
Place the cross-trainer in a dry place. Do not place in highly humid areas, such as near swimming pools, as
rust and corrosion may occur.
H
OW TO
S
TABILIZE THE
C
ROSS
-T
RAINER
Once the cross-trainer is positioned in the room, lower the levelers on the front and back stabilizers to contact the floor.
All four wheels must be completely off the floor. The levelers will keep the cross-trainer fixed to the floor during use.
CAUTION:
Do not use the cross-trainer without the levelers touching the floor.
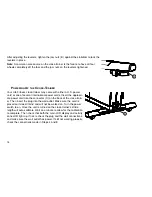
After placing the cross-trainer where it will be used, check the stability. If there is even a slight rocking motion, or the unit
is not stable, the levelers will need to be adjusted. Determine which leveler is not resting firmly on the floor. To adjust the
levelers downward, twist the rubber portion of the leg counterclockwise. To adjust the levelers upward, twist the rubber
portion of the leg clockwise.
A
Содержание X8
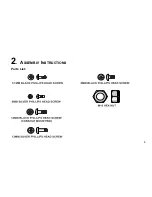
Страница 12: ...9 2 ASSEMBLY INSTRUCTIONS Parts List ...
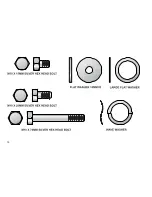
Страница 13: ...10 ...

