18
ENGLISH
_inde
x
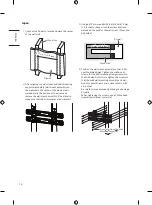
North America
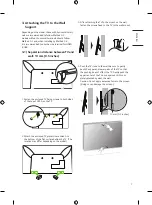
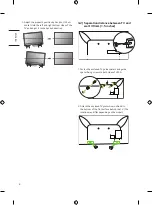
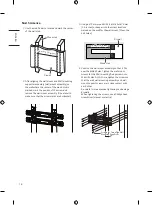
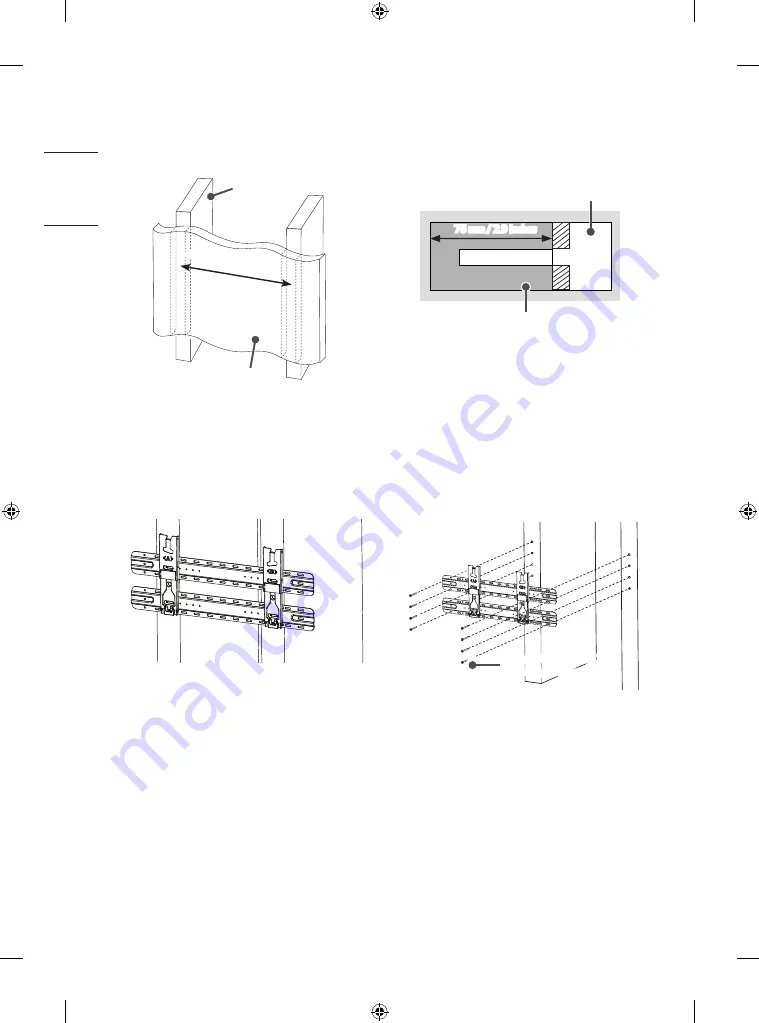
1. Use the stud finder to locate and mark the center
of the wall stud.
Drywall
Wood stud
406 mm (15.9
Inches)
2. After aligning the wall mount and Wall mounting
supporter assembly (wall mount assembly) on
the wall where the center of the wood stud is
marked, mark the position of the screw and
remove the wall mount assembly. (Use a level to
make sure that the screw marks are horizontal.)
3. Using a Ø 4 mm wood drill bit, drill a hole 76 mm
(2.9 inches) or deeper into the screw locations
marked on the wall for the wall mount. (Clean the
drill holes)
Drywall
Wood stud
76 mm / 2.9 inches
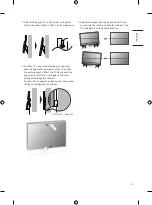
4. Position the wall mount assembly so that it fits
over the drilled holes. Tighten the wall mount
screws for the Wall mounting fixing screws into
the drill holes. At this time, tighten the screws so
that the wall, wall mounting assembly, and wall
mount support screws are in close contact with
each other.
- Be careful, since excessive tightening can damage
drywalls.
- When tightening the screws, use a Phillips head
screwdriver. (manual or electric)
Screws for Fixing The Wall
Mounting Supporter
Содержание WB21LMB
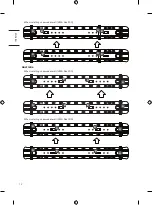
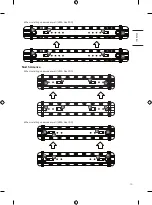
Страница 14: ...14 ENGLISH _index When installing on a wooden wall VESA Size 400 A A A A B B B B ...
Страница 28: ......

