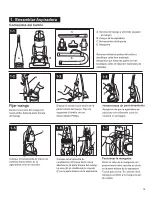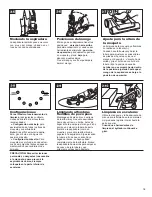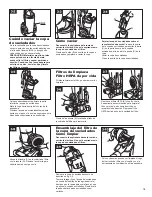
background image

3-1

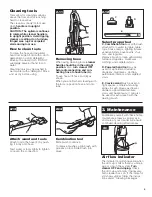
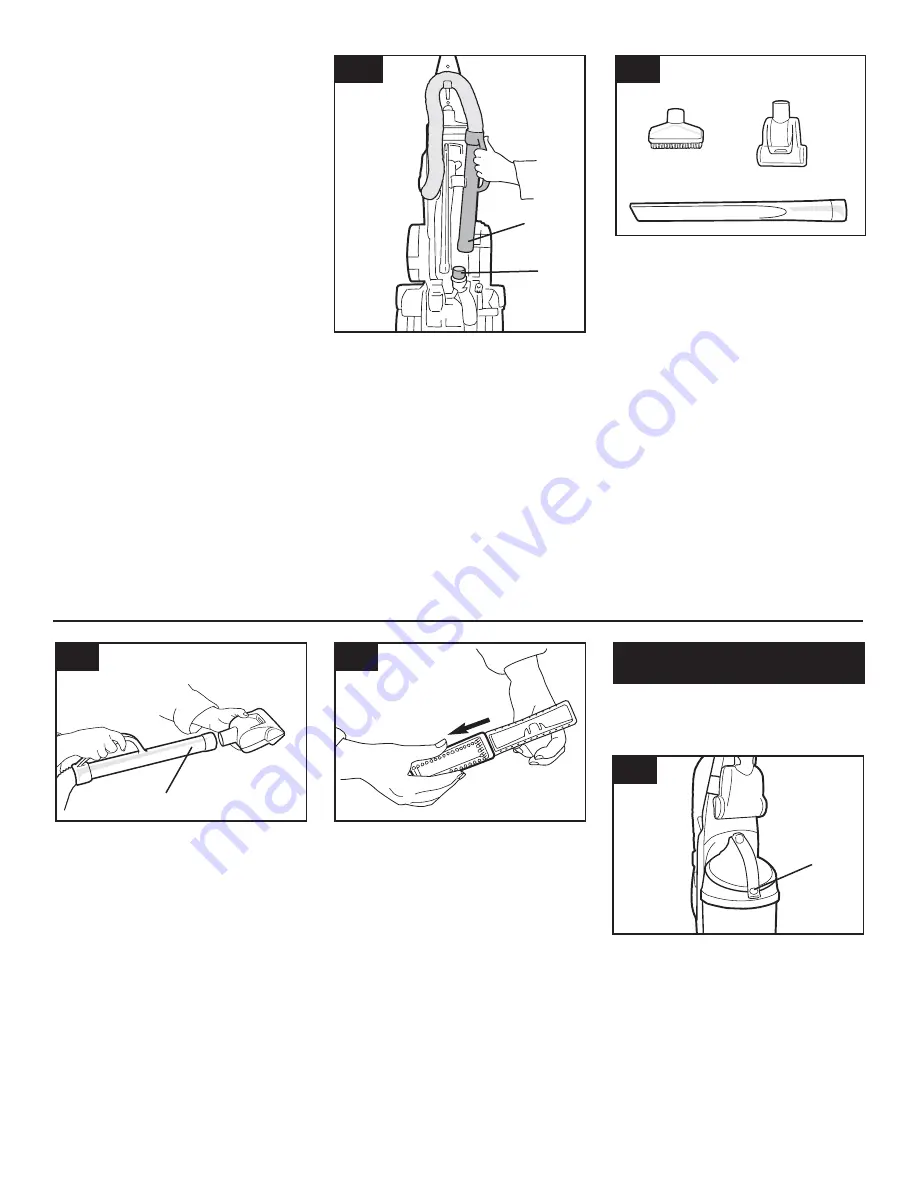
Select proper tool

C. Combination tool

use with brush

attached for carved furniture, table
tops, books, lamps, lighting fixtures,
venetian blinds, baseboards, shut-
ters, and registers.
Remove brush to clean upholstered
furniture, draperies, mattresses,
clothing, and carpeted stairs.

D. Powered hand tool

may be

used for upholstered furniture,
draperies, mattresses, clothing,
automobile interiors, and carpeted
stairs.

E. Crevice wand

may be used in

tight spaces, corners and along
edges in such places as dresser
drawers, upholstered furniture,
stairs and baseboards. It can also
be used for extra reach with the
dusting brush.

2-13

2-14

F

A

B

A

2-12

E

D

C

3. Maintenance

Familiarize yourself with these home
maintenance tasks as proper use
and care of your cleaner will ensure
continued cleaning effectiveness.

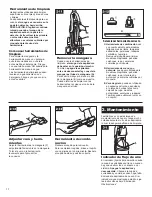
Attach wand and tools

Attach tool to the hose (F) by push-
ing it firmly onto hose.

Twist wand or tool slightly to tighten
or loosen the connection.

2-11

Removing hose

When using cleaning tools,

cleaner

handle should be in the upright
position.

Also,

turn cleaner OFF

before disconnecting and con-
necting hose to hose tube (A).

To use hose, lift hose end (B) as
shown.
When you are finished cleaning with
the tools, reposition hose end onto
tube.

Cleaning tools

Tools allow for cleaning surfaces
above the floor and for reaching
hard to clean areas.
The cleaner is ready for tool use
when

handle is in upright

position

.

CAUTION: The agitator continues
to rotate while cleaner handle is
in upright position. Avoid tipping
cleaner or setting it on furniture,
fringed area rugs or carpeted
stairs during tool use.

How to clean tools

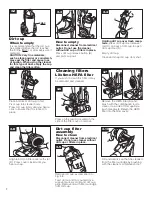
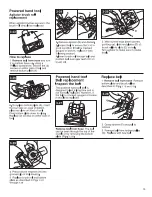
To clean the hose and powered
hand tool, wipe off dirt with a cloth
dampened in a mild detergent.
Rinse with a damp cloth. DO NOT
submerge powered hand tool in
water.
Cleaning tools may be washed in
warm water with a detergent. Rinse
and air dry before using.

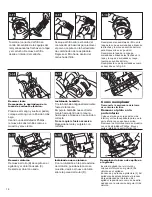
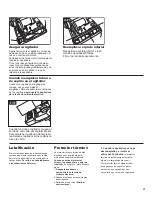
Combination tool

Slide brush to remove.

To replace brushes, align brush with
grooves on tool. Slide brush into
place.

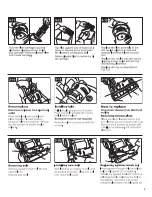
Air flow indicator

The indicator (A) will show yellow when
the dirt cup is full or there is a block-
age or clog in the system.

Turn

cleaner OFF and unplug.

Check

the dirt cup and empty if necessary.
Turn cleaner back on. If the indicator
still shows yellow, follow the instruc-
tions under “Clearing blockages”.

6

Содержание VTUP843NB

Страница 1: ...MODEL VTUP843NB P No 38288I2002P ...

Страница 2: ...aner 2 How to use 3 Maintenance Air flow indicator Cleaning filters lifetime HEPA filter How to replace The agitator brush roll when to replace Powered hand tool 4 If you have a problem Normal problem Clearing blockages 3 4 6 7 8 9 10 11 12 ...

Страница 3: ...3 ...

Страница 4: ...rd is rewound 13 Cord hook 14 Hose 15 Hose holder ON OFF pedal Grasp end of plug A and pull to desired cord length Plug cord into electrical outlet To turn cleaner ON step on ON OFF pedal B once To turn cleaner OFF step on pedal again 1 11 13 16 10 A B C 17 20 18 7 14 2 4 6 5 8 3 9 12 15 19 2 1 R E T R A C T A B L E C O R D S Y S T E M R E T R AC TABLE CO RD SYSTEM 2 3 2 2 Wrap hose over hook G Pu...

Страница 5: ...t the nozzle A When it is necessary to raise and lower the nozzle for various carpet pile heights place handle in upright position and turn the nozzle control knob B to the desired setting The nozzle will not move into the adjusted position until the cleaner handle is lowered to the operating position A B 2 8 Cleaning lightweight flexible rugs Stand on one end of rug and move cleaner toward other ...

Страница 6: ...urn cleaner OFF before disconnecting and con necting hose to hose tube A To use hose lift hose end B as shown When you are finished cleaning with the tools reposition hose end onto tube Cleaning tools Tools allow for cleaning surfaces above the floor and for reaching hard to clean areas The cleaner is ready for tool use when handle is in upright position CAUTION The agitator continues to rotate wh...

Страница 7: ... after every use if preferred CAUTION Very fine materials such as face powder or cornstarch may seal the filter and cause loss of suction When using the cleaner for this type of dust empty the cup and clean the filters often Dirt cup Press on the tab A located on the side of the filter cover to remove Remove the HEPA filter B and brush with the combination tool to clean or tap side of filter again...

Страница 8: ...8 ...

Страница 9: ...9 ...

Страница 10: ...10 ...

Страница 11: ...11 ...

Страница 12: ...3 15 and 3 18 12 ...

Страница 13: ...o usar 3 Mantenimiento Indicador de flujo de aire Filtros de limpieza Filtro HEPA de por vida Cómo reemplazar Cuándo reemplazar la barra de cepillo en el agitador Reemplazado de la barra de cepillo en el agitador 4 Si tiene algún problema Normales problema Limpiando las obstrucciones ...

Страница 14: ...14 ...

Страница 15: ...15 ...

Страница 16: ... pavimentación de todos los tipos de moqueta y superficie dura Nota Si es difícil empujar la aspira dora gire el botón a la siguiente posición más alta Configuración más alta Para moqueta muy profunda donde esfuer zos de empuje más fáciles se deseen manteniendo buen rendimiento de limpieza Limpiando alfombras flexibles de poco peso Manténgase de pie sobre un extremo de la alfombra y mueva la aspir...

Страница 17: ...allados mesas libros lámparas aditamentos persianas rodapiés cortinillas y registros Remueva el cepillo para limpiar muebles entapizados pañerías colchones ropa y escaleras cubiertas por moqueta Herramienta de mano con potencia puede ser utilizada para muebles entapizados pañerías colchones ropa interiores de automóvil y escaleras cubiertas por moqueta Vara de grieta puede ser utilizada en espacio...

Страница 18: ...sde la toma de corriente eléctrica No use la aspiradora sin la copa de suciedades o filtros Presione la etiqueta A localizada al lado de la cubierta del filtro para removerla Remueva la copa de suciedades como se describe en fig 3 3 Tuerzca la tapa A en la copa de suciedades en contra del sentido de las agujas del reloj hasta que en la tapa aparezca la flecha y que se alinee la copa de suciedades ...

Страница 19: ...el motor D Inserte el agitador por el cinturón y coloque el cinturón en el guía E de cinturón en el agitador En caso de que la capa protectora F del agitador se desplaza durante el proceso de reemplazado del cinturón o del agitador reposiciónelo como se muestra ciudado con la colocación del guía G de cinturón Reemplace el ensamblaje del filtro en la tapa de la copa de suciedades alineando las flec...

Страница 20: ...i los cepillos no tocan la carta El motor está equipado de rodamientos que contienen suficiente lubrificación por la vida del motor La añadición de lubricante podría causar daños Por ello no añada lubricante a los rodamientos del motor Un protector térmico interno ha sido diseñado en su aspiradora para protegerla de sobrecalentamiento Cuando se active el protector térmico la aspiradora va a dejar ...

Страница 21: ...gitador para asegurarse que gire libremente 1 Remueva la herramienta de la manguera Remueva el plato inferior y la barra de cepillo como se describe en Figs 3 15 y 3 16 2 Agarre turbina F y tire para remover 3 Remueva el cinturón desde la polea de la turbina G Reemplácelo con otro nuevo 4 Presione los dispositivos de retención H de la turbina hacia dentro de las ranuras I 5 Reemplace la barra de c...

Страница 22: ...copa de suciedades se llena Vacíe la copa de suciedades Los filtros son sucios Limpie los filtros La configuración de la altura de la moqueta es incorrecta Mueva el botón de control en la tobera a una configuración más baja Obstrucción en los pasajes del flujo de aire Elimine la obstrucción Problema La aspiradora es difícil de empujar Causa posible Solución posible La configuración de la altura de...

Страница 23: ... mano con potencia desde la manguera Chequee la abertura E en el conector de dicha herramienta por obstrucción y remuévala Remueva el plato inferior y la turbina como se describe en las figs 3 15 y 3 18 Remueva toda obstrucción desde el canal de la turbina F Reemplace el cinturón turbina barra de cepillo y el plato inferior 2 Conecte eléctricamente la aspiradora y enciéndala Chequee la función de ...

Страница 24: ......
Отзывы: