


A17
A note about the video memory modes:
There is a total of 37 video memory modes, generally more modes than
you will use at any one time. Of these 37 modes, 6 are permanent,
factory fixed modes that cannot be changed, and another 6 are set at the
factory, but may be overwritten to make more room. The remaining 25
modes are left blank (empty). If you use up the 25 blank modes and still
have more new video modes, the monitor will store information in the
other 6 soft preset modes for the new mode storage. If additional new
modes are encountered, the monitor will delete the lowest memory mode
and add the new mode.
If you use a video card that has a number of resolutions and frequencies
that do not correspond to any of the monitor video modes set at the
factory, here's what will happen:
1) As the monitor encounters new video data, if you adjust the image
control icons, the monitor will save the new information in the next
available empty mode (mode 13 if this is the first new data
encountered).
2) If you have used up modes 13-37 with 25 new video modes, and the
monitor encounters another mode (38th mode), it will store the new
data in mode 13 and the old data of mode 13 is deleted.
In addition, If the monitor encounters 39th new video data, the old
data of mode 14 is deleted and 39th data will replace the mode 14,
with above method, when this monitor encounters new mode, it can
update from mode 13 to mode 37 sequentially and continuously.
Because the monitor is designed this way, you will always have the
most recent 31 video modes generated by your graphics card
available with your own image settings recalled automatically.
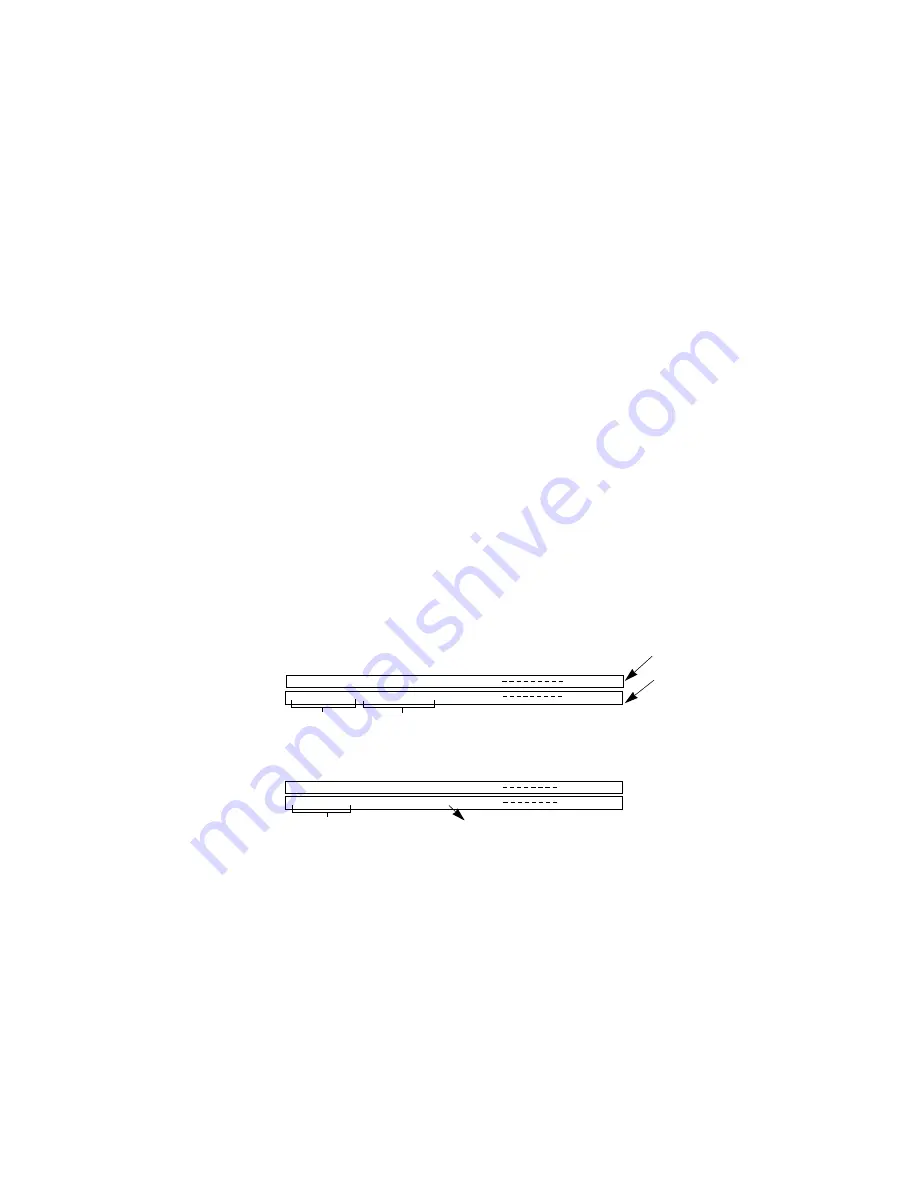
m1 m2 m3 m4 m5 m6 m7 m8 m9 m10 m11 m12 m13 m14 m15 m16
1 2 3 4 5 6 7 8 9 10 11 12 13 14 15 16
Example:All 37 modes are filled with following data
Factory fixed
mode
data
When new data is encountered
"m13"old mode 13 deleted
35 36 37
m1 m2 m3 m4 m5 m6 m7 m8 m9 m10 m11 m12 m13 m14 m15 m16
1 2 3 4 5 6 7 8 9 10 11 12 13 14 15 16
Factory fixed
35 36 37
m35 m36 m37
Soft presets
m35 m36 m37


