


The bar graph shows you the current level of the selected "H-Position"
control. Use the Adjustment control knob to increase or decrease the
level to fit the screen or your desired size. When you have finished,
press the Enter ( ) button once to return to Main Menu1 to make
another selection. If you have completely finished using the OSD after
you have returned to Main Menu1, you can double Click the Enter
button to exit the OSD.
OSD Adjustment and Selection Items
In the previous section, you were introduced to the procedure of
selecting and adjusting an item using the OSD system. There are four
Main Menu pages: the first one has the 4 most commonly used items,
and the second page has items that are used less frequently. When
selecting an item to be adjusted, moving the adjustment control past
the last icon on the screen (either left or right) will take you to the
other Main Menu page.
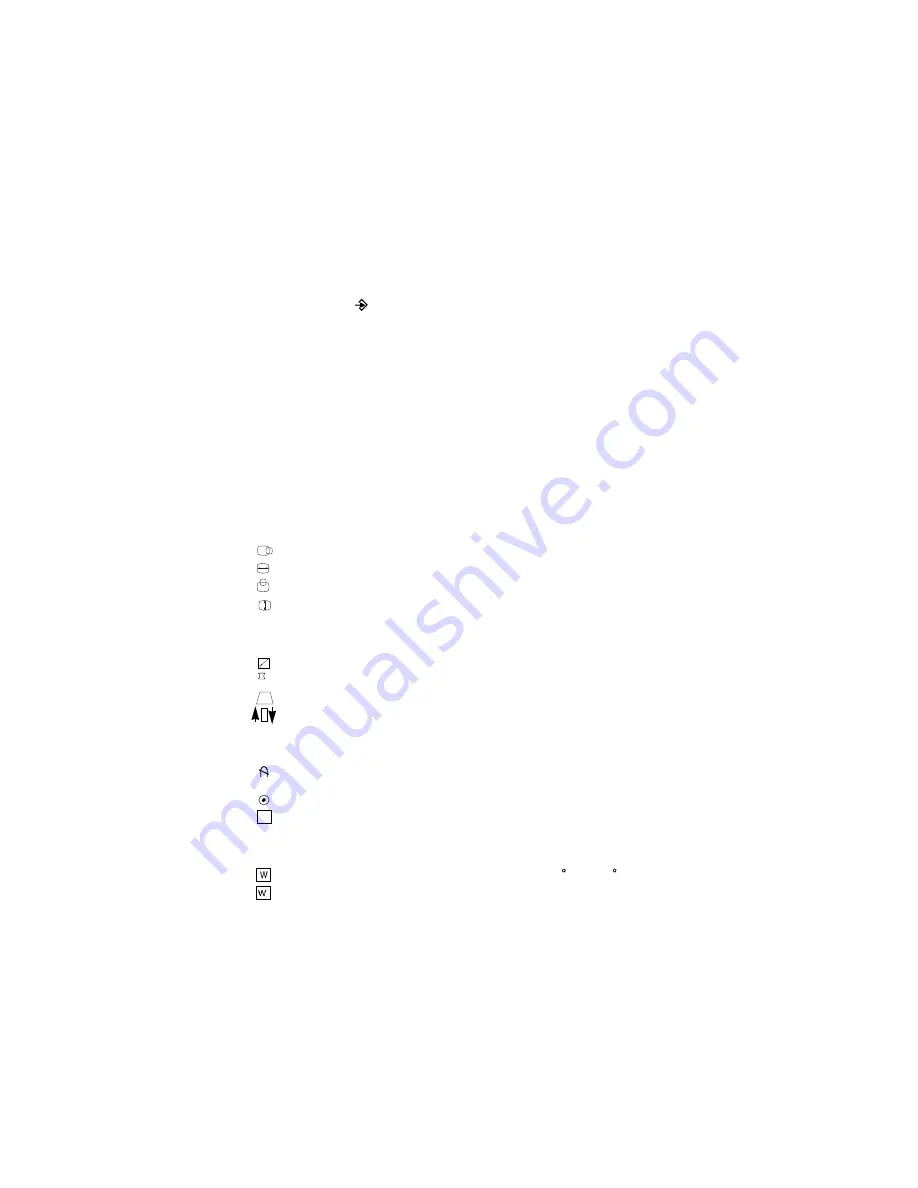
Listed below are the icons, icon names and icon descriptions of the
items that are shown on the Main Menu 1 OSD :
Horizontal Position (To move picture image left and right)
Horizontal Size (To adjust image width)
Vertical Position (To move image up and down)
Vertical Size (To adjust image height)
Listed below are the icons, icon names and icon descriptions of the
items that are shown on the Main Menu 2 OSD :
Zoom (To adjust H and V image size simultaneously)
Side Pincushion (To correct the bowing in and bowing out of the image)
Trapezoid (To correct geometric distortion)
Rotation (To adjust tilt)
Listed below are the icons, icon names and icon descriptions of the
items that are shown on the Main Menu 3 OSD :
Degauss (This button is used to demagnetize the picture to give
a more accurate image and color)
Recall (To recall the factory preset mode)
Help (To inform users of preset and user mode data)
Listed below are the icons, icon names and icon descriptions of the
items that are shown on the Main Menu 4 OSD :
Color Code (To select color temperature, 9300 K/7200 K/user)
RGB Adjust (To adjust individual RGB color at user color code)
9


