14
Auto setup - More functions
To add or erase channels
This feature allows you to add or erase channels from memory manually.
Press HOME, then use
b
b B
B
to select [Easy Menu] option. Press ENTER while
[SETUP] is selected. The SETUP menu appears on the screen. Select the
[CH. Add/Del] on the second level options then press
B
B
to move to the third
level. Press ENTER while [Edit] option is selected. The channel editing screen
appears on the screen.
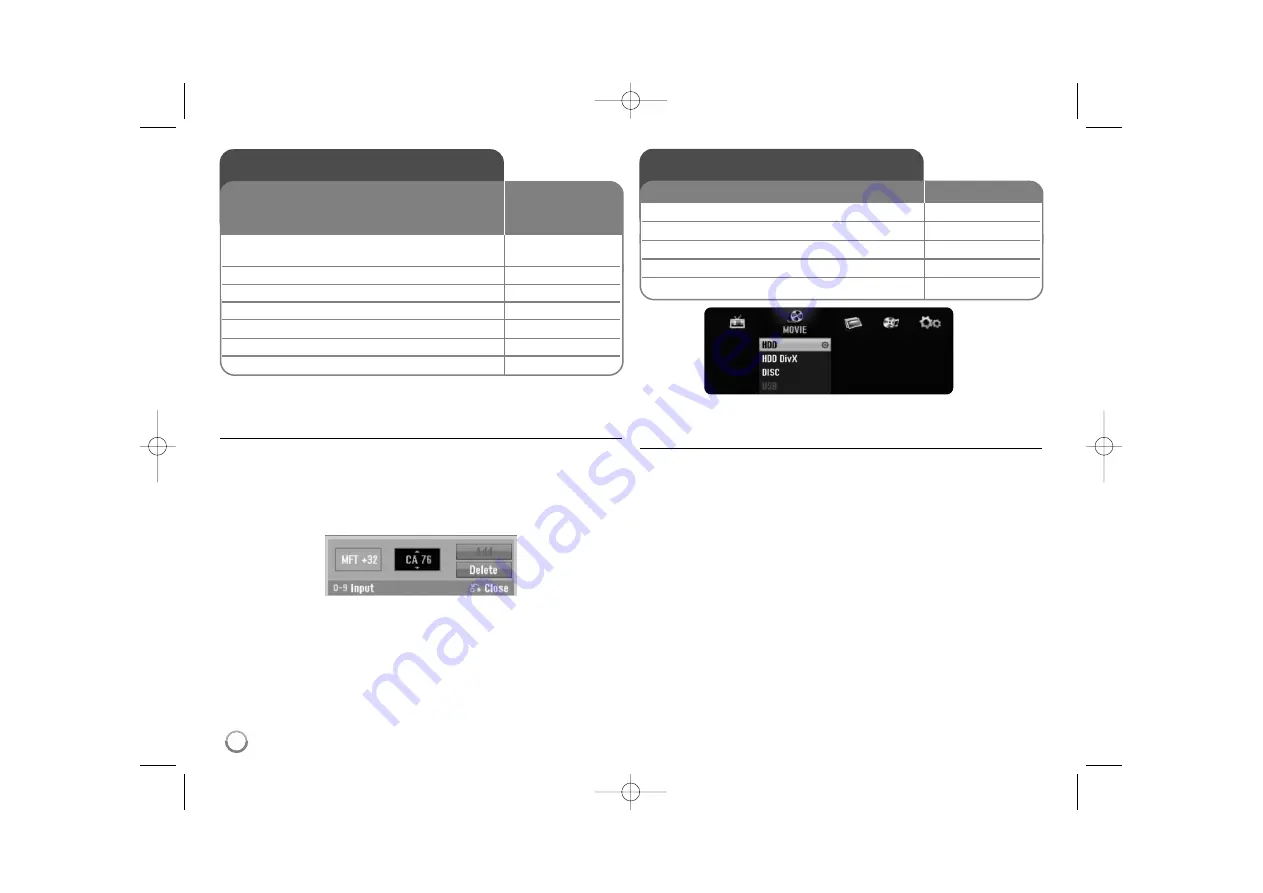
[Channel]: Use
v / V
or number buttons to select a channel.
[MFT]: Use
v / V
to adjust this option for obtaining a clearer picture.
[Delete]: Delete the selected channel from programmed channels.
[Add]: Add the selected channel to the programmed channels.
Using the Home Menu - More functions
MOVIE
HDD – Displays the [Title List] menu, which shows recorded titles on HDD.
(page 28)
HDD DivX – Displays [Movie List] menu, which shows DivX
®
movie files on
HDD. (page 22)
DISC
– Displays [Title List] menu, which shows recorded titles on the disc. (page
28)
– Displays [Movie List] menu, which shows DivX
®
movie files on the disc.
(page 22)
– Plays DVD-Video disc (page 21).
USB – Displays [Movie List] menu on the USB Flash Drive. (page 22)
Auto setup
1
Turn on the unit:
POWER
The initial setup wizard appears on the screen.
2
Choose a language:
v
v V
V
3
Select the chosen language:
ENTER
4
Check the antenna and go to the next step:
ENTER
5
Set the clock:
v
v V
V b
b B
B
, ENTER
6
Starts channel scan:
ENTER
7
Close the initial setup:
ENTER
ON REMOTE
When the first time to turn on the unit, the initial setup
wizard sets the language, clock and channels
automatically.
Using the Home Menu
1 Displays the HOME menu:
HOME
2 Select a main option:
b
b B
B
3 Select a sub option:
v
v V
V
4 Execute the selected option:
ENTER
5 Exit the HOME menu:
HOME
ON REMOTE
RH398H-M.BCANLLK_ENG 6/11/08 11:08 AM Page 14


