17
Adjust the recording settings
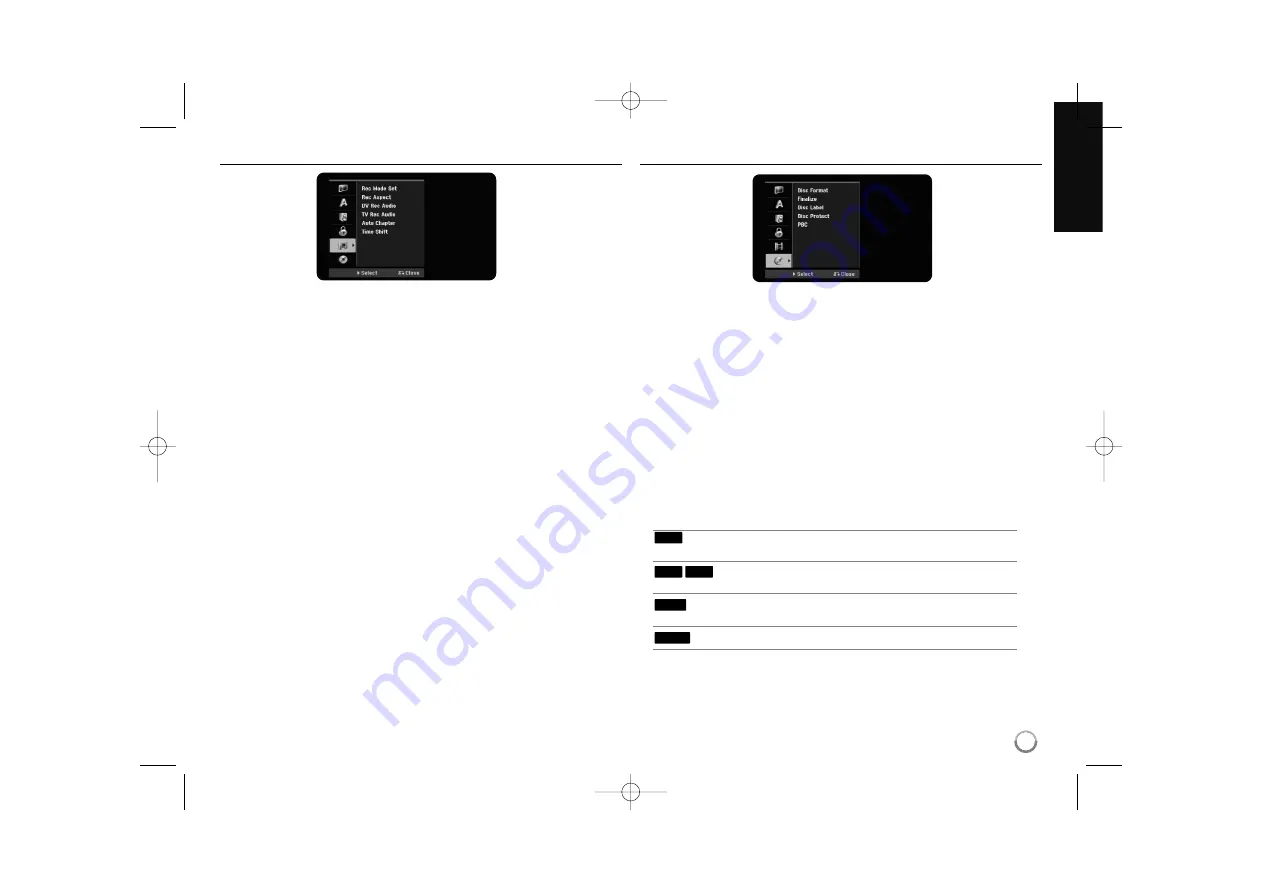
Record Mode Set –
Select the picture quality for recording from XP, SP, LP, EP
or MLP. See recording time of each mode on page 35.
[XP]: Highest picture quality.
[SP]: Standard picture quality.
[LP]: Slightly lower picture quality than [SP] mode.
[EP]: Low picture quality.
[MLP]: The longest recording time with the lowest picture quality.
Record Aspect –
This option sets the recording aspect ratio to suit the material
you are recording on DVD.
DV Record Audio
– You need to set this if you have a camcorder using
32kHz/12-bit sound connected to the front panel DV IN jack.
Some digital camcorders have two stereo tracks for audio. One is recorded at
the time of shooting; the other is for overdubbing after shooting.
On the Audio 1 setting, the sound that was recorded while shooting is used.
On the Audio 2 setting, the overdubbed sound is used.
TV Record Audio –
Select an audio channel to record when recording a bilin-
gual program.
[Main+Sub]: Main language and sub language
[Main]: Main language only
[Sub]: Sub language only
Auto Chapter –
When DVD recording, chapter markers are added
automatically in every specified interval (5, 10 or 15 min.).
Time Shift –
Setting this option to [ON] activates the Time Shift function
automatically without pressing TIMESHIFT button. The timeshift will start in
5 seconds after TV tuner mode is started.
Adjust the disc settings
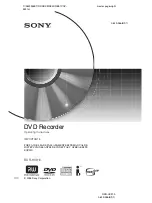
Disc Format –
You can Initialize a DVD by pressing ENTER while [Start] is
selected. The [Disc Format] menu appears. The unit starts formatting after
confirmation. You can select a mode between VR and Video for DVD-RW discs.
Everything recorded on the DVD will be erased after formatting.
If you load a completely blank disc, the unit will initialize the disc automatically.
See “Formatting mode (new disc)” on page 5 for more information.
Finalize –
Finalizing is necessary before you can play a disc recorded with this
unit on other DVD equipment. How long finalization takes depends on the disc
condition, recorded length and number of titles.
[Finalize]: The [Finalize] menu appears. The unit starts finalizing after
confirmation.
[Unfinalize]: The finalized DVD-RW discs can be unfinalized after confirming
on the [Unfinalize] menu. After unfinalizing, the disc can be edited and re-
record.
Before finalizing, check the characteristics between the disc type in the table
below.
The finalized DVD-RW discs can be unfinalized
so that the disc can edit or record again.
Once you finalize a disc, you can not edit or
record anything on the disc.
Discs are automatically finalized when removed from
the unit.
Finalization is not needed.
RAM
+RW
-R
+R
-RW
RH388H-W-BIDNLLK-ENG 1/12/12 10:12 AM Page 17


