


A40
ENGLISH
Specifications
Screen Type
17 inches (434.38mm) TFT (Thin Film Transistor)
LCD (Liquid Crystal Display) Panel
Visible diagonal size: 434.38mm
Pixel Pitch
0.291mm
Max. Resolution
D-Sub :1280X1024 @60Hz
DVI-D : 1280X1024 @60Hz
Recommended Resolution
D-SUB : WXGA 1280X768 @60Hz
DVI-D : WXGA 1280X768 @60Hz
Horizontal Frequency
D-SUB : 30 - 66 kHz
DVI-D : 30 - 66 kHz
Vertical Frequency
56 - 75 Hz
Synchronization Type
Separate/Composite/SOG (Sync On Green)/Digital
15-pin D-Sub type, DVI-D (digital), S-Video,
composite video, Scart, TV
Rated Voltage
AC 100-240V~ 50/60Hz 1.0A
Power Consumption
On Mode : 70W
Sleep Mode :
≤
4W
Off Mode :
≤
2W
Tilt Range
-5
˚
~20
˚
Tilt Stand
Attached
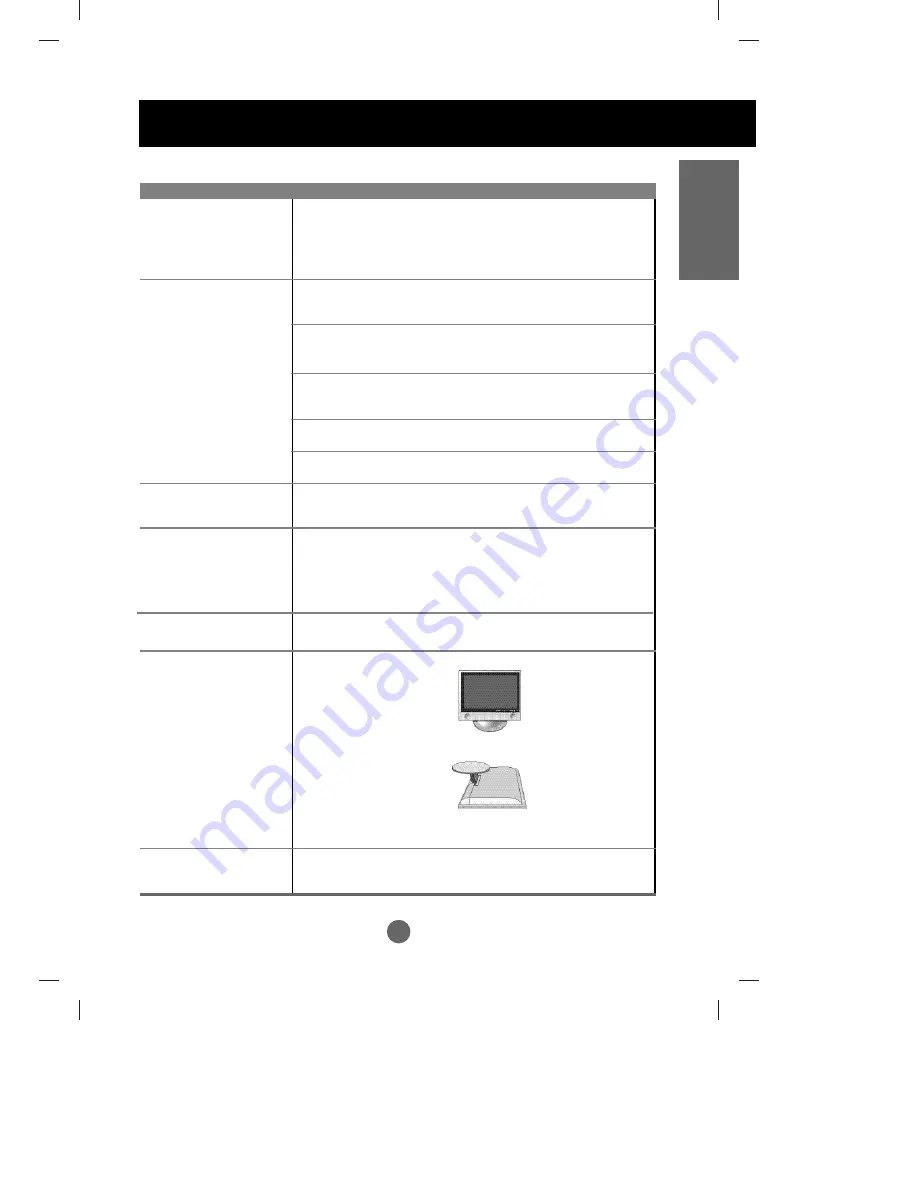
Size (WxLxH)
438.2mm x 241.4 mm x 378.9mm
438.2mm x 139.2 mm x 403.5mm
Weight (excl. package)
7.1 kg (15.6 lbs)
Operational Condition
Temperature: 10˚C ~ 35˚C , Humidity: 10% ~ 80%
Storage Condition
Temperature: -20˚C ~ 60˚C , Humidity: 5% ~ 95%
LCD Panel
Video Signal
Input Connector
Power
Tilt
Dimension/Weight
Environmental Conditions
[17inches]


