8
11
Press CLOCK.
(If the clock requires setting, press and hold
CLOCK
for more than 2 seconds.)
- The hours begin to flash.
22
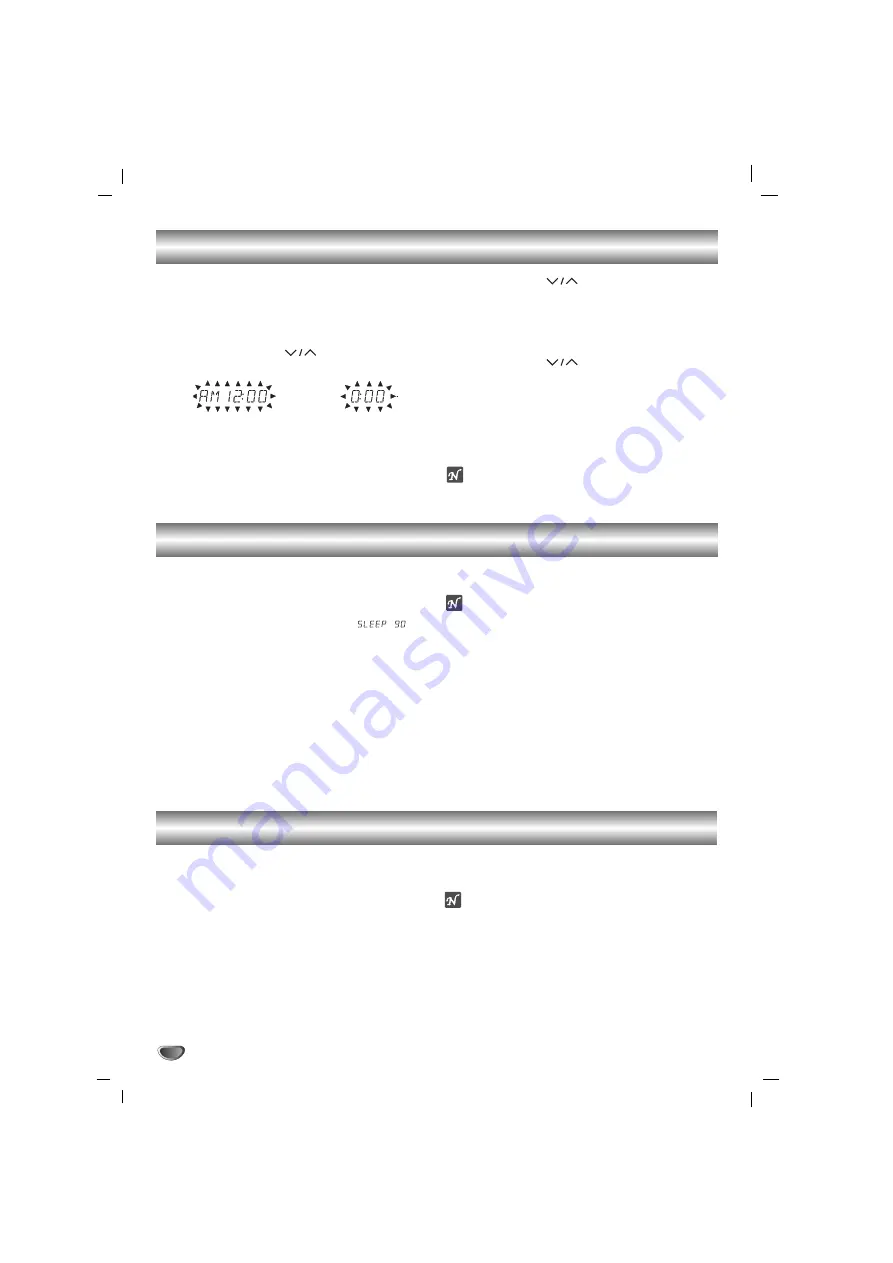
Select a 12 hour cycle or 24 hour cycle by
pressing TUNING
(
)
on the front panel.
33
Press SET to confirm the selected hour cycle.
44
Use TUNING
(
)
buttons to set the
correct hours on the front panel.
55
Press SET.
66
Use TUNING
(
)
buttons to set the
correct minutes on the front panel.
77
Press SET and the correct time is shown on
the display.
88
Press CLOCK at any time to display the time
for about 3 seconds.
Note
The unit can also set the clock function in power off
state.
(12HR)
(24HR)
or
Sleep Function
When the sleep timer is used, the power is automatically turned off after the specified time has elapsed.
11
To specify the time delay before the power is
turned off, press SLEEP.
In the display window you can see
for about 5 seconds. This means that the system
turns off automatically after 90 minutes.
Each time the button is pressed the time interval
before it turns off is reduced by 10 minutes. i.e.
80...70... etc.
Select the desired time to turn off.
22
To check the remaining time until the power is
turned off.
While the sleep function is active press
SLEEP
briefly. The time remaining until it turns off is
displayed for about 5 seconds.
ote
If you press
SLEEP
while the sleep time is displayed,
the SLEEP time is reset.
To cancel the sleep timer mode
If you wish to stop the function, press the
SLEEP
button
repeatedly until “SLEEP 10” appears, and then press
SLEEP
once again while “SLEEP 10” is displayed.
Setting the CLOCK
Auxiliary Function
11
Connect an auxiliary device i.e. TV or VCR, via the rear mounted AUX phone sockets.
22
Press
AUX
.
ote
You can also record from the auxiliary input source, see
Recording Section.


