4
INSTALLATION PROCEDURE / ASSEMBLING AND PREPARING
ENG
ENGLISH
NOTE
y
y
Image shown may differ from your TV.
y
y
Your TV’s OSD (On Screen Display) may differ slightly from that shown in this manual.
y
y
The available menus and options may differ from the input source or product model that you are
using.
y
y
New features may be added to this TV in the future.
y
y
The TV can be placed in standby mode in order to reduce the power consumption. And the TV should
be turned off if it will not be watched for some time, as this will reduce energy consumption.
y
y
The energy consumed during use can be significantly reduced if the level of brightness of the picture
is reduced, and this will reduce the overall running cost.
INSTALLATION PROCEDURE
1
Open the package and make sure all the accessories are included.
2
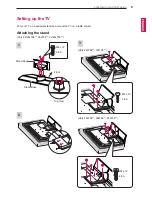
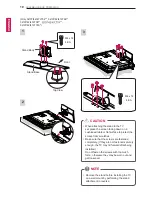
Attach the stand to the TV set.
3
Connect an external device to the TV set.
4
Make sure the network connection is available.
You can use the TV network functions only when the network connection is made. (Only LT74 , LT76 )
ASSEMBLING AND PREPARING
Unpacking
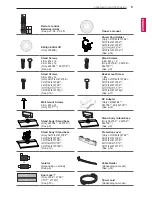
Check your product box for the following items. If there are any missing accessories, contact the local
dealer where you purchased your product. The illustrations in this manual may differ from the actual product
and item.
CAUTION
y
y
Do not use any unapproved items to ensure the safety and product life span.
y
y
Any damages or injuries by using unapproved items are not covered by the manufacturer’s warranty.
y
y
Some models have a thin film attached on to the screen and this must not be removed.
NOTE
y
y
The items supplied with your product may vary depending on the model.
y
y
Product specifications or contents of this manual may be changed without prior notice due to upgrade
of product functions.
y
y
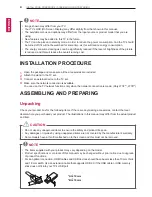
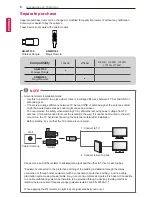
For an optimal connection, HDMI cables and USB devices should have bezels less than 10 mm thick
and 18 mm width. Use an extension cable that supports USB 2.0 if the USB cable or USB memory
stick does not fit into your TV’s USB port.
B
A
A
B
*A 10 mm
*B 18 mm


