


Checking lamp time
Press the
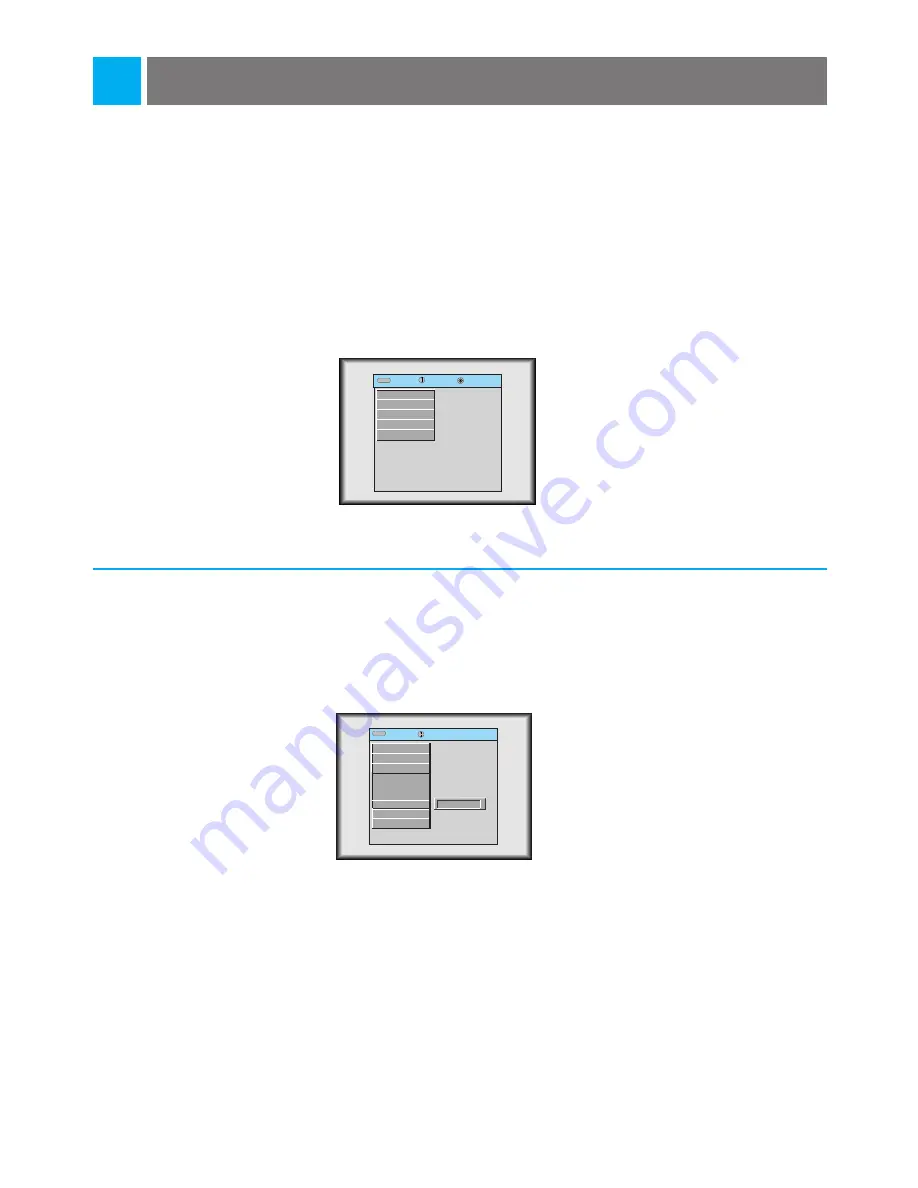
MENU
button and move the
POINTER
button up or down to select the SPECIAL menu
as below.
1
Press the
ENTER
button and move the
POINTER
button up or down to select the [Lamp Time]
item.
2
●
You can see the used lamp time.
●
When the lamp time is reaching 1400 hours, the lamp indicator is turned to red color.
31
exit move enter
Menu
Menu
G
VIDEO
G
POSITION
G
SPECIAL
G
TRACKING
G
AUDIO
exit move
Menu
Menu
G
VIDEO
G
POSITION
E
SPECIAL
Language
Resize
Mouse
Blank Image
Lamp Time
G
TRACKING
G
AUDIO
0 Hr
Содержание LP-XG12
Страница 2: ...LCD PROJECTOR LCD PROJECTOR 1 ...
Страница 48: ...P NO 3828VA0212H a 373 026F ...


