56
Using the advanced settings
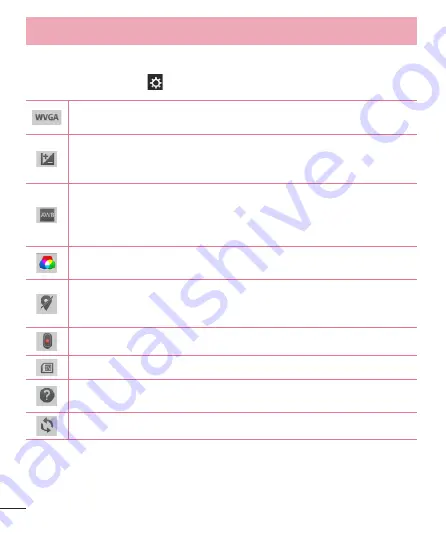
Using the viewfinder, touch to open all the advanced options.
Allows you to change the video resolution to
WVGA (800x480), QVGA
(320x240)
and
QCIF (176x144)
.
Defines and controls the amount of sunlight entering the lens.
Slide the brightness indicator along the bar towards “-” for a lower brightness
video or towards “+” for a higher brightness video.
The white balance ensures any the white areas in your video are realistic.
To enable your camera to adjust the white balance correctly, you may need
to determine the light conditions. Choose from
Auto, Incandescent, Sunny,
Fluorescent,
and
Cloudy
.
Allows you to set a color effect for the photo. Choose from
None, Mono,
Sepia,
and
Negative
.
Activate to use your phone’s location-based services. Take videos wherever
you are and tag them with the location. If you upload tagged videos to a blog
that supports geotagging, you can see the videos displayed on a map.
Set how to use the Volume Keys. Choose from
Record
or
Zoom
.
Select storage to save videos.
Touch this if you want to know how this function works. This icon will provide
you with a quick guide.
Restore all video camera default settings.
Video camera


