


Introduction / Important Safety Precautions
23
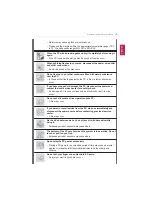
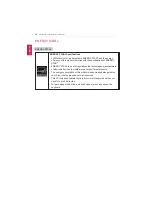
Other Safety Precautions
CAUTION
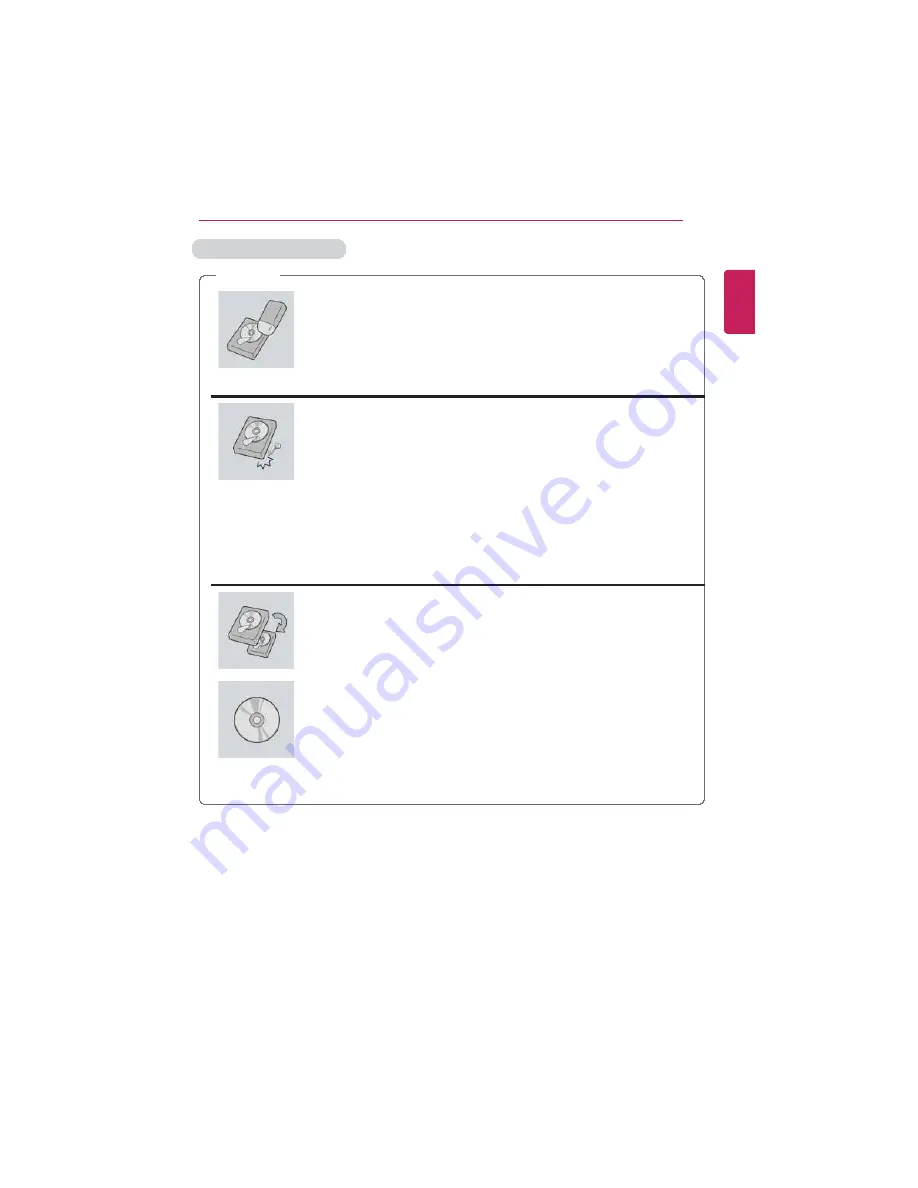
Handle the machine with care to prevent loss of data from the
storage device (HDD, SSD, eMMC).
•
Since the storage device is fragile, you need to back up your
important data frequently.
•
The manufacturer is not responsible for any storage device data loss
caused by a user's mistake.
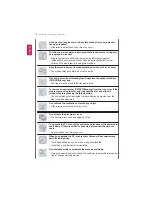
Damage to the storage device (HDD, SSD, eMMC) and data loss
may occur when:
•
External shocks are inflicted on the machine while disassembling or
installing it.
•
The machine is reset (i.e. restarted) or turned on again after a power
outage while the storage device is operating.
•
The PC is infected with a virus, tainting the data irrecoverably.
•
Abrupt turning-off of the PC can damage the PC.
•
If the product is moved, shaken or exposed to external shock while
the storage device is running, file damage or bad sectors may occur.
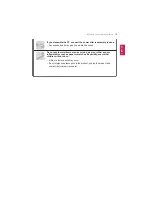
To minimize data loss resulting from storage device damage
(HDD, SSD, eMMC), frequently back up important data.
•
The manufacturer is not responsible for any data loss.
We do not refund or replace a product that malfunctions due to
the installation or use of an operating system other than the one
provided by LG Electronics Inc.
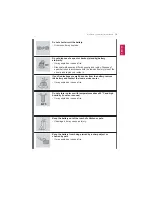
•
Some software applications may not work properly in other
operating systems. Such malfunctions are not covered by the
warranty.
ENGLISH
Содержание LG15Z96
Страница 1: ......
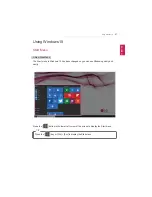
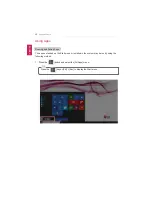
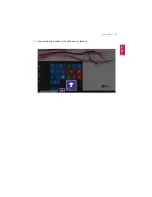
Страница 37: ...Using Windows 10 37 3 The selected app is added to the Start menu or taskbar ENGLISH ...
Страница 52: ...52 Using Windows 10 5 Press All Apps on the Start menu to check the apps installed in the app list ENGLISH ...
Страница 58: ...58 Using Windows 10 Using the Start Menu 1 Press the button and select the Settings menu ENGLISH ...
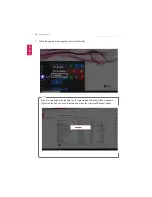
Страница 81: ...Using the PC 81 2 When the following screen appears change the settings and press OK ENGLISH ...
Страница 92: ...92 Using the PC 2 Connect the wired LAN cable to the LAN port ENGLISH ...
Страница 94: ...94 Using the PC 4 Select Network and Internet Ethernet Change Adapter Options ENGLISH ...
Страница 95: ...Using the PC 95 5 Right click Ethernet and select the Properties menu ENGLISH ...
Страница 96: ...96 Using the PC 6 Select Internet Protocol Version 4 TCP IPv4 and press the Properties button ENGLISH ...
Страница 125: ...Setup and Upgrade 125 1 Reboot the system and press F2 2 In a few moments the system setup screen appears ENGLISH ...
Страница 128: ...128 Setup and Upgrade 2 When the following screen appears press Enter in the Set Supervisor Password menu ENGLISH ...
Страница 145: ...Setup and Upgrade 145 2 When the following screen appears press Enter in the Set Supervisor Password menu ENGLISH ...
Страница 147: ...Setup and Upgrade 147 4 Press Enter in Enter New Password and Confirm New Password ENGLISH ...
Страница 149: ...Setup and Upgrade 149 7 When the following message appears press YES The PC will restart ENGLISH ...
Страница 153: ...Setup and Upgrade 153 5 Press Enter in Enter New Password and Confirm New Password ENGLISH ...
Страница 155: ...Setup and Upgrade 155 8 When the following message appears press YES The PC will restart ENGLISH ...
Страница 157: ...Setup and Upgrade 157 2 When the Exit menu appears select Load Setup defaults ENGLISH ...
Страница 163: ...Setup and Upgrade 163 Selecting a Boot Device to Use 1 Reboot the system and press F10 ENGLISH ...
Страница 167: ...Setup and Upgrade 167 4 Press Apply to apply the changes ENGLISH ...
Страница 172: ...172 FAQ 4 Press Apply to apply the changes ENGLISH ...
Страница 181: ...FAQ 181 1 Press the button and select the Settings menu TIP Press the key or Ctrl Esc to display the Start menu ENGLISH ...
Страница 185: ...FAQ 185 2 Connect the wired LAN cable to the LAN port ENGLISH ...
Страница 186: ...186 FAQ 3 Press the button and select the Settings menu TIP Press the key or Ctrl Esc to display the Start menu ENGLISH ...
Страница 187: ...FAQ 187 4 Select Network and Internet Ethernet Change Adapter Options ENGLISH ...
Страница 188: ...188 FAQ 5 Right click Ethernet and select the Properties menu ENGLISH ...
Страница 189: ...FAQ 189 6 Select Internet Protocol Version 4 TCP IPv4 and press the Properties button ENGLISH ...