


14
ENG
ENGLISH
CUSTOMIZING SETTINGS
SUPER+ RESOLUTION Settings
1
Press any button on the stand base of the Monitor set
to display the
MONITOR SETUP
OSD menu.
2
Press the
SUPER+ RESOLUTION
button to display
the options in the OSD menu.
3
Set the options by pressing ◄ or ► buttons.
4
Select
EXIT
to leave the OSD menu.
To return to the upper menu or set other menu items,
use the up arrow ( ) button.
The available SUPER+ RESOLUTION settings are described below.
Menu
Description
NORMAL
Select this when you want to use the product in the most general using environment. In the
General mode, the SUPER+ RESOLUTION is turned off.
LOW
When the user wants a natural video screen with soft image, it helps to get the optimized screen.
It is effective for video with small movement or still image.
MEDIUM
When the user wants a comfortable video screen at the medium level between low and high
mode, it helps to get the optimized screen. It is effective for UCC and SD level videos.
HIGH
When the user wants a sharp video screen with clear images, it helps to get the optimized screen.
It is effective for high resolution video screens and games.
y
y
Noise may exist according to SR(SUPER+ RESOLUTION) Mode, so enjoy the clear image by
selecting SR(SUPER+ RESOLUTION) Mode according to the Contents.
NOTE
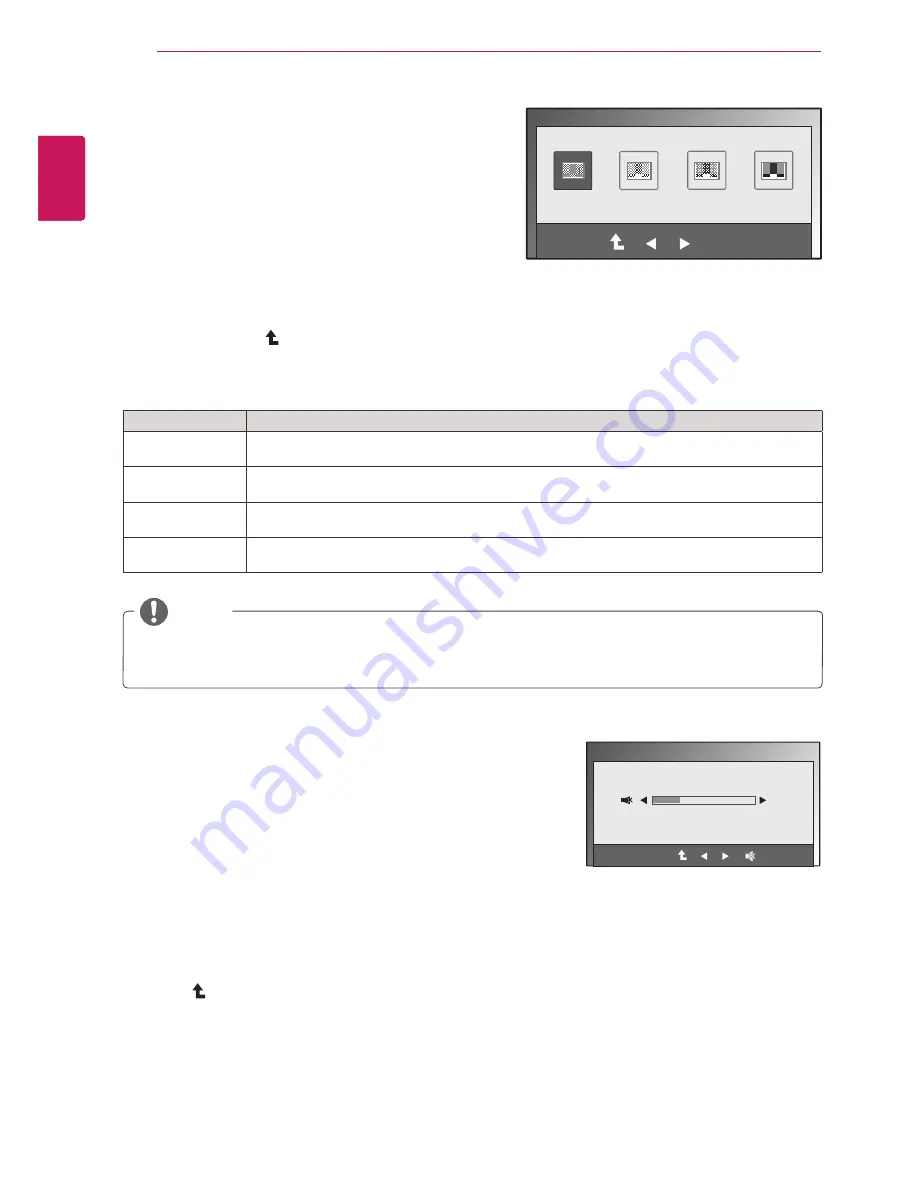
EXIT
OK
SUPER+ RESOLUTION
EXIT
NORMAL
LOW
MEDIUM
HIGH
Volume Settings (Only supported in HDMI
mode)
1
Press any button on the stand base of the Monitor set to display
the
MONITOR SETUP
OSD menu.
2
Press the
VOLUME
button to display the options in the OSD
menu.
3
Adjust the
VOLUME
by pressing ◄ or ► buttons.
4
Select
EXIT
to leave the OSD menu.
To return to the upper menu or set other menu items, use the up
arrow ( ) button.
VOLUME
30
EXIT


