

Operating
28
Oper
ating
3
y
You can check the recording percentage rate
for the USB record on the display window
during the recording. (MP3/WMA CD Only)
y
During recording MP3/WMA, there is no sound.
y
When you stop recording during playback,
the file that has been recorded at that time
will be stored. (Except MP3/WMA files)
y
Do not remove the USB device or turn off
the unit during USB recording. If does not, an
incomplete file may be made and not deleted
on PC.
y
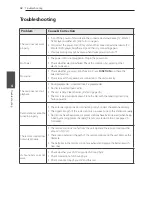
If USB recording does not work, the message
like “NO USB”, “ERROR”, “USB FULL” or
“NO REC” is displayed on the display window.
y
Multi card reader device or external HDD
cannot be used for USB recording.
y
A file is recorded by about 512 Mbyte when
you record for a long term.
y
You may not store more than 2000 files.
y
You cannot record in AUTO DJ mode.
y
In case of the unsupported MP3/WMA file,
the file recording may be stopped.
y
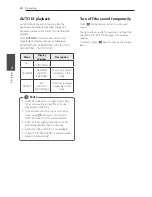
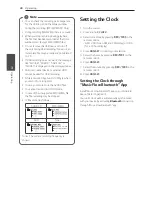
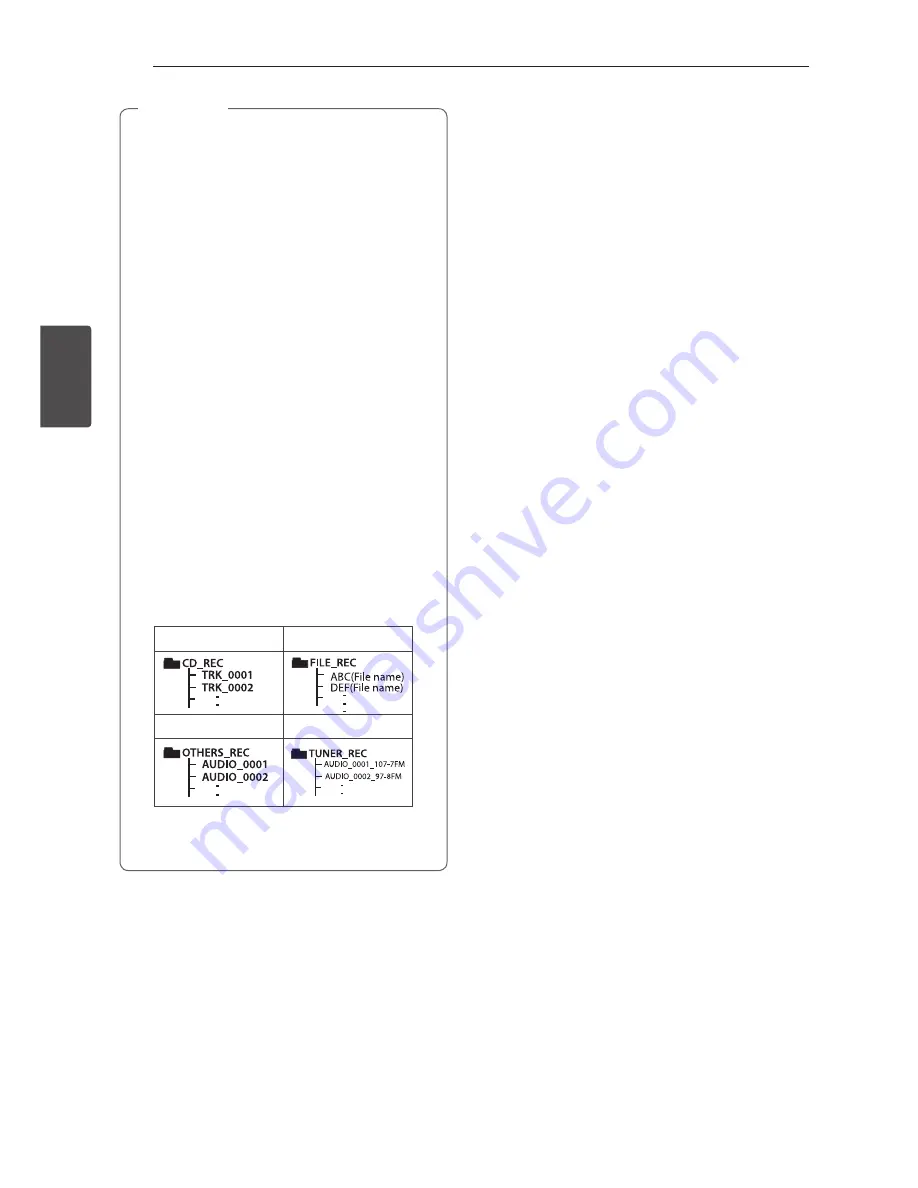
It’ ll be stored as follows.
AUDIO CD
MP3/WMA
AUX
Tuner
Tuner : The current recording frequency is
shown.
,
Note
Setting the Clock
1. Turn the unit on.
2. Press and hold
CLOCK
.
3. Select time mode by pressing
Y/U
on the
remote control.
- AM 12:00 (for an AM and PM display) or 0:00
(for a 24 hour display)
4. Press
RDS/SET
to confirm your selection.
5. Select the hours by pressing
Y/U
on the
remote control.
6. Press
RDS/SET
.
7. Select the minutes by pressing
Y/U
on the
remote control.
8. Press
RDS/SET
.
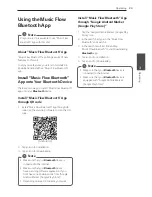
Setting the Clock through
“Music Flow Bluetooth” App
Install “Music Flow Bluetooth” app on your Android
device. (Refer to page 23)
Your unit’s clock will be automatically synchronized
with your device by activating
Bluetooth
connection
through “Music Flow Bluetooth” app.
Содержание CM4360
Страница 12: ...Getting Started 12 Getting Started 1 Front Panel a b c d e f g h j i k l ...
Страница 37: ......


