


38
T
T
ime Menu
ime Menu
- The off time automatically switch-
es the set to standby at the pre-
set time.
- You must set the time correctly
before using on/off time function.
- If current time setting is erased by
a power failure or the set is
unplugged, reset the clock.
Clock Setup
On/Off time
STATION
PICTURE
SOUND
TIME
SPECIAL
SCREEN
PIP/DW
Prev.
Menu
Clock
Off time
On time
Auto sleep
- - : - -
STATION
PICTURE
SOUND
TIME
SPECIAL
SCREEN
PIP/DW
Prev.
Menu
Clock
Off time
On time
Auto sleep
On
Off
00 : 00
Volume 30
Programme 0
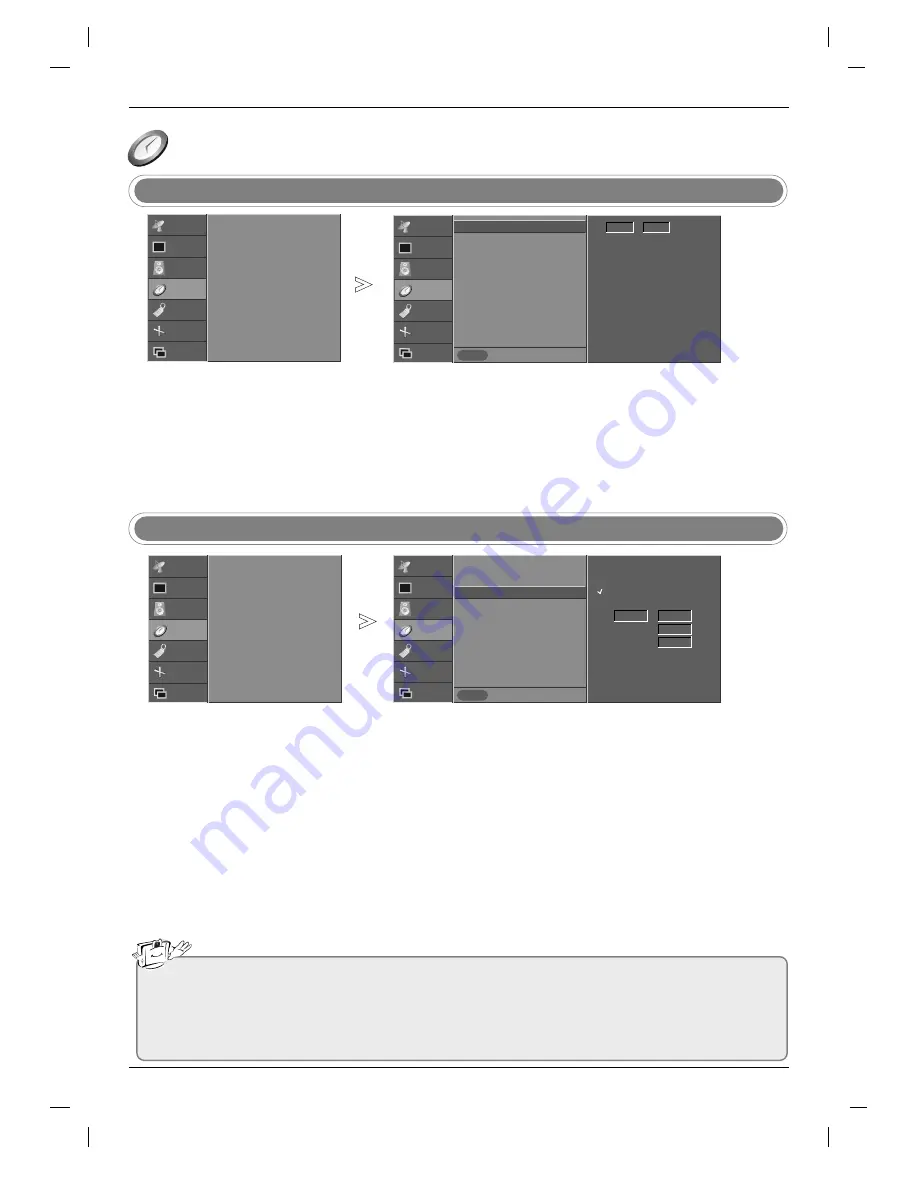
Press the
MENU
button and then
D
D
/
E
E
button to select the
TIME
menu.
Press the
G
G
button and then
D
D
/
E
E
button to select
Clock
.
Press the
G
G
button and then
D
D
/
E
E
button to set the hour.
Press the
G
G
button and then
D
D
/
E
E
button to set the minutes.
Press the
EXIT
button to return to normal TV viewing.
Press the
MENU
button and then
D
D
/
E
E
button to select the
TIME
menu.
Press the
G
G
button and then
D
D
/
E
E
button to select
Off time
or
On time
.
Press the
G
G
button and then
D
D
/
E
E
button to select
On
.
• To cancel
On
/
Off time
function, press the
D
D
/
E
E
button to select
Off
.
Press the
G
G
button and then
D
D
/
E
E
button to set the hour.
Press the
G
G
button and then
D
D
/
E
E
button to set the minutes.
Only
On time
function
; Press the
G
G
button and then
D
D
/
E
E
button to adjust
volume level and programme number.
Press the
EXIT
button to return to normal TV viewing.
1
2
3
4
5
1
2
3
4
5
6
7
Clock
G
G
Note
a. In the event of power interruption (disconnection or power failure), the clock must be reset.
b. Two hours after the set is switched on by the on time function it will automatically switch back to standby
mode unless a button has been pressed.
c. Once the
On
or
Off Time
is set, these functions operate daily at the preset time.
d.
Off Time
function overrides
On Time
function if they are set to the same time.
e. The set must be in standby mode for the
On Time
to work.
On time
G
G
STATION
PICTURE
SOUND
TIME
G
SPECIAL
SCREEN
PIP/DW
Clock
Off time
On time
Auto sleep
STATION
PICTURE
SOUND
TIME
G
SPECIAL
SCREEN
PIP/DW
Clock
Off time
On time
Auto sleep


