18
ENG
ENGLISH
CUSTOMIZING SETTINGS
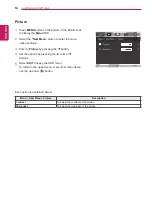
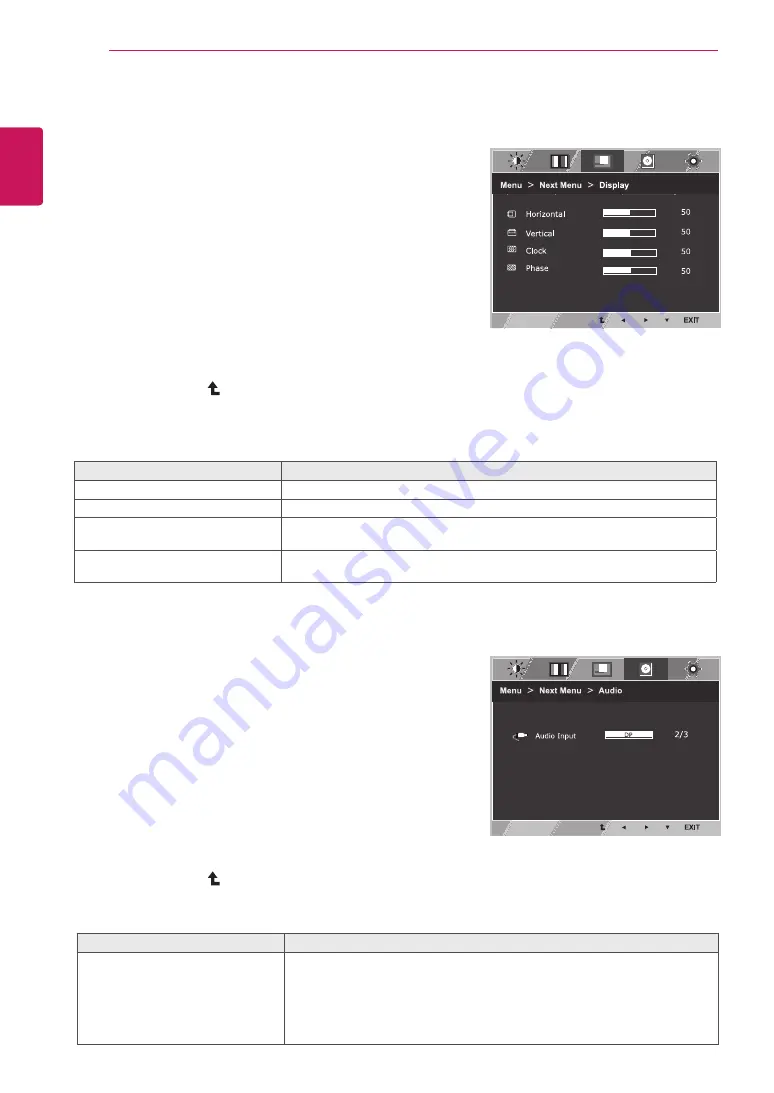
Display
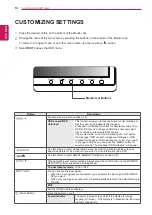
1
Press
MENU
button on the bottom of the Monitor set
to display the
Menu
OSD.
2
Select the "
Next Menu
" button to enter the more
option settings.
3
Select
Display
by pressing the ► button.
4
Enter to
Display
by pressing the ▼ button.
5
Set the options by pressing the ◄ or ► or ▼
buttons.
6
Select
EXIT
to leave the OSD menu.
To return to the upper menu or set other menu items,
use the up arrow ( ) button.
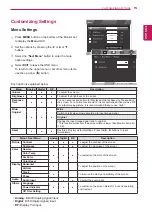
Each option is explained below.
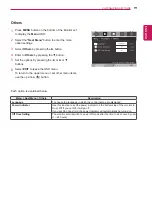
Audio
1
Press
MENU
button on the bottom of the Monitor set
to display the
Menu
OSD.
2
Select the "
Next Menu
" button to enter the more
option settings.
3
Select
Audio
by pressing the ► button.
4
Enter to
Audio
by pressing the ▼ button.
5
Set the options by pressing the ◄ or ► buttons.
6
Select
EXIT
to leave the OSD menu.
To return to the upper menu or set other menu items,
use the up arrow ( ) button.
Each option is explained below.
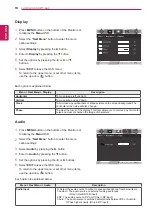
Menu > Next Menu > Display
Description
Horizontal
To move image left and right.
Vertical
To move image up and down.
Clock
To minimize any vertical bars or stripes visible on the screen background.The
horizontal screen size will also change.
Phase
To adjust the focus of the display. This item allows you to remove any horizontal
noise and clear or sharpen the image of characters.
Menu > Next Menu > Audio
Description
Audio Input
To Select the audio source to output to speaker/headphone from below items.
1.Audio-In: The audio source on external analog audio jack.
(Only in Dsub/DVI-D input)
2.DP: The audio source on DP port (Only in DP input).
3.Auto : The audio source is switched automatically between DP or Audio-In.
DP has higher priority. (Only in DP input)


