


Instruction / Safety Information
11
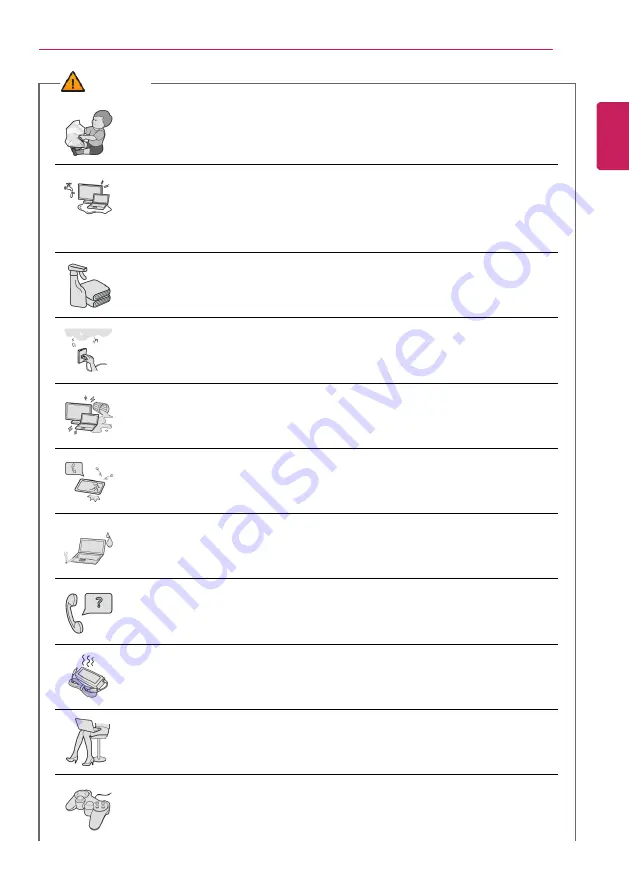
WARNING
Dispose of the desiccating agent and plastic wrap properly.
•
The desiccating agent and plastic wrap may cause suffocation.
Do not use the machine in damp places like a laundry room or bathroom.
•
Moisture may cause a glitch or electric shock.
•
Please use the machine within the appropriate temperature range (50 °F to
95 °F) and humidity range (20% RH to 80% RH).
Clean the PC with a proper agent and dry it completely before using it again.
•
If the PC is wet while used, an electric shock or fire may occur.
When lightning flashes in your area, disconnect the power, wired LAN and
other connections.
•
An electric shock or fire may occur.
Do not leave a cup or other containers filled with watery substance near the
PC.
•
In the case that liquid goes inside the PC, a fire or electric shock may occur.
If you have dropped or damaged the PC, disconnect the power and contact
the local service center for a safety check.
•
If a damaged PC is used continuously, an electric shock or fire may occur.
Do not put a lit candle or live cigarette on the PC.
•
A fire may occur.
If you detect or smell smoke from the PC, stop use immediately and
disconnect the power source before contacting your local service center.
•
A fire may occur.
As the AC adapter can be hot, do not touch it with bare skin while using it.
•
Extended period of exposure may cause burn.
The bottom of the PC gets hot when the system is in operation. Do not
touch or put it on your lap.
•
Extended period of exposure may cause burn.
Do not play PC games excessively.
•
Playing a PC game for an extended period of time may cause a mental
disorder. It may also inflict physical impairments on the elderly and children.
ENGLISH
Содержание 15U70P Series
Страница 1: ...LG EASY GUIDE NOTEBOOK 15U70P Series www lg com Copyright 2021 LG Electronics Inc All rights reserved ...
Страница 22: ...22 Instruction Safety Information Regulatory Notices ENGLISH ...
Страница 23: ...Instruction Safety Information 23 ENGLISH ...
Страница 24: ...24 Instruction Safety Information ENGLISH ...
Страница 25: ...Instruction Safety Information 25 ENGLISH ...
Страница 26: ...26 Instruction Safety Information ENGLISH ...
Страница 27: ...Instruction Safety Information 27 ENGLISH ...
Страница 28: ...28 Instruction Safety Information ENGLISH ...
Страница 29: ...Instruction Safety Information 29 ENGLISH ...
Страница 30: ...30 Instruction Safety Information ENGLISH ...
Страница 31: ...Instruction Safety Information 31 ENGLISH ...
Страница 32: ...32 Instruction Safety Information ENGLISH ...
Страница 33: ...Instruction Safety Information 33 ENGLISH ...
Страница 34: ...34 Instruction Safety Information ENGLISH ...
Страница 35: ...Instruction Safety Information 35 ENGLISH ...
Страница 36: ...36 Instruction Safety Information ENGLISH ...
Страница 37: ...Instruction Safety Information 37 ENGLISH ...
Страница 38: ...38 Instruction Safety Information ENGLISH ...
Страница 39: ...Instruction Safety Information 39 ENGLISH ...
Страница 40: ...40 Instruction Safety Information ENGLISH ...
Страница 41: ...Instruction Safety Information 41 ENGLISH ...
Страница 42: ...42 Instruction Safety Information ENGLISH ...
Страница 43: ...Instruction Safety Information 43 ENGLISH ...
Страница 44: ...44 Instruction Safety Information ENGLISH ...
Страница 45: ...Instruction Safety Information 45 ENGLISH ...
Страница 46: ...46 Instruction Safety Information ENGLISH ...
Страница 47: ...Instruction Safety Information 47 ENGLISH ...
Страница 48: ...48 Instruction Safety Information ENGLISH ...
Страница 49: ...Instruction Safety Information 49 ENGLISH ...
Страница 50: ...50 Instruction Safety Information ENGLISH ...
Страница 51: ...Instruction Safety Information 51 ENGLISH ...
Страница 52: ...52 Instruction Safety Information ENGLISH ...
Страница 53: ...Instruction Safety Information 53 ENGLISH ...
Страница 54: ...54 Instruction Safety Information ENGLISH ...
Страница 55: ...Instruction Safety Information 55 ENGLISH ...
Страница 56: ...56 Instruction Safety Information ENGLISH ...
Страница 69: ...Using Windows 10 69 3 The selected app is added to the Start menu or taskbar ENGLISH ...
Страница 72: ...72 Using Windows 10 3 Click the New Desktop tile ENGLISH ...
Страница 73: ...Using Windows 10 73 4 Desktop 1 and Desktop 2 are created 5 Select an app in the preview or desktop ENGLISH ...
Страница 74: ...74 Using Windows 10 6 The screen is toggled to the selected app or desktop ENGLISH ...
Страница 81: ...Using Windows 10 81 ENGLISH ...
Страница 90: ...90 Using Windows 10 3 To change the detailed settings of the PC press the All Settings tile ENGLISH ...
Страница 91: ...Using Windows 10 91 Using the Start Menu 1 Press the button and select the Settings menu ENGLISH ...
Страница 104: ...104 Using the PC 3 In the Keyboard Backlight option set the keyboard lighting and off time ENGLISH ...
Страница 114: ...114 Using the PC 2 When the Settings screen appears select Devices 3 Select Mouse Additional Mouse Options ENGLISH ...
Страница 131: ...Using the PC 131 2 When the Settings screen appears select Devices ENGLISH ...
Страница 133: ...Using the PC 133 4 Select a device to connect to 5 Complete the Bluetooth connection as directed ENGLISH ...
Страница 135: ...Using the PC 135 3 Select Network Internet Status Change Adapter Options ENGLISH ...
Страница 140: ...140 Using the PC 3 Select the Access Point you want to connect to and press Connect ENGLISH ...
Страница 152: ...152 Using Software 1 Select the All List Update needed menu item ENGLISH ...
Страница 154: ...154 Using Software 1 Select the Notification Setting menu 2 Set Auto Update Search to ON or OFF ENGLISH ...
Страница 157: ...Using Software 157 1 Press the icon on the taskbar ENGLISH ...
Страница 165: ...Using Software 165 4 Follow the instructions to connect your smartphone and PC Android iPhone ENGLISH ...
Страница 180: ...180 Using Software Setting Hot Keys TIP Hot Keys can be set from 1 to 5 ENGLISH ...
Страница 182: ...182 Using Software ENGLISH ...
Страница 183: ...Using Software 183 2 When registration is complete it is displayed on the settings list ENGLISH ...
Страница 184: ...184 Using Software 3 Press OK to complete the setup ENGLISH ...
Страница 188: ...188 Restoring the System 1 Select Keep my files ENGLISH ...
Страница 191: ...Restoring the System 191 1 Select Remove everything ENGLISH ...
Страница 197: ...Setup and Upgrade 197 1 Reboot the system and press F2 2 In a few moments the system setup screen appears ENGLISH ...
Страница 211: ...Setup and Upgrade 211 7 When a pop up window appears select Yes and press the Enter key The PC will restart ENGLISH ...
Страница 217: ...Setup and Upgrade 217 3 Boots using the selected device ENGLISH ...
Страница 219: ...Setup and Upgrade 219 2 Select System Display ENGLISH ...
Страница 222: ...222 FAQ 2 Select System Display ENGLISH ...
Страница 227: ...FAQ 227 1 Select Keep my files ENGLISH ...
Страница 230: ...230 FAQ 1 Select Remove everything ENGLISH ...
Страница 238: ...238 FAQ 3 Select the Access Point you want to connect to and press Connect ENGLISH ...


