9. DISASSEMBLY INSTRUCTIONS
✽
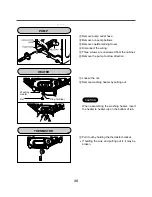
Disassemble and repair the parts after pulling out power cord from the outlet.
①
Unscrew the screws on the top plate.
②
The plate assembly(Top) is pulled back and
then upward to arrow direction.
③
The cover(Inner) is disassembled.
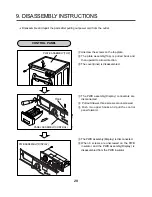
①
The PWB assembly(Display) connectors are
disconnected.
②
Pull out drawer, three screws are unscrewed.
③
Push two upper hooks and pull the control
panel forward.
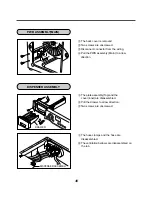
①
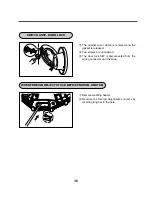
The PWB assembly(Display) is disconnected.
②
When 6 screws are unscrewed on the PWB
insulator and the PWB assembly(Display) is
disassembled from the PWB insulator.
PANEL ASSEMBLY(CONTROL)
Hook
CONTROL PANEL
PLATE ASSEMBLY(TOP)
PWB ASSEMBLY(DISPLAY)
29
Содержание 10PFP
Страница 2: ...OCT 2004 PRINTED IN KOREA P No 3828ER3035G ...
Страница 27: ...26 ...
Страница 28: ...Black Yellow 20 30 27 ...
Страница 29: ...28 ...
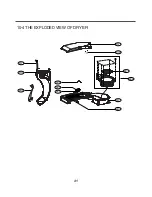
Страница 42: ...10 4 THE EXPLODED VIEW OF DRYER 41 M130 M120 M230 M216 M100 M101 M220 M240 M210 M215 M111 M110 ...

