Lexmark International, Inc.
4
Benefits of Hard Disk Encryption
•
Increased security of active and residual data.
•
The encryption is applied in real time, so there is no delay for cleanup or post-
processing after jobs have completed.
•
A dynamically generated encryption key stored on the device (not the hard disk)
makes the data on an encrypted disk useless on any other device. Stealing the
hard disk out of the device will not yield access to the data it contains.
How to Enable Hard Disk Encryption
The Disk Encryption menu can only be accessed by entering the Config Menu at the
Lexmark device control panel.
1. Power off the device.
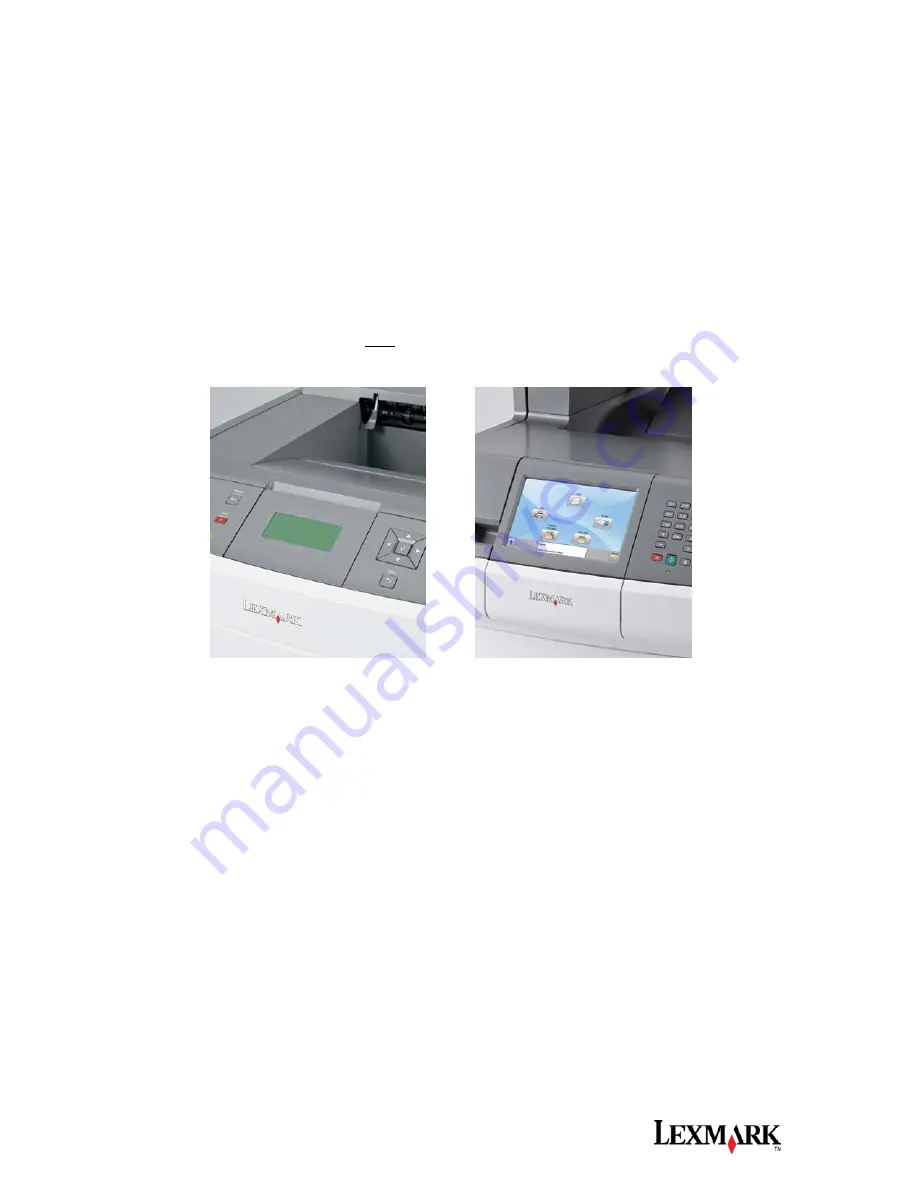
2. If your device has a touch screen, hold down the 2 and the 6 buttons, while
powering on the device; hold the buttons down until a clock or bar indicator
appears. If your device has a four line LCD display, hold down the check mark
(
√) and the right arrow (>), while powering on the device; hold the buttons down
until a clock or bar indicator appears. Once the clock or bar indicator appears,
then you may release the buttons.
3. You should see the Config Menu appear on the device control panel.
4. To locate the Disk Encryption feature, press the down arrow until you see the
feature that displays Disk Wipe. Select this feature.
5. The screen should change to a page that displays the header Disk Encryption.
The screen should only display two functions named Enable and Disable. If you
would like to enable disk encryption, select the Enable function. If you already
have disk encryption enabled and would like to disable the feature, select the
Disable function.
Please note either function will erase the contents of the disk.
6. After the appropriate feature has been selected, the screen should change to a
confirmation page that displays the following prompt: Contents will be lost.
Continue? The screen should also display two buttons with YES and NO. If you
want to continue with the disk encryption, select the YES button and the disk
encryption process will start. If you decide not to continue, press the NO button
and you will be placed back to the previous screen.


