


Configuring your wireless print server
8
Entering alternate network settings
Once you have started the ABC Wireless Print Server Setup Utility and the Wizard has collected and
displayed your computer’s existing wireless settings, if the network configuration you want to use is
not available, you have the option to enter a different network configuration.
1
After the Setup Wizard performs the site survey, select the option to enter a different
configuration.
a
If wireless network configurations were found on your computer:
From the Wireless Configurations Found on your Computer screen, Select the I want to
enter a different configuration radio button and click Next.
b
If no wireless network configurations were found on your computer:
From the Wireless Networks Found in Your Area screen, select the I want to enter a
different network name radio button and click Next and skip to step 3.
2
From the Wireless Networks Found in Your Area screen, select the I want to enter a
different network name radio button and click Next.
3
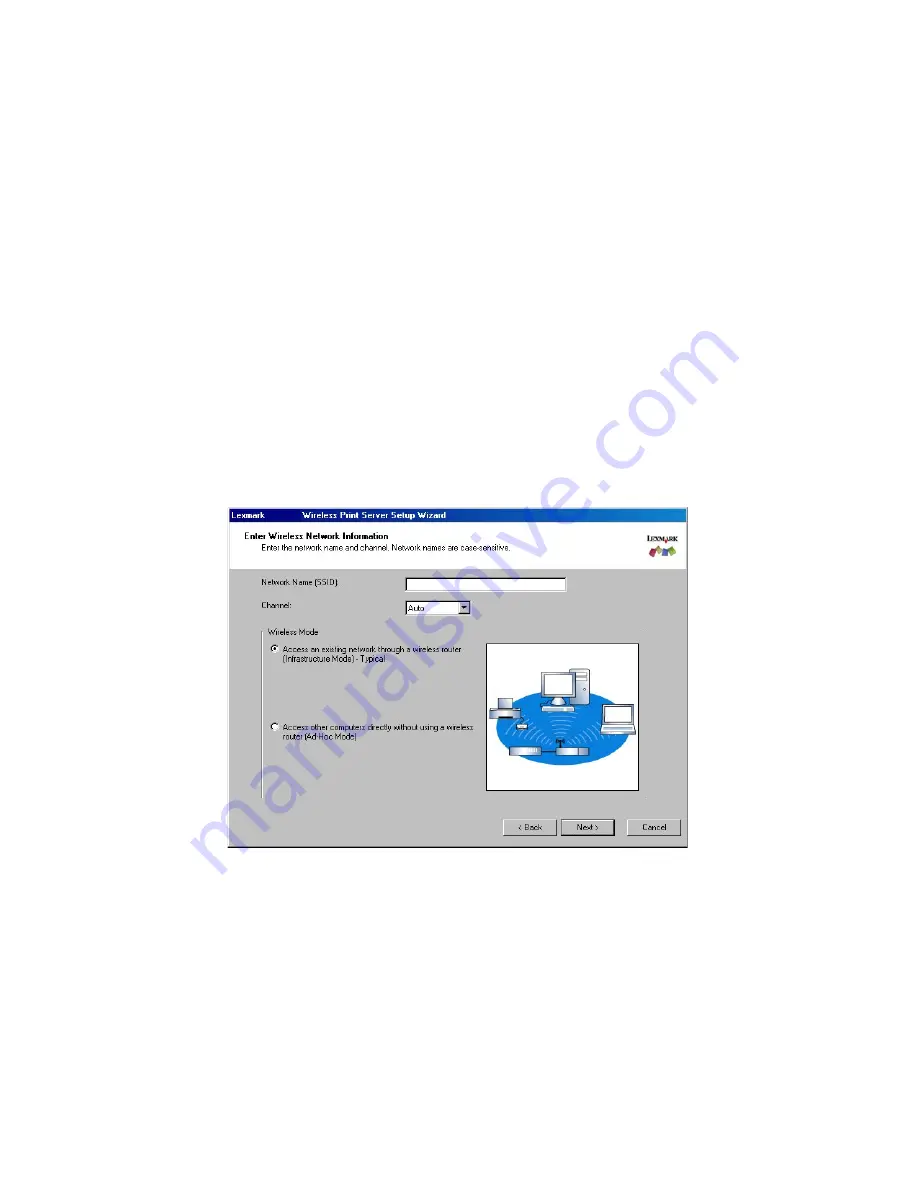
Enter the Network Name (SSID) of the Network that you want to use.
4
Select the appropriate channel for the network.
Note: Channel options include Auto, and 1-11 (US)/ 1-13 (UK/ Europe).
5
Select the Wireless Mode for your network (Infrastructure or Ad-Hoc mode).
6
Click Next.
7
Select the type of security that your network uses and click Next.


