2
From the display, touch the document that you want to print.
If necessary, configure other print settings.
3
Send the print job.
To print another document, touch
USB Drive
.
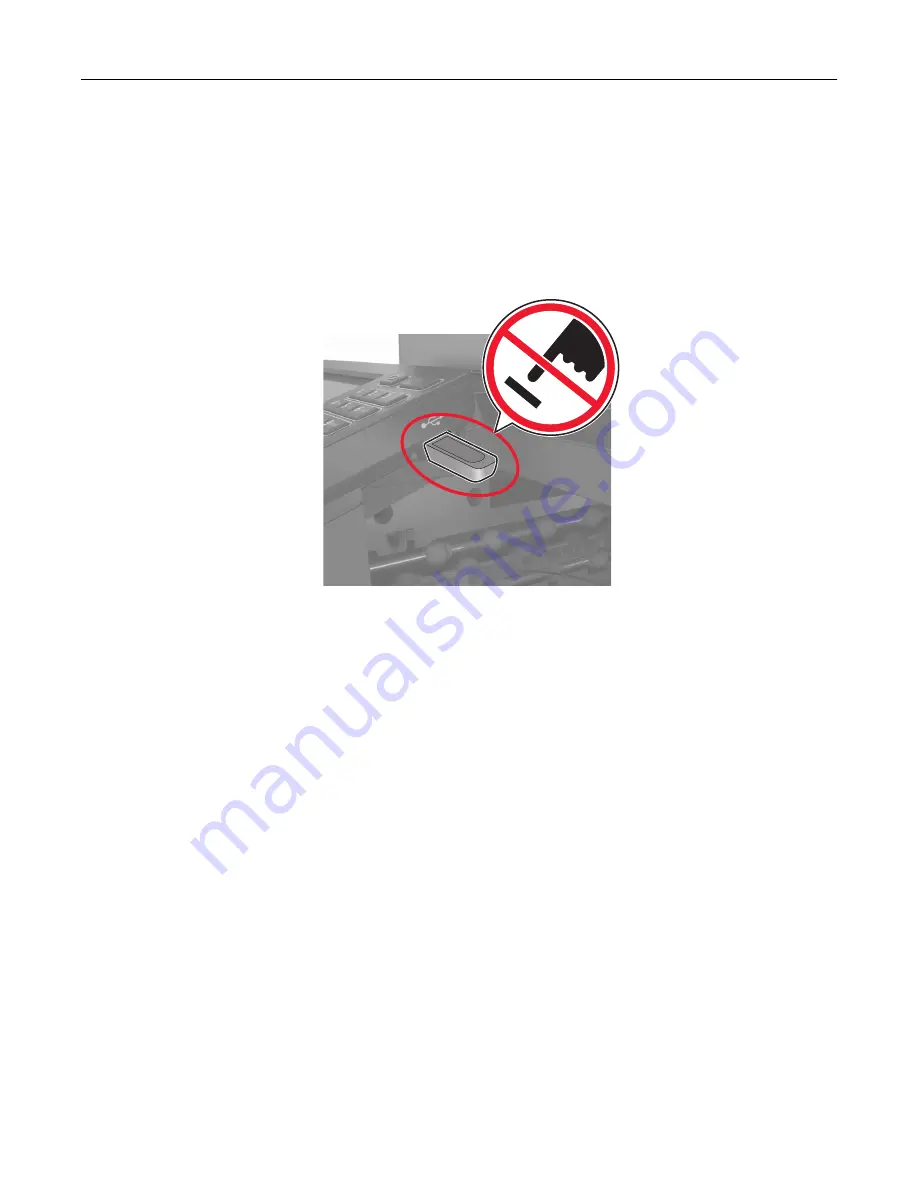
Warning—Potential Damage:
Do not touch the printer or the flash drive in the area shown while actively
printing, reading, or writing from the memory device. Loss of data or a malfunction can occur.
Supported flash drives and file types
Flash drives
•
Lexar JumpDrive S70 (16GB and 32GB)
•
SanDisk Cruzer (16GB and 32GB)
•
PNY Attaché (16GB and 32GB)
Notes:
–
The printer supports high
‑
speed USB flash drives with full
‑
speed standard.
–
USB flash drives must support the File Allocation Table (FAT) system.
File types
Documents:
•
.doc or .docx
•
.xls or .xlsx
•
.ppt or .pptx
•
•
.xps
Printing
28
Содержание CX820 Series
Страница 1: ...XC8100 Series User s Guide March 2016 www lexmark com Machine type s 7564 Model s 596 598 ...
Страница 60: ...2 Remove and empty the hole punch box 3 Insert the hole punch box 4 Close door J Maintaining the printer 60 ...
Страница 64: ...2 Open door A 3 Remove the waste toner bottle Maintaining the printer 64 ...
Страница 69: ...2 Open door A 3 Remove the waste toner bottle Maintaining the printer 69 ...
Страница 72: ...2 Open door A 3 Remove the waste toner bottle Maintaining the printer 72 ...
Страница 76: ...3 Remove the pick roller 4 Unpack the new pick roller Maintaining the printer 76 ...
Страница 83: ...4 Remove the waste toner bottle 5 Open door A1 6 Remove the transfer belt Maintaining the printer 83 ...
Страница 93: ...2 Open door G 3 Remove the staple cartridge 4 Unpack the new staple cartridge Maintaining the printer 93 ...
Страница 95: ...2 Open door G 3 Pull out the staple cartridge holder Maintaining the printer 95 ...
Страница 113: ...2 Remove the jammed paper Note Make sure that all paper fragments are removed Clearing jams 113 ...
Страница 119: ...2 Open door G 3 Pull out the staple cartridge holder Clearing jams 119 ...
Страница 123: ... Area J1 Areas J3 and J4 Areas J5 and J6 3 Close door J Clearing jams 123 ...
Страница 127: ...Staple jam in door J 1 Open door J 2 Remove the staple cartridge holder Clearing jams 127 ...
Страница 129: ...5 Insert the staple cartridge holder 6 Close door J Clearing jams 129 ...
Страница 179: ...Installing the staple finisher 1 Turn off the printer 2 Open door C 3 Remove the paper bail Upgrading and migrating 179 ...
Страница 182: ...4 Open the covers at the right side of the caster base 5 Open door C Upgrading and migrating 182 ...


