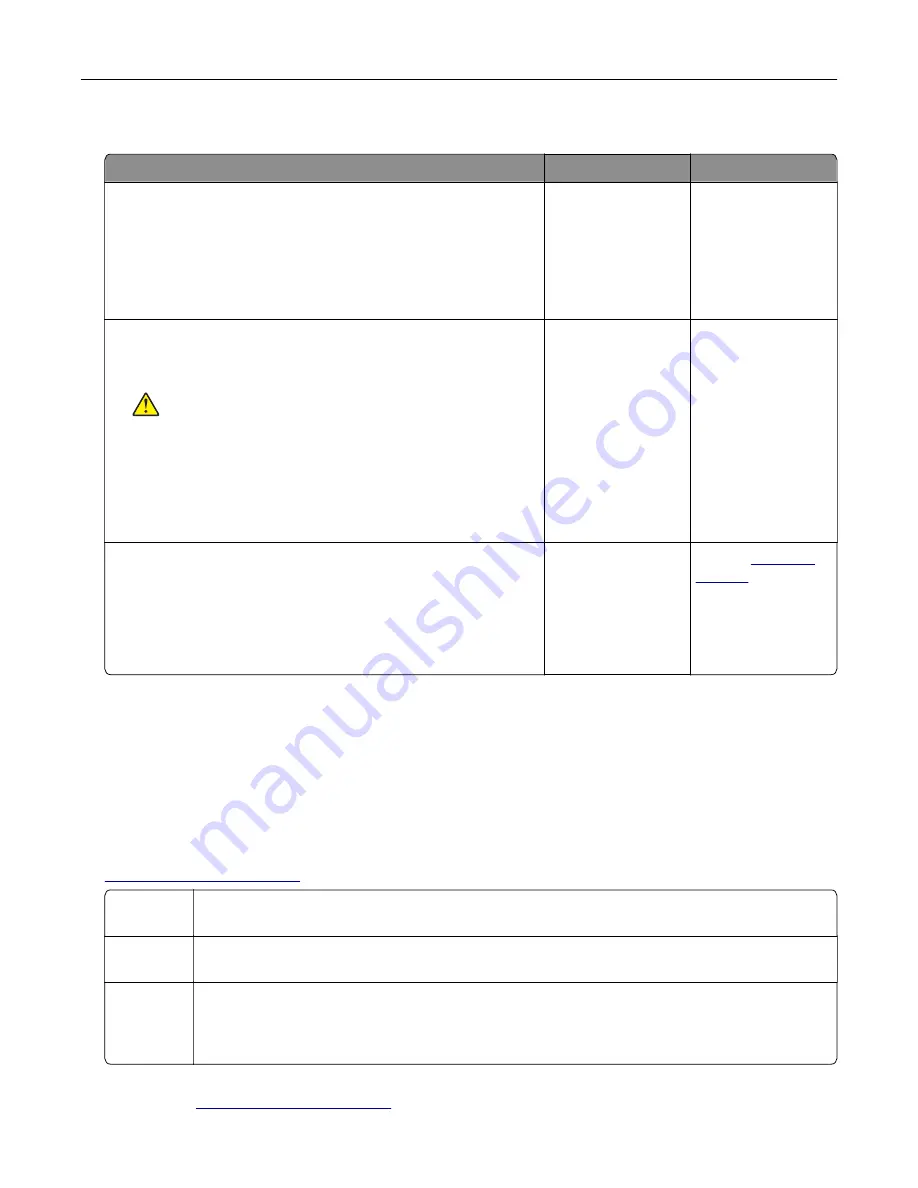
Scanner does not respond
Action
Yes
No
Step 1
a
Check if the printer is turned on.
b
Resolve any error messages that appear on the display.
c
Copy or scan the document.
Is the scanner responding?
The problem is
solved.
Go to step 2.
Step 2
a
Check if the power cord is connected properly to the printer
and the electrical outlet.
CAUTION—POTENTIAL INJURY:
To avoid the risk of fire
or electrical shock, connect the power cord to an
appropriately rated and properly grounded electrical outlet
that is near the product and easily accessible.
b
Copy or scan the document.
Is the scanner responding?
The problem is
solved.
Go to step 3.
Step 3
a
Turn off the printer, wait for about 10 seconds, and then turn it
back on.
b
Copy or scan the document.
Is the scanner responding?
The problem is
solved.
Contact
Contacting customer support
When you contact customer support, you will need to be able to describe the problem you are experiencing,
the message on the printer display, and the troubleshooting steps you have already taken to find a solution.
You need to know your printer model type and serial number. For more information, see the label at the
back of the printer. The serial number is also listed on the menu settings page.
Lexmark has various ways to help you solve your printing problem. Visit the Lexmark Web site at
, and then select one of the following:
Tech
Library
You can browse our library of manuals, support documentation, drivers, and other downloads to
help you solve common problems.
You can send an e-mail to the Lexmark team, describing your problem. A service representative
will respond and provide you with information to solve your problem.
Live chat
You can chat directly with a service representative. They can work with you to solve your printer
problem or provide assistance through Assisted Service where the service representative can
remotely connect to your computer through the Internet to troubleshoot problems, install updates,
or complete other tasks to help you successfully use your Lexmark product.
Telephone support is also available. In the U.S. or Canada, call 1-800-539-6275. For other countries or
regions, visit
Troubleshooting
132
Содержание CX725 Series
Страница 1: ...CX725 Series User s Guide January 2016 www lexmark com Machine type s 7528 Model s 576 578 ...
Страница 61: ...Replacing the imaging unit 1 Open door B 2 Remove the waste toner bottle Maintaining the printer 61 ...
Страница 64: ...9 Insert the imaging kit 10 Insert the waste toner bottle 11 Close door B Maintaining the printer 64 ...
Страница 65: ...Replacing the imaging kit 1 Open door B 2 Remove the waste toner bottle Maintaining the printer 65 ...
Страница 68: ...9 Insert the new imaging kit 10 Insert the waste toner bottle 11 Close door B Maintaining the printer 68 ...
Страница 72: ...3 Remove the pick roller 4 Unpack the new pick roller Maintaining the printer 72 ...
Страница 80: ...4 Insert the new ADF separator roller until it clicks into place 5 Close door E Maintaining the printer 80 ...
Страница 94: ...2 Remove the jammed paper Note Make sure that all paper fragments are removed Clearing jams 94 ...
Страница 97: ...4 Close the duplex cover and door A Clearing jams 97 ...
Страница 137: ...5 ISP extended cable 4 Install the ISP into its housing Upgrading and migrating 137 ...
Страница 138: ...5 Attach the housing to the controller board access cover Upgrading and migrating 138 ...
Страница 144: ...5 Open door B 6 Open door C Upgrading and migrating 144 ...


