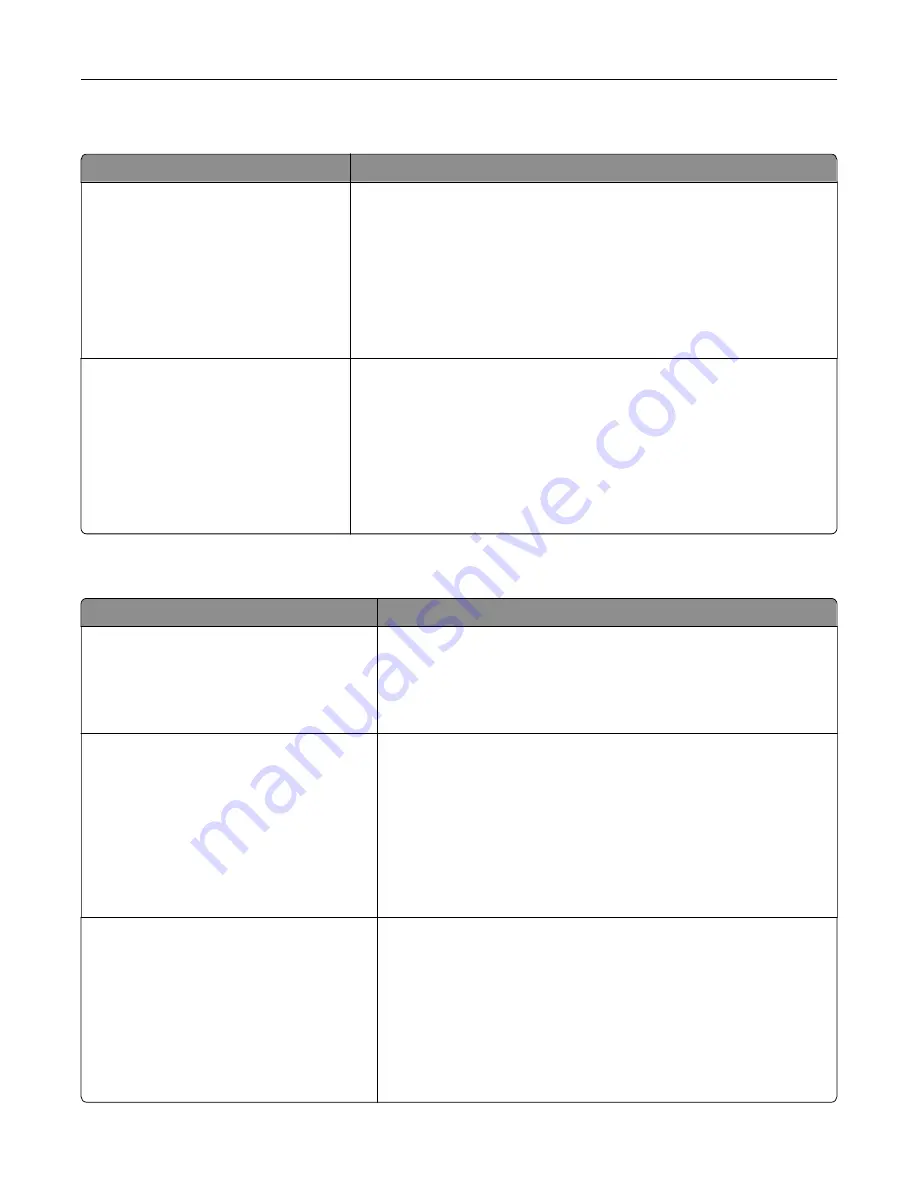
Custom Types menu
Use
To
Custom Type [x]
Paper
Card Stock
Transparency
Glossy
Rough/Cotton
Labels
Envelope
Associate a paper or specialty media type with a factory default Custom
Type [x] name or a user
‑
defined custom name created in the Embedded
Web Server or MarkVision
TM
Professional.
Notes:
•
Paper is the factory default setting for Custom Type [x].
•
The custom media type must be supported in the selected tray or
feeder in order to print from that source.
Recycled
Paper
Card Stock
Transparency
Glossy
Rough/Cotton
Labels
Envelope
Specify a paper type when Recycled is selected.
Notes:
•
Paper is the factory default setting.
•
The Recycled paper type must be supported in the selected tray or
feeder in order to print from that source.
Universal Setup menu
Use
To
Units of Measure
Inches
Millimeters
Identify the units of measure.
Notes:
•
Inches is the U.S. factory default setting.
•
Millimeters is the international factory default setting.
Portrait Width
3–14.17 inches
76–360 mm
Set the portrait width.
Notes:
•
If the width exceeds the maximum, then the printer uses the
maximum width allowed.
•
8.5 inches is the U.S. factory default setting. You can increase
the width in 0.01
‑
inch increments.
•
216 mm is the international factory default setting. You can
increase the width in 1
‑
mm increments.
Portrait Height
3–14.17 inches
76–360 mm
Set the portrait height.
Notes:
•
If the height exceeds the maximum, then the printer uses the
maximum height allowed.
•
14 inches is the U.S. factory default setting. You can increase the
height in 0.01
‑
inch increments.
•
356 mm is the international factory default setting. You can
increase the height in 1
‑
mm increments.
Understanding the printer menus
69
Содержание CS410 series
Страница 1: ...CS410 Series and CS417 User s Guide November 2017 www lexmark com Machine type s 5027 Model s 410 430...
Страница 19: ...2 1 1 Memory card connector 2 Option card connector 5 Reattach the cover 1 2 Additional printer setup 19...
Страница 114: ...3 Open the top door 1 2 4 Remove the right side cover 1 2 Maintaining the printer 114...
Страница 117: ...2 Open the top door 1 2 3 Remove the toner cartridges 1 2 4 Remove the right side cover 1 2 Maintaining the printer 117...
Страница 122: ...16 Insert the waste toner bottle 17 Insert the right side cover Maintaining the printer 122...
Страница 126: ...2 Open the top door 1 2 3 Remove the toner cartridges 1 2 Maintaining the printer 126...
Страница 140: ...Below the fuser In the fuser access door 3 Close the front door Clearing jams 140...
Страница 144: ...4 Reload paper Clearing jams 144...


