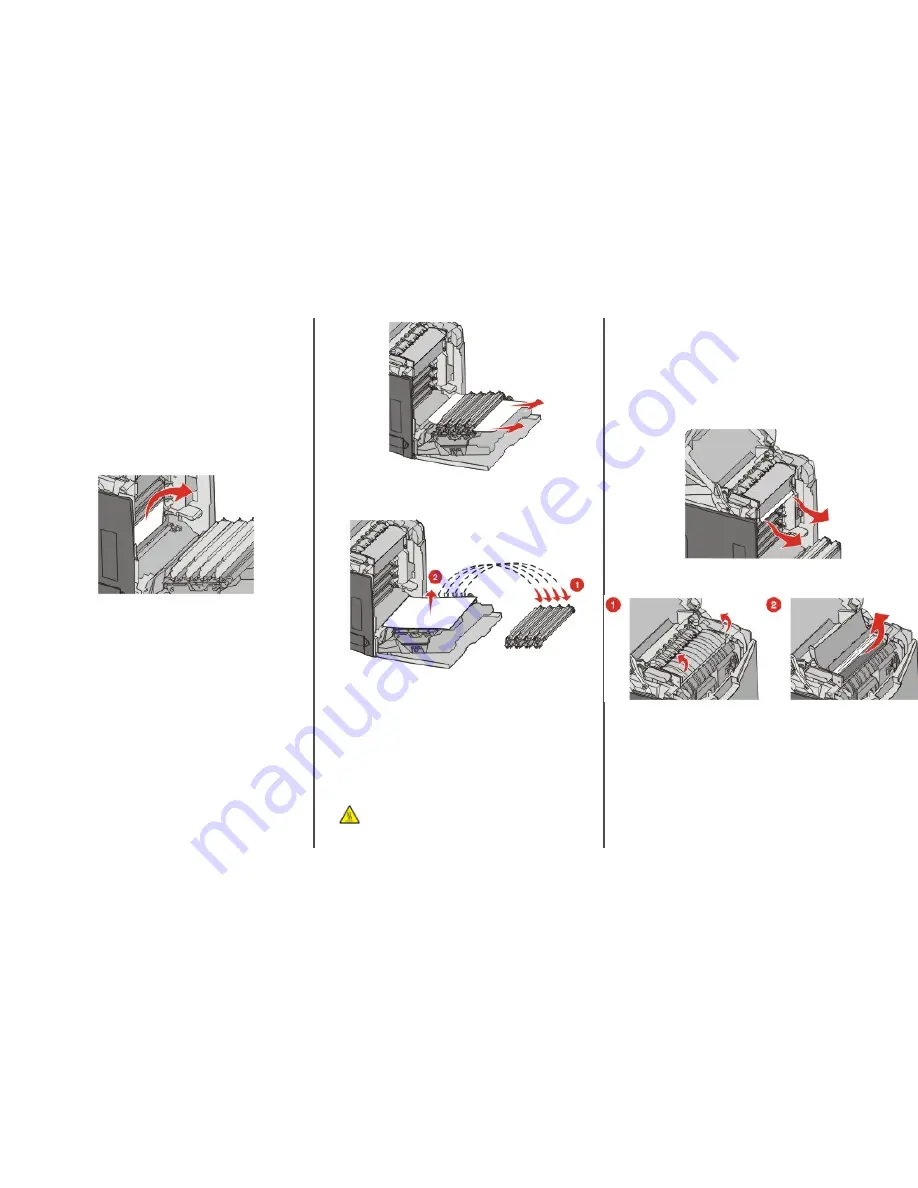
Clearing jams behind the inner
door
If the paper is jammed behind the inner door, but not under the
photoconductors,
200.xx Paper Jam
appears.
Warning—Potential Damage: To avoid overexposing the
photoconductors, do not leave the inner door open longer than
10 minutes.
1
Open the upper and inner doors. The lower door opens with
the inner door.
2
Pull the jammed paper up and out.
3
Close the lower door, and then close the upper door.
Jams under the photoconductors
Follow these instructions to remove jams under the
photoconductors.
If the paper is jammed under the photoconductors,
200.xx
Paper Jam
or
201.xx Paper Jam
may appear.
1
Open the upper and inner doors. The lower door opens with
the inner door.
2
Pull the jammed paper out straight.
Note: Be careful not to dislodge the photoconductors.
3
If the paper will not move, remove all four photoconductors
(for more information, see the
User's Guide
. Clear the jam, and
then replace the photoconductors.
4
Close the lower door, and then close the upper door.
Clearing jams under the fuser
or fuser cover
Jams under the fuser or fuser cover
When paper is jammed under the fuser or the fuser cover,
201.xx
Paper Jam
appears.
CAUTION—HOT SURFACE: The fuser and the inside of the
printer near the fuser may be hot. Wait for the fuser to cool
before clearing jams from this area.
Warning—Potential Damage: To avoid overexposing the
photoconductors, do not leave the inner door open longer than
10 minutes.
1
Open the upper and inner doors. The lower door opens with
the inner door.
2
Determine where the jam is located:
a
If paper is visible under the fuser, grasp it on each side and
pull it forward.
b
Otherwise, grasp the fuser cover by the tabs and lift it. Pull
the jammed paper up and out. Close the fuser cover.
3
Close the lower door, and then close the upper door.
4


