


59
Or that the USB plug your iPod® shuffle inserted into the USB port in the
docking area. If necessary set the Hold switch on your iPod® to the ‘Off’
position.
4.) Press the
Power
button on the top panel or remote control to turn this
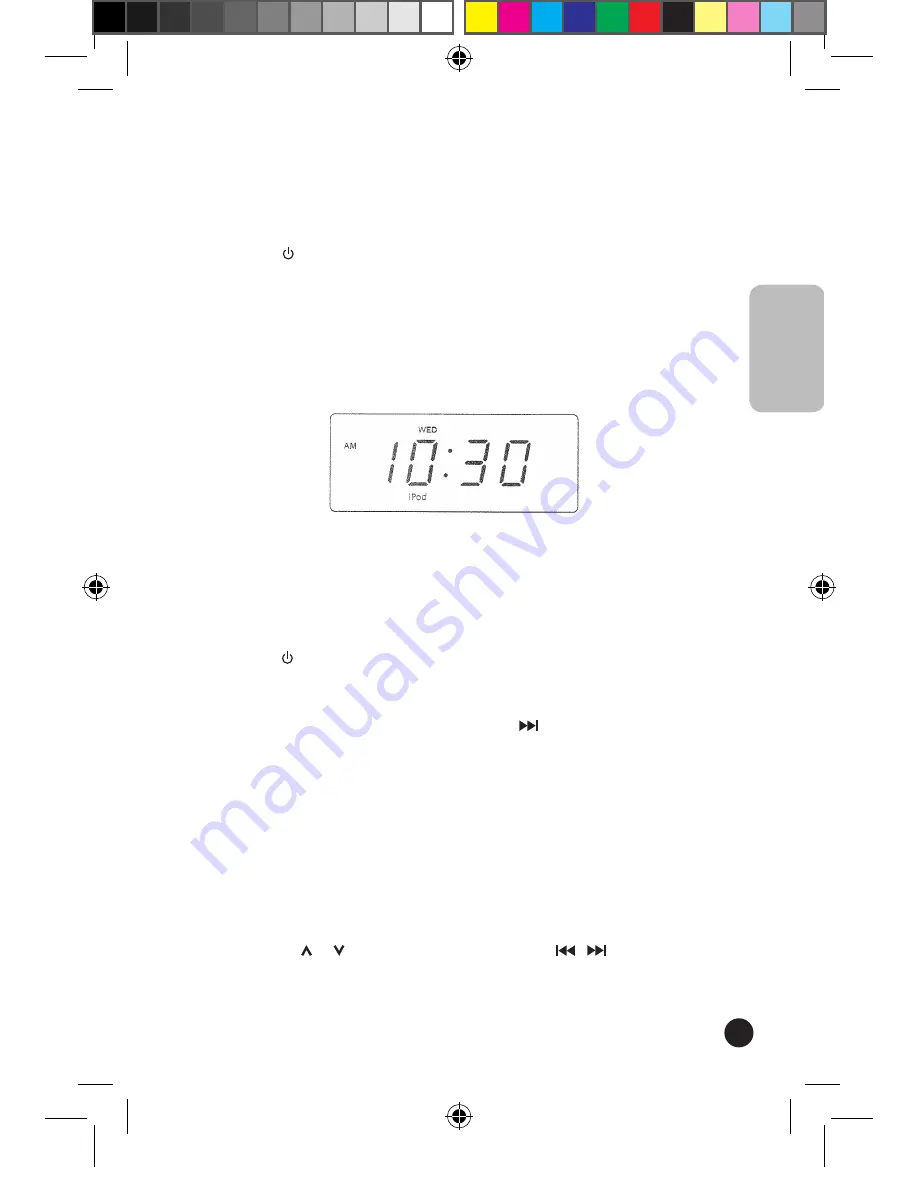
system ‘On’. Depending on the setting of the Back Light Timer in your iPod® the
display backlighting may turn ‘On’ and the “
Charging
” or “
Charged
” indicator
will appear in the display.
5.) Press the
Function
button on the top panel or on the remote control to
select the
iPod
function.
Your iPod® will begin to play. It may begin playback with the first song in your
library in alphabetical order by song name, or if the iPod® was only shut off for
short time it may begin playback of the same song that was playing before it
was shut off.
NOTE:
If the
Power
of this system is ‘On’ and the
iPod
function is already
selected then your iPod® will begin to play as soon as it is connected to the
dock, as long as the iPod® HOLD switch is ‘Off’. If your iPod® enters the Pause
mode when you connect it to the dock, press the
Play/Pause
button to
begin playback.
6.) Once the iPod® is playing you can use the navigation controls on the iPod®
to select among the menu items as usual. However you can only adjust the
volume level by using the
/–
controls on the top panel or remote
control of this unit. The click wheel volume control on the iPod® cannot be used
to control the speaker volume level of this system.
7.) To skip or search forward or back to the next or previous song you can use
the Tuning/Skip or buttons on the top panel or the / buttons on the
remote control.
ENGLISH
HPI500FR-GBIM0236.indd 59
09/06/2006 16:38:33


