51
Chapter-4
Introduction of BIOS
The BIOS is a program located in the Flash Memory on the motherboard.
This program is a bridge between motherboard and operating system.
When you start the computer, the BIOS program gains control.
The BIOS first operates an auto-diagnostic test called POST (Power on Self Test) for
all the necessary hardware, it detects the entire hardware devices and configures the
parameters of the hardware synchronization. After these tasks are completed, BIOS will
give control of the computer back to operating system (OS). Since the BIOS is the only
channel for hardware and software to communicate with, it is the key factor of system
stability and of ensuring your system performance at best.
In the BIOS Setup main menu, you can see several options. We will explain these options
in the following pages. First, let us see the function keys you may use here:
Press <Esc> to quit the BIOS Setup.
Press ↑↓←→(up, down, left, right) to choose the option you want to confi rm or modify.
Press <F10> to save these parameters and to exit the BIOS Setup menu after you
complete the setup of BIOS parameters.
Press Page Up / Page Down or +/- keys to modify the BIOS parameters for the active option.
Power on the computer and press <Del> key immediately to enter Setup.
If the message disappears before your respond but you still wish to enter Setup,
restart the system by turning it OFF then ON or pressing the "RESET" button on the
system case. You may also restart the system by simultaneously pressing <Ctrl>,
<Alt> and <Delete> keys.
4-1 Enter Setup
Содержание 2I640DW
Страница 7: ...3 2 1 3 1 2 3 Photo 1 Insert Unplug ...
Страница 15: ...11 2 1 Dimension 2I640DW Chapter 2 ...
Страница 17: ...13 2 2 1 Layout 2I640DW Connector and Jumper Bottom BOT CU2 CU1 SIM1 ...
Страница 19: ...15 2 3 1 Layout 2I640DW Function MAP BOT USB 2 0 3 0 Nano SIM USB 2 0 3 0 ...
Страница 21: ...17 2 4 1 Diagram 2I640DW BOT CU2 CU1 SIM1 ...
Страница 23: ...19 2 5 1 Function MAP 2I110D BOT USB 2 0 3 0 Nano SIM USB 2 0 3 0 ...
Страница 35: ...31 How to use this Demo Application ...
Страница 60: ...56 4 6 1 Boot Configuration To select Power on state for NumLock default is off ...
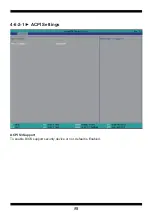
Страница 62: ...58 4 6 2 1 ACPI Settings ACPI S3 Support To enable BIOS support security device or not default is Enabled ...
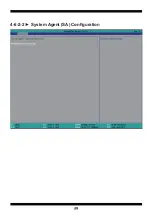
Страница 63: ...59 4 6 2 2 System Agent SA Configuration ...
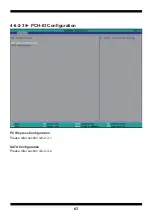
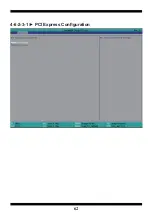
Страница 66: ...62 4 6 2 3 1 PCI Express Configuration ...
Страница 68: ...64 To select NGFF1 M 2 SATA device enabled or not 4 6 2 3 2 SATA Configuration ...
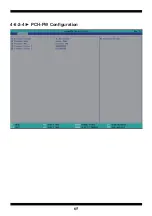
Страница 69: ...65 4 6 2 4 PCH FW Configuration ...
Страница 71: ...67 4 6 3 1 UART Port 1 Configuration To Enable Serial port or not default is Enabled ...
Страница 72: ...68 Base I O Address default is 3F8h ...
Страница 73: ...69 Interrupt default is IRQ4 ...
Страница 74: ...70 Peripheral to select the Serial port to RS232 RS422 RS485 default is RS232 ...
Страница 75: ...71 4 6 3 2 UART Port 2 Configuration To Enable Serial port or not default is Enabled ...
Страница 76: ...72 Base I O Address default is 2F8h ...
Страница 77: ...73 Interrupt default is IRQ3 ...
Страница 78: ...74 Peripheral to select the Serial port to RS232 RS422 RS485 default is RS232 ...
Страница 80: ...76 4 6 3 4 Restore On Power Loss To select the power behavior after power fail default is last state ...
Страница 81: ...77 4 6 4 NVM Express Information Press Enter to view the NVMe storage devices information ...
Страница 83: ...79 To select TPM operations ...
Страница 84: ...80 Set Supervisor Password To set up an Supervisor password ...


