background image

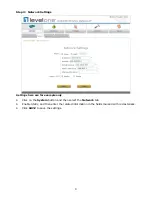
Step 5:  Security Settings 


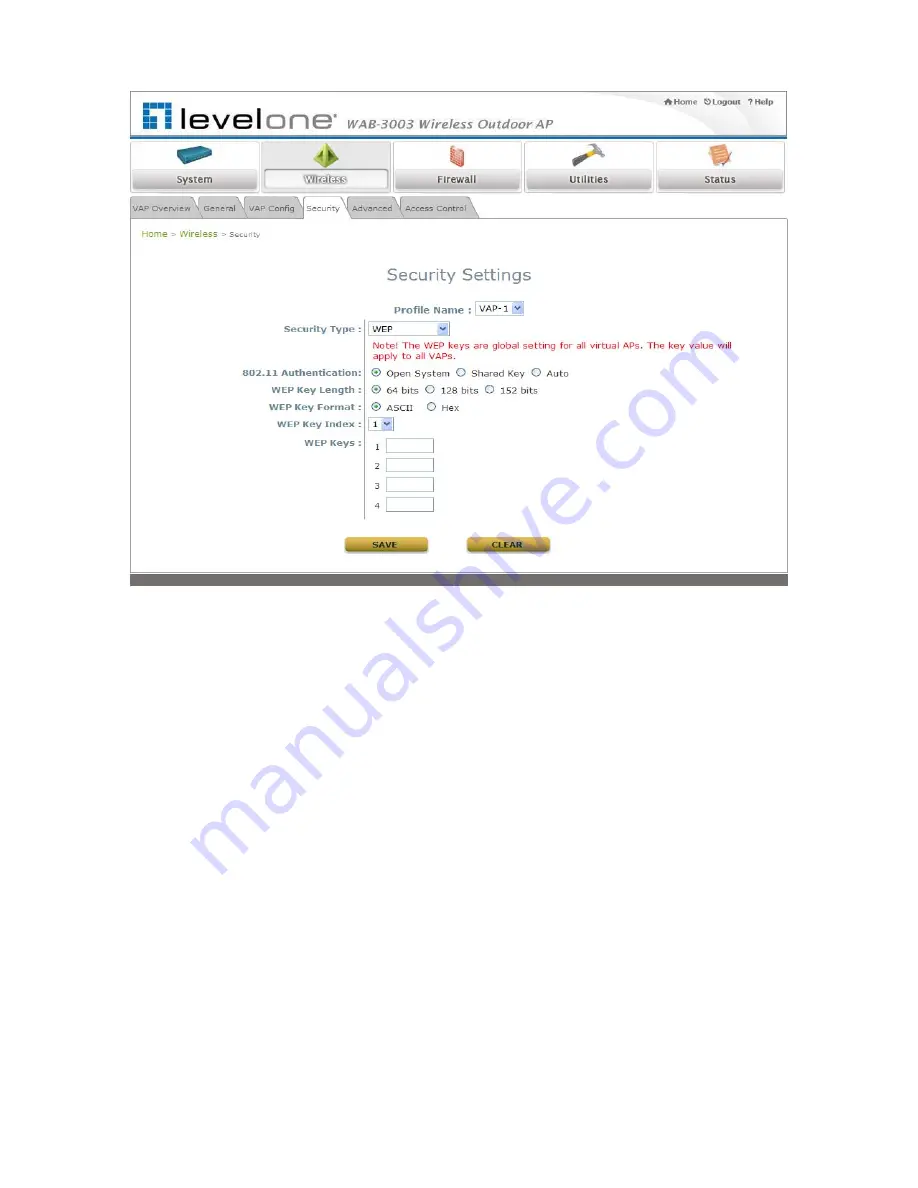
Click on the Wireless button and then select the Security tab. 


Select the desired VAP Profile and Security Type from the drop-down list boxes. The above 
figure depicts an example of selecting VAP-1 and WEP


Enter the information required in the blank fields.   

Caution: 
You must use the same information provided here to configure the network devices that are to be 
associated with WAB-3003. 


Click SAVE to save all settings configured so far. All updated settings will take effect upon 
reboot 

 
Congratulation! 
The AP mode is now successfully configured. 
 

Caution: 
After WAB-3003's network configuration completes, please remember to change the IP Address of 
your PC Connection Properties back to its original settings in order to ensure that your PC 
functions properly in its real network environments. 


It is strongly recommended to make a backup copy of configuration settings. 


For further configuration and backup information, please refer to the User’s 
Manual. 


12 

Содержание WAB-3003

Страница 1: ...WAB 3003 108M 11g Outdoor PoE AP Quick Installation Guide V1 1...

Страница 2: ...is higher than a typical indoor AP 100mW This Quick Installation Guide including FAQ Instruction Guide provides instructions for getting started with WAB 3003 1 WAB 3003 x 1 2 Quick Installation Guide...

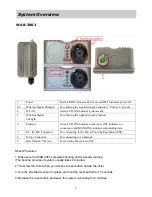
Страница 3: ...BLINKING indicates transmitting data 7 RJ 45 PoE Connector For connecting to the Power Sourcing Equipment PSE 8 N type Connector For connecting to an antenna 9 Reset Button Screw For resetting the sys...

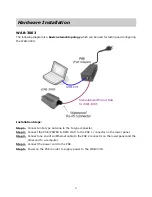
Страница 4: ...ep 1 Connect an N type antenna to the N type connector Step 2 Connect the PSE POWER DATA OUT to the PSE 1 connector on the lower panel Step 3 Connect one end of an Ethernet cable to the PSE 2 connecto...

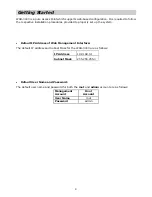
Страница 5: ...ly set up the system Default IP Address of Web Management Interface The default IP address and Subnet Mask for the WAB 3033 are as follows IP Address 192 168 0 1 Subnet Mask 255 255 255 0 Default User...

Страница 6: ...The valid range of IP address is 1 254 However 1 must be avoided as it is already used by WAB 3003 Below depicts an example of using 100 the underlined value can be changed as desired IP Address 192...

Страница 7: ...Step 4 Login Success After a successful login to WAB 3003 a System Overview page of WMI will appear To logout simply click on the Logout button at the upper right hand corner of the interface 6...

Страница 8: ...Common Settings Step 1 System Overview Click on the Status button and then select the System Overview tab 7...

Страница 9: ...Change Password Click on the Utilities button and then select the Password tab Enter a new password in the New Password field and retype it in the Re enter New Password field Click SAVE to save the ch...

Страница 10: ...s Settings here are for example only Click on the System button and then select the Network tab Enable Static and then enter the related information in the fields marked with red asterisks Click SAVE...

Страница 11: ...Step 4 ESSID Settings Click on the Wireless button and then select the General tab Band Select an appropriate band from the drop down list box 10...

Страница 12: ...each VAP in the ESSID field or use the default ESSID Extended Service Set Identifier is a unique identifier used for networking devices to get associated with WAB 3003 Note For QoS classification ple...

Страница 13: ...sociated with WAB 3003 Click SAVE to save all settings configured so far All updated settings will take effect upon reboot Congratulation The AP mode is now successfully configured Caution After WAB 3...

Отзывы: