72
NE1032T Installation Guide
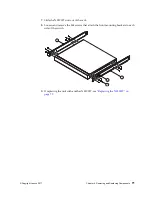
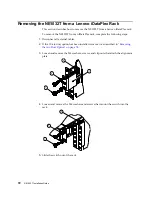
Removing the NE1032T from a Lenovo iDataPlex Rack
This
section
describes
how
to
remove
the
NE1032T
from
a
Lenovo
iDataPlex
rack.
To
remove
the
NE1032T
from
an
iDataPlex
rack,
complete
the
following
steps:
1.
Disconnect
all
external
cables.
2.
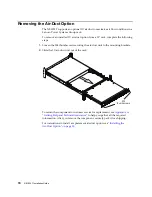
If
the
1U
air
‐
duct
option
has
been
installed,
remove
it
as
described
in
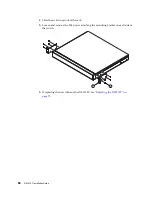
3.
Loosen
and
remove
the
M6
washers,
screws,
and
clip
nuts
that
attach
the
alignment
plate.
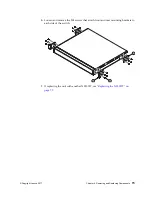
4.
Loosen
and
remove
the
M6
washers
and
screws
that
mount
the
switch
into
the
rack.
5.
Slide
the
switch
out
of
the
rack.
7
3
5
4
5
3
4
Содержание ThinkSystem NE1032T
Страница 1: ...Lenovo ThinkSystem NE1032T RackSwitch Installation Guide For Lenovo Cloud Network OS ...
Страница 6: ...6 Lenovo G8296 Installation Guide ...
Страница 14: ...14 NE1032T Installation Guide ...
Страница 18: ...18 NE1032T Installation Guide ...
Страница 19: ... Copyright Lenovo 2017 19 Chapter 2 Switch Components This chapter describes the NE1032T hardware components ...
Страница 32: ...32 NE1032T Installation Guide ...
Страница 78: ...78 NE1032T Installation Guide ...
Страница 94: ...94 NE1032T Installation Guide ...
Страница 100: ...100 NE1032T Installation Guide ...
Страница 120: ...120 NE1032T Installation Guide ...


