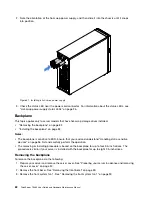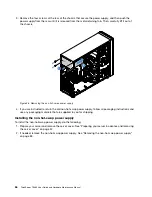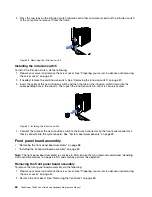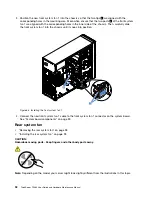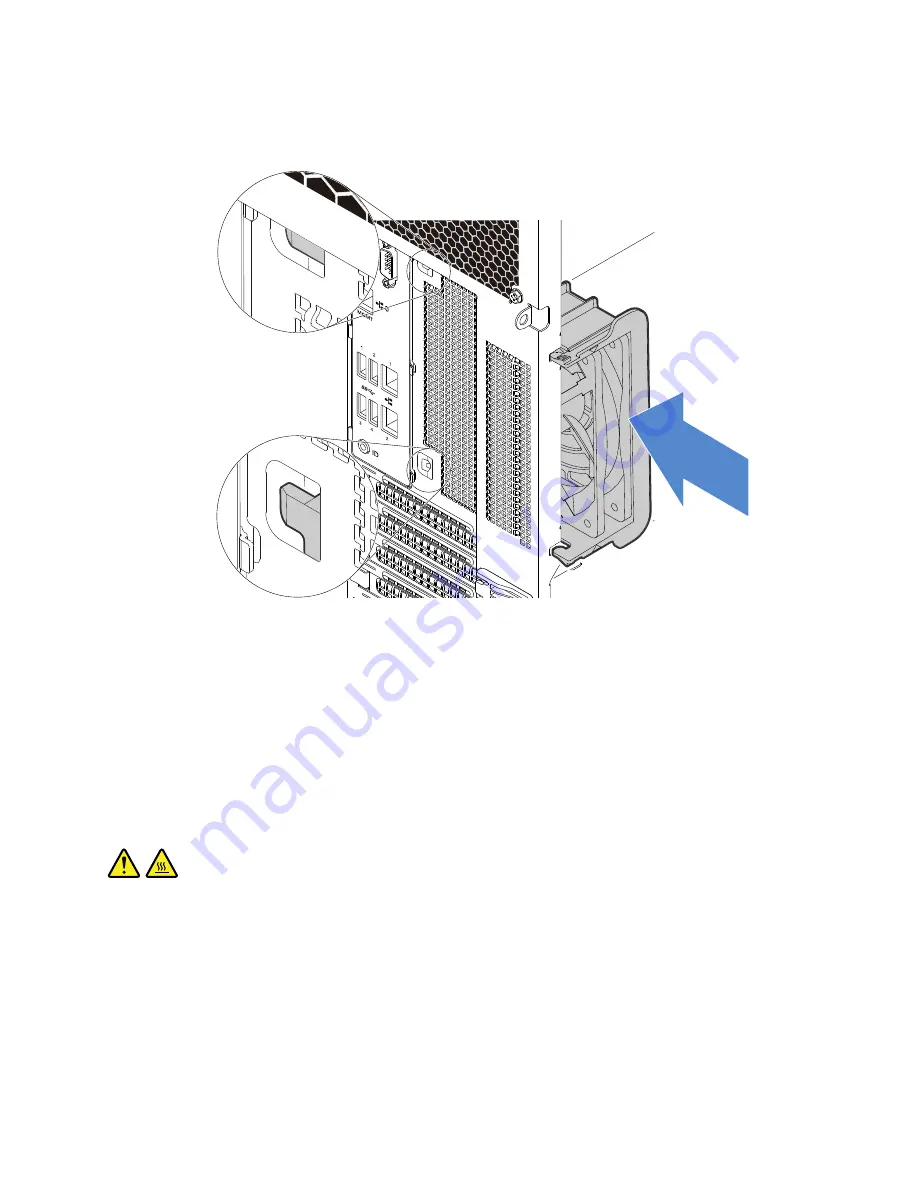
4. Carefully push the rear system fan until it snaps into position. Ensure that all four tips on the fan are
inserted into the corresponding holes as shown.
1
1
2
2
0
M
GM
T
3
4
ID
Figure 66. Installing the rear system fan
5. Connect the new rear system fan cable to the rear system fan connector on the system board. See
“System board components” on page 33.
Heat sink and fan assembly
•
“Removing the heat sink and fan assembly” on page 95
•
“Installing the heat sink and fan assembly” on page 96
CAUTION:
The heat sink and fan assembly might be very hot. Turn off the server and wait three to five minutes to
let the server cool before removing the server cover.
Removing the heat sink and fan assembly
To remove the heat sink and fan assembly, do the following:
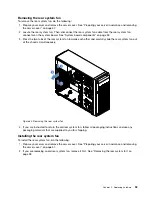
1. Prepare your server and remove the server cover. See “Preparing your server in advance and removing
2. Lay the server on its side for easier operation.
.
95
Содержание ThinkServer TS460
Страница 1: ...ThinkServer TS460 User Guide and Hardware Maintenance Manual Machine Types 70TQ 70TR 70TS and 70TT ...
Страница 14: ...xii ThinkServer TS460 User Guide and Hardware Maintenance Manual ...
Страница 18: ...4 ThinkServer TS460 User Guide and Hardware Maintenance Manual ...
Страница 52: ...38 ThinkServer TS460 User Guide and Hardware Maintenance Manual ...
Страница 68: ...54 ThinkServer TS460 User Guide and Hardware Maintenance Manual ...
Страница 138: ...124 ThinkServer TS460 User Guide and Hardware Maintenance Manual ...
Страница 144: ...130 ThinkServer TS460 User Guide and Hardware Maintenance Manual ...
Страница 148: ...134 ThinkServer TS460 User Guide and Hardware Maintenance Manual ...
Страница 159: ...Taiwan BSMI RoHS declaration Appendix C Restriction of Hazardous Substances RoHS Directive 145 ...
Страница 160: ...146 ThinkServer TS460 User Guide and Hardware Maintenance Manual ...
Страница 171: ......
Страница 172: ......


