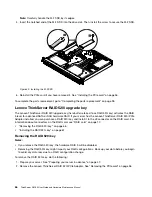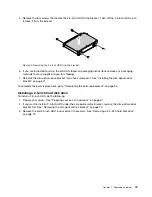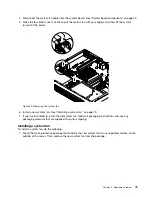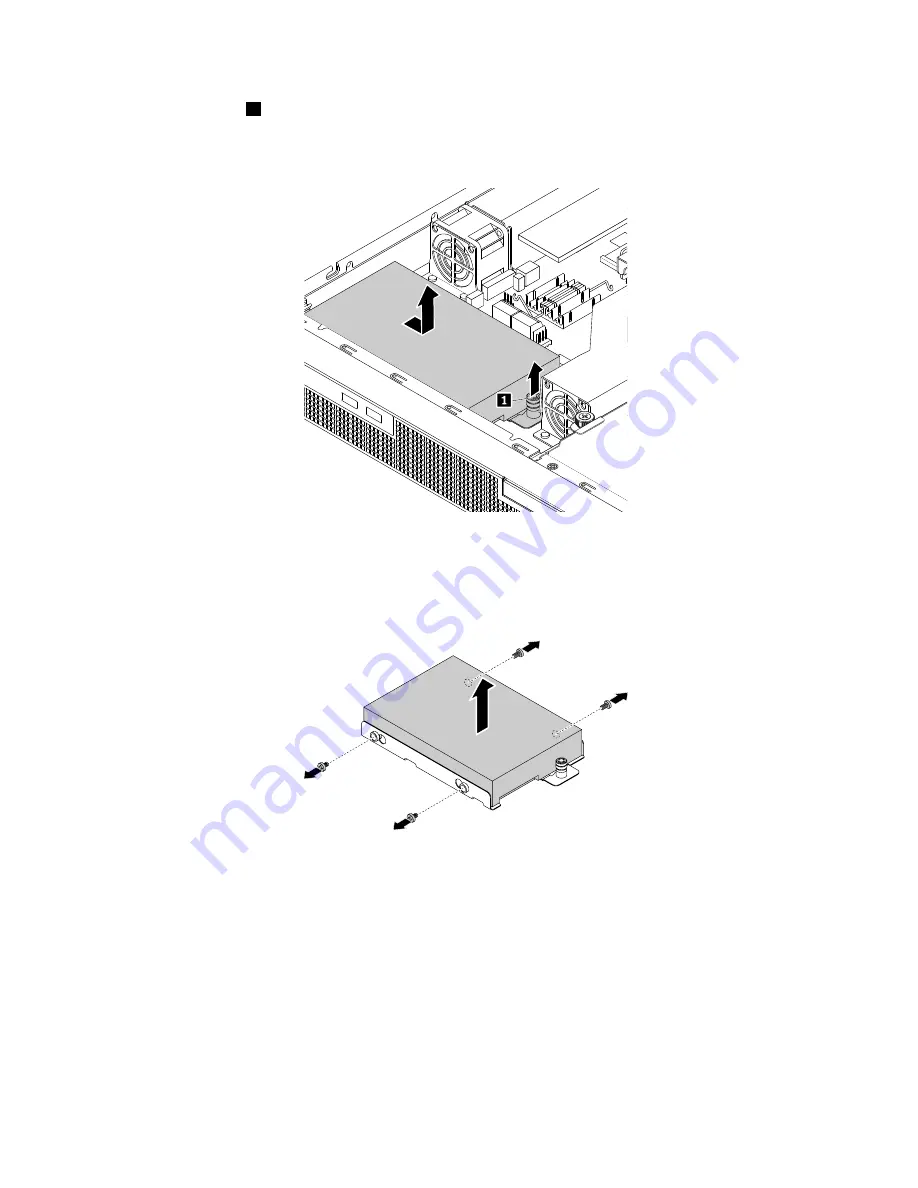
4. Lift the release pin
1
on the 3.5-inch HDD bracket. Meanwhile, slide the 3.5-inch HDD and its bracket
as shown to release the bracket from the server. Then, lift the 3.5-inch HDD and its bracket out of
the chassis.
Figure 54. Removing a 3.5-inch HDD and its bracket
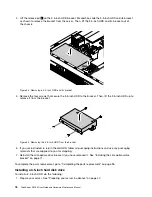
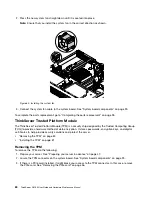
5. Remove the four screws that secure the 3.5-inch HDD to the bracket. Then, lift the 3.5-inch HDD up to
remove it from the bracket.
Figure 55. Removing the 3.5-inch HDD from the bracket
6. If you are instructed to return the old HDD, follow all packaging instructions and use any packaging
materials that are supplied to you for shipping.
7. Reinstall the slim-optical-drive bracket if you have removed it. See “Installing the slim-optical-drive
To complete the parts replacement, go to “Completing the parts replacement” on page 95.
Installing a 3.5-inch hard disk drive
To install a 3.5-inch HDD, do the following:
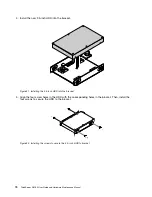
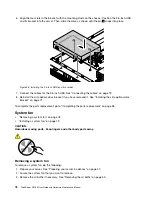
1. Prepare your server. See “Preparing your server in advance” on page 47.
76
ThinkServer RS160 User Guide and Hardware Maintenance Manual
Содержание ThinkServer RS160
Страница 1: ...ThinkServer RS160 User Guide and Hardware Maintenance Manual Machine Types 70TD 70TE 70TF and 70TG ...
Страница 14: ...xii ThinkServer RS160 User Guide and Hardware Maintenance Manual ...
Страница 18: ...4 ThinkServer RS160 User Guide and Hardware Maintenance Manual ...
Страница 42: ...28 ThinkServer RS160 User Guide and Hardware Maintenance Manual ...
Страница 58: ...44 ThinkServer RS160 User Guide and Hardware Maintenance Manual ...
Страница 118: ...104 ThinkServer RS160 User Guide and Hardware Maintenance Manual ...
Страница 129: ...Taiwan BSMI RoHS declaration Appendix C Restriction of Hazardous Substances RoHS Directive 115 ...
Страница 130: ...116 ThinkServer RS160 User Guide and Hardware Maintenance Manual ...
Страница 141: ......
Страница 142: ......

