


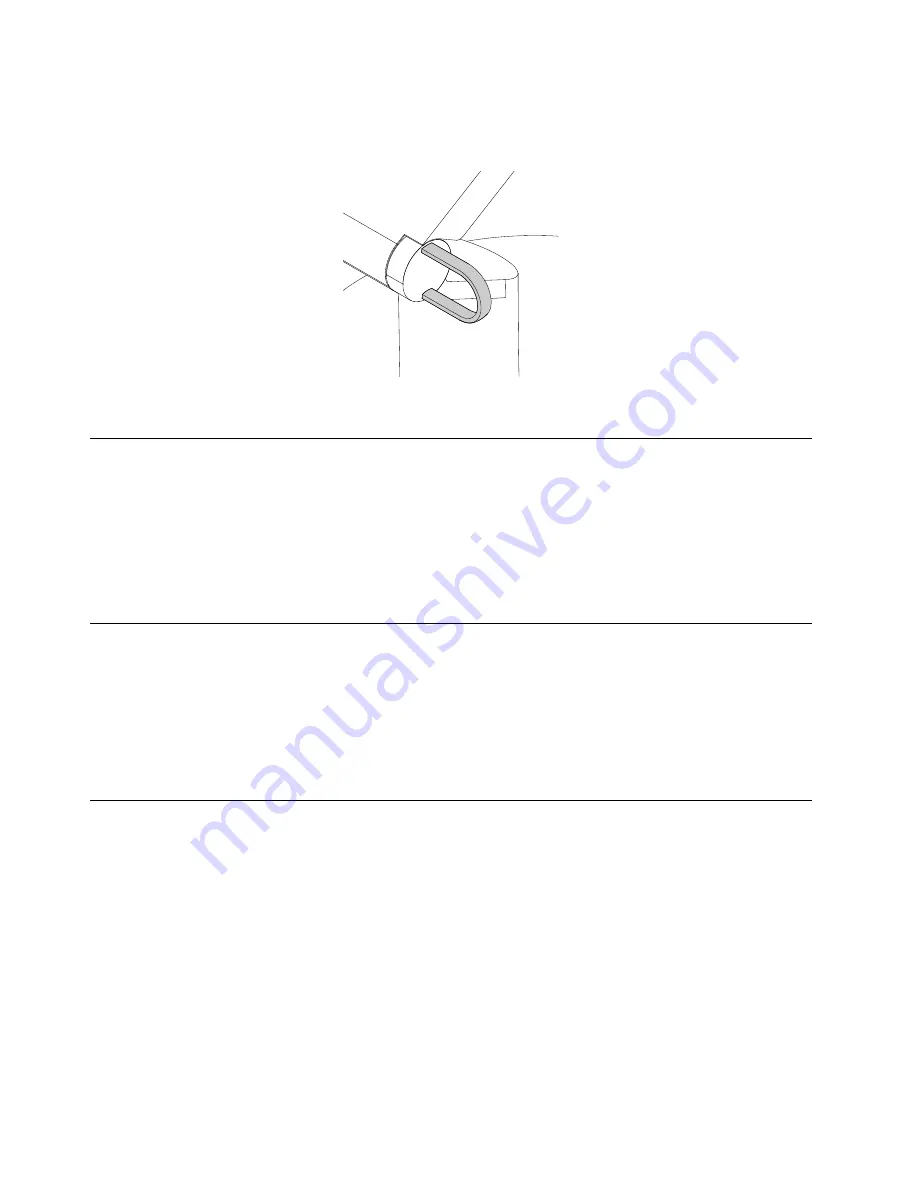
You can manage cables (such as cables of the keyboard and mouse) by routing the cables through the cable
loop on the stand as shown.
Figure 12. Cable loop on the UltraFlex II Stand
Registering your computer
When you register your computer with Lenovo, you enter required information into a Lenovo database. The
information enables Lenovo to contact you when there is a recall or other severe problem and provide
quicker service when you call Lenovo for help. In addition, some locations offer extended privileges and
services to registered users.
To register your computer with Lenovo, ensure that your computer is connected to the Internet. Then, go to
http://www.lenovo.com/register and follow the instructions on the screen.
Setting the computer volume
To set the computer volume, do the following:
1. Click the volume icon in the Windows notification area on the taskbar.
Note:
If the volume icon is not displayed in the Windows notification area, add the icon to the
notification area. See “Adding an icon to the Windows notification area” on page 46.
2. Follow the instructions on the screen to adjust the volume. Click the speaker icon to mute the audio.
Adding an icon to the Windows notification area
To add an icon to the Windows notification area, do the following:
1. Click the arrow next to the notification area to view hidden icons. Then, click the desired icon and
drag it to the notification area.
2. If the icon is not displayed, turn on the icon.
a. Click the Start button to open the Start menu.
b. Depending on your Windows version, do one of the following:
• For Windows 7: Click
Control Panel
. View Control Panel using Large icons or Small icons, and
then click
Notification Area Icons
➙
Turn system icons on or off
.
• For Windows 10: Click
Settings
➙
System
➙
Notifications & actions
➙
Turn system icons
on or off
.
c. Turn on the desired icon.
46
ThinkCentre M900z Hardware Maintenance Manual
Содержание ThinkCentre M900z 10F2
Страница 1: ...ThinkCentre M900z Hardware Maintenance Manual Machine Types 10F2 10F3 10F4 and 10F5 ...
Страница 6: ...iv ThinkCentre M900z Hardware Maintenance Manual ...
Страница 8: ...vi ThinkCentre M900z Hardware Maintenance Manual ...
Страница 16: ...8 ThinkCentre M900z Hardware Maintenance Manual ...
Страница 20: ...12 ThinkCentre M900z Hardware Maintenance Manual ...
Страница 21: ...1 2 Chapter 1 Read this first Important safety information 13 ...
Страница 22: ...1 2 14 ThinkCentre M900z Hardware Maintenance Manual ...
Страница 27: ...1 2 Chapter 1 Read this first Important safety information 19 ...
Страница 28: ...1 2 20 ThinkCentre M900z Hardware Maintenance Manual ...
Страница 31: ...Chapter 1 Read this first Important safety information 23 ...
Страница 40: ...31 32 ThinkCentre M900z Hardware Maintenance Manual ...
Страница 50: ...42 ThinkCentre M900z Hardware Maintenance Manual ...
Страница 66: ...58 ThinkCentre M900z Hardware Maintenance Manual ...
Страница 128: ...120 ThinkCentre M900z Hardware Maintenance Manual ...
Страница 136: ...128 ThinkCentre M900z Hardware Maintenance Manual ...
Страница 138: ...China RoHS 130 ThinkCentre M900z Hardware Maintenance Manual ...
Страница 139: ...Appendix D China Energy Label Copyright Lenovo 2015 131 ...
Страница 140: ...132 ThinkCentre M900z Hardware Maintenance Manual ...
Страница 142: ...134 ThinkCentre M900z Hardware Maintenance Manual ...
Страница 145: ......
Страница 146: ......