


Appendix C. WEEE and recycling information
Lenovo encourages owners of information technology (IT) equipment to responsibly recycle their equipment
when it is no longer needed. Lenovo offers a variety of programs and services to assist equipment owners in
recycling their IT products. For information on recycling Lenovo products, go to:
http://www.lenovo.com/recycling
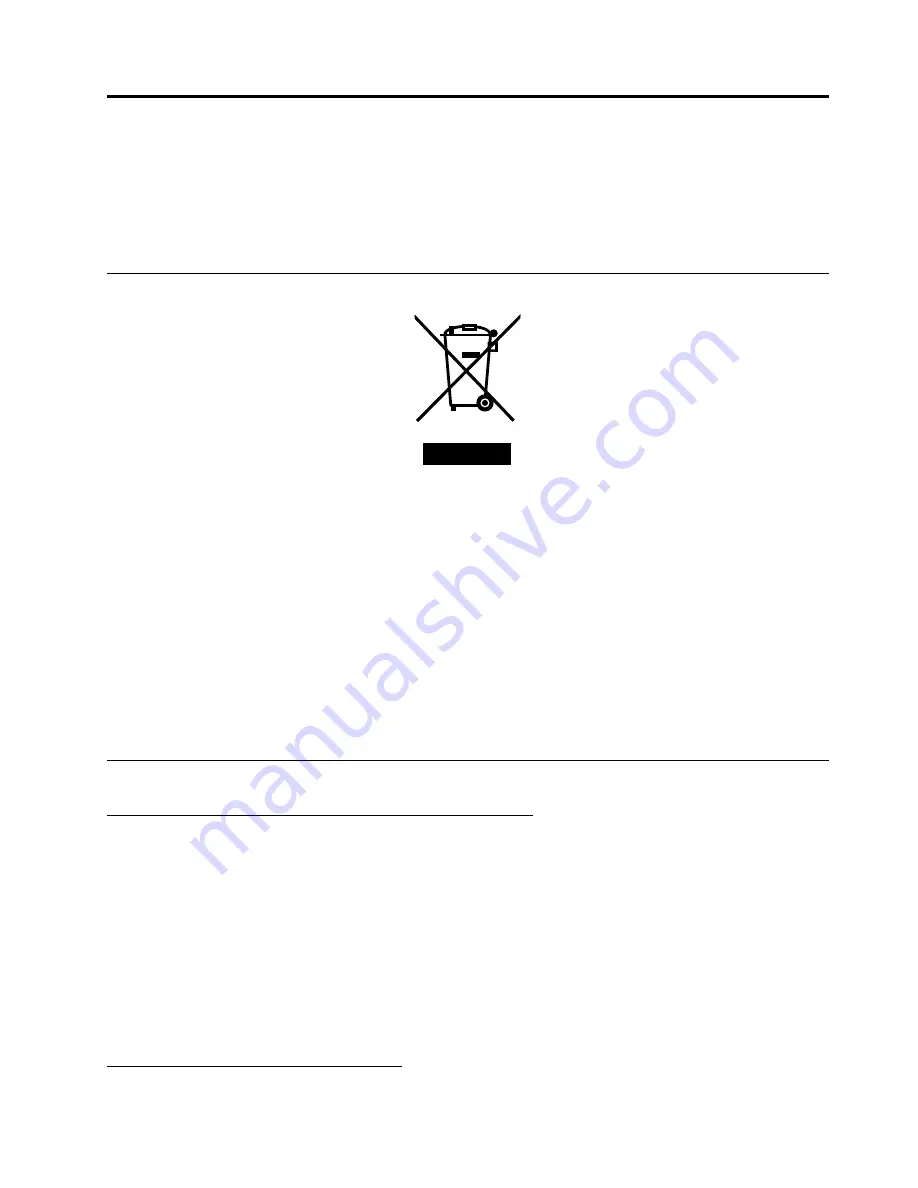
Important WEEE information
The WEEE marking on Lenovo products applies to countries with WEEE and e-waste regulations (for example,
European Directive 2002/96/EC, India E-Waste Management & Handling Rules, 2011). Appliances are
labeled in accordance with local regulations concerning waste electrical and electronic equipment (WEEE).
These regulations determine the framework for the return and recycling of used appliances as applicable
within each geography. This label is applied to various products to indicate that the product is not to be
thrown away, but rather put in the established collection systems for reclaiming these end of life products.
Users of electrical and electronic equipment (EEE) with the WEEE marking must not dispose of end of
life EEE as unsorted municipal waste, but use the collection framework available to them for the return,
recycle, and recovery of WEEE and to minimize any potential effects of EEE on the environment and
human health due to the presence of hazardous substances. For additional WEEE information go to:
http://www.lenovo.com/recycling
Recycling information for Japan
Collecting and recycling a disused Lenovo computer or monitor
If you are a company employee and need to dispose of a Lenovo computer or monitor that is the property
of the company, you must do so in accordance with the Law for Promotion of Effective Utilization of
Resources. Computers and monitors are categorized as industrial waste and should be properly disposed
of by an industrial waste disposal contractor certified by a local government. In accordance with the Law
for Promotion of Effective Utilization of Resources, Lenovo Japan provides, through its PC Collecting
and Recycling Services, for the collecting, reuse, and recycling of disused computers and monitors. For
details, visit the Lenovo Web site at http://www.lenovo.com/recycling/japan. Pursuant to the Law for
Promotion of Effective Utilization of Resources, the collecting and recycling of home-used computers
and monitors by the manufacturer was begun on October 1, 2003. This service is provided free of
charge for home-used computers sold after October 1, 2003. For details, visit the Lenovo Web site at
http://www.lenovo.com/recycling/japan.
Disposing of Lenovo computer components
© Copyright Lenovo 2013, 2014
135
Содержание ThinkCentre E93
Страница 1: ...ThinkCentre E93 User Guide Machine Types 10AQ ...
Страница 6: ...iv ThinkCentre E93 User Guide ...
Страница 12: ...x ThinkCentre E93 User Guide ...
Страница 28: ...16 ThinkCentre E93 User Guide ...
Страница 38: ...26 ThinkCentre E93 User Guide ...
Страница 98: ...86 ThinkCentre E93 User Guide ...
Страница 140: ...128 ThinkCentre E93 User Guide ...
Страница 146: ...134 ThinkCentre E93 User Guide ...
Страница 150: ...138 ThinkCentre E93 User Guide ...
Страница 152: ...Ukraine RoHS India RoHS RoHS compliant as per E Waste Management Handling Rules 2011 140 ThinkCentre E93 User Guide ...
Страница 153: ...Appendix E China Energy Label Copyright Lenovo 2013 2014 141 ...
Страница 154: ...142 ThinkCentre E93 User Guide ...
Страница 156: ...144 ThinkCentre E93 User Guide ...
Страница 160: ...148 ThinkCentre E93 User Guide ...
Страница 161: ......
Страница 162: ......


