Installing the drives
This section covers the procedure to physically install the set of eight drives to upgrade the storage capacity
of the ThinkAgile CP solution.
Before installing the drive into the storage block, ensure that they are properly prepared according to
Preparing the drives section.
Procedure performed by
: customer or field service
Notes:
• The drive bays are numbered to indicate the installation order (starting from number “01”). Follow this
installation order when you install a drive.
• You cannot mix drives of different capacities in one system.
To install a hot-swap drive, complete the following steps:
Step 1. Check that the NVME namespace before installing the new drives:
#
# llss //d
deevv//n
nvvm
mee?
?
Following is an example output:
/dev/nvme0 /dev/nvme1 /dev/nvme2 /dev/nvme3 /dev/nvme4 /dev/nvme5 /dev/nvme6 /dev/nvme7
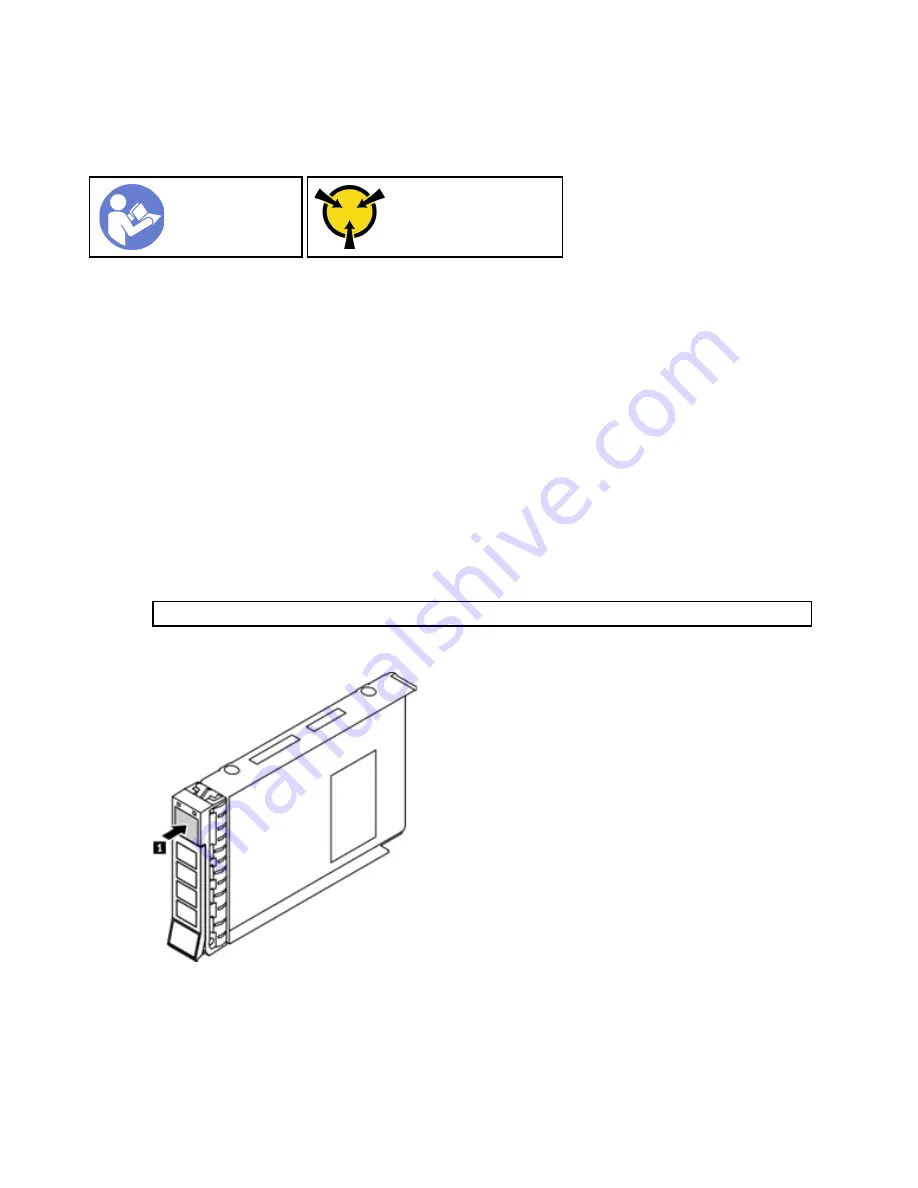
Step 2. To open the drive tray handle, press the release tab.
Figure 7. Opening the drive tray handle
22
Lenovo ThinkAgile CP Storage Capacity Upgrade Guide
Содержание ThinkAgile CP 4000 Series
Страница 1: ...Lenovo ThinkAgile CP Storage Capacity Upgrade Guide Models CP4000 CP6000 ...
Страница 4: ...ii Lenovo ThinkAgile CP Storage Capacity Upgrade Guide ...
Страница 6: ...iv Lenovo ThinkAgile CP Storage Capacity Upgrade Guide ...
Страница 8: ...vi Lenovo ThinkAgile CP Storage Capacity Upgrade Guide ...
Страница 26: ...18 Lenovo ThinkAgile CP Storage Capacity Upgrade Guide ...
Страница 54: ...46 Lenovo ThinkAgile CP Storage Capacity Upgrade Guide ...
Страница 64: ...56 Lenovo ThinkAgile CP Storage Capacity Upgrade Guide ...
Страница 66: ...58 Lenovo ThinkAgile CP Storage Capacity Upgrade Guide ...
Страница 67: ......
Страница 68: ......


