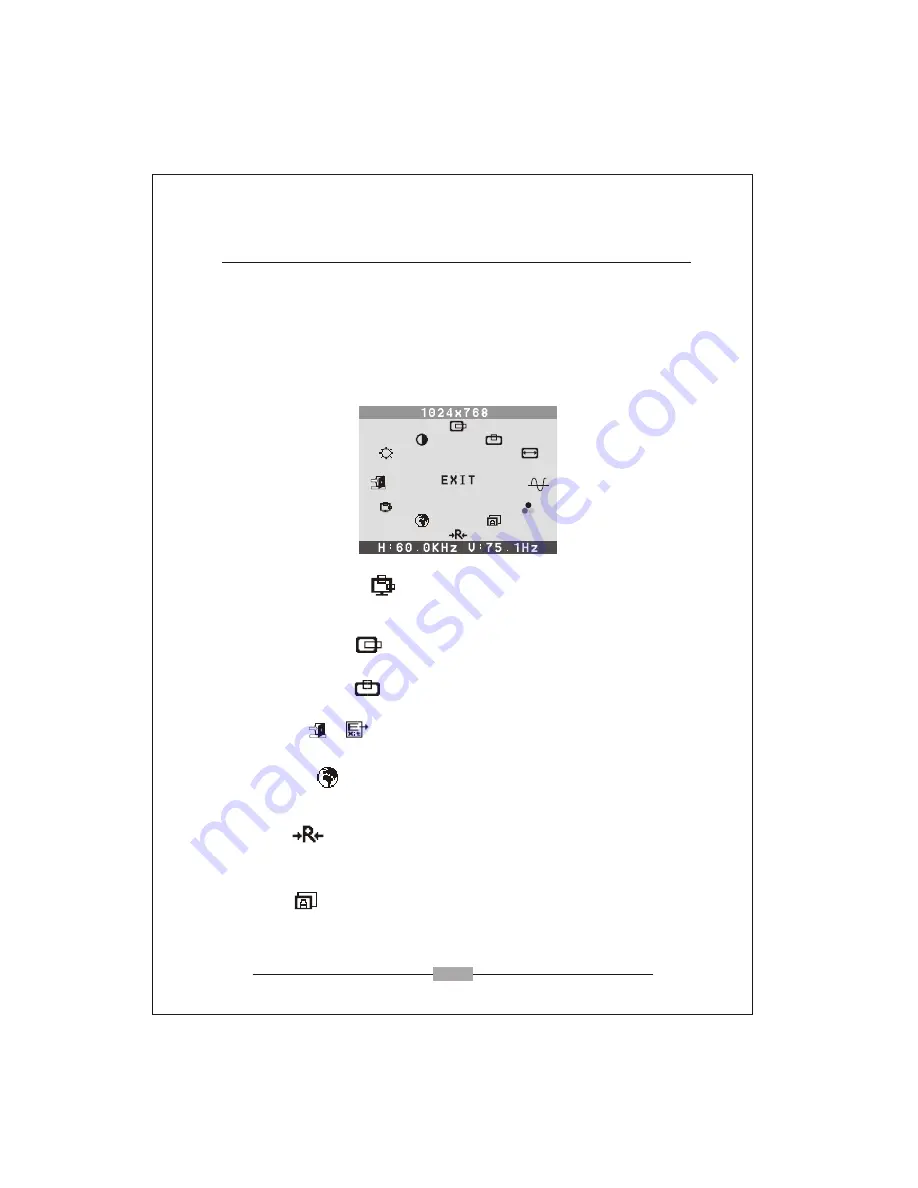
Lenovo L152 Скачать руководство пользователя страница 8

5

4.5 OSD MENU

1. Main menu 

OSD main menu of controls gives you an overview of the selection of controls 
available. When you want to make adjustment of the screen image,  press and 
release button Menu 

2. OSD Adjustment

You can choose where you would like OSD image to appear on your screen.

H-Position :


To move the OSD image horizontally left or right.

V-Position : 

To move the OSD image vertically up or down.

Exit :


To exit the sub menu

3. Language

You can choose one of the muti- languages you need.

4. Reset

Reset the currently highlighted control to the factory setting. User must be using 
factory preset video mode to use this function.

5. Auto

Auto adjust display mode to its utmost performance according to VGA setting. 
In the event of the display image needs further adjustment .

Chapter  4

OPERATION Direct - Access Features

or

Содержание L152

Страница 1: ... Control 4 1 Switch the power ON OFF 4 2 Power indicator 4 3 Volume only for monitor with speaker function 4 4 Menu features 4 5 OSD menu 4 6 Preset modes timing chart 4 7 Plug and play F C C statement Important safeguards Chapter 5 Technical information 5 1 Signal Connector Pin Assignment 5 2 Visual Inspection 5 3 Troubleshooting 8 8 9 7 2 2 2 Connect your monitor to a computer Note specification...

Страница 2: ...ar installation If this equipment does cause harmful interference to radio or television reception which can be determined by turning the equipment off and on the user is encouraged to try to correct the interferencebyoneormoreofthefollowingmeasures 1 Reorient Relocate the receiving antenna 2 Increase the separation between the equipment and receiver 3 Connect the equipment into an outlet on a cir...

Страница 3: ...Do not locate this monitor where the cord will be abused by persons working on it 10 Follow all warnings and instructions marked on the monitor 11 For added protection for this monitor when it is left unattended and unused for long periods of time unplug it from the wall outlet This will prevent damage to the monitor due to power line surges 12 Do not overload wall outlets and extension cords as t...

Страница 4: ... Microprocessor based with OSD On Screen Display control 2 Compatible with standard VGA extended VGA superVGA XGA modes as well as VESA resolution standards 3 Universal power supply 100 240 Vac 50 60Hz 4 Microsoft windows 95 98 2000 ME XP compatible VESA Display Data channel DDC 1 2B compatible Please make sure the following items are included with your LCD monitor AC power cord Signal cable If an...

Страница 5: ...our computer and monitor on if your monitor display an image you have successfully installed the monitor If the monitor does not display an Image check all the connections 2 2 4 Connect one end of the audio cable on the back of the connector to the sound card of the computer output Only for monitor with speaker function 2 1 Install and uninstall the pedestal To attach the base to your monitor plea...

Страница 6: ... AUTO Button Press it to perform the auto adjustment of the screen 4 Power Button Use this button to turn the monitor on and off 1 Select Button For VGA mode 1 To choose which function you need Youmay choose counterclockwise or Clockwise 2 Executing it directly lowers or raises the volume 3 Power indicator Indicates the operating state ...

Страница 7: ...ter If you connect the audio cable to the Speaker Out socket soundcard of the computer Please set the volume under Windows to range between 20 40 of the maximum value to achieve optimum sound quality 4 4 MENU FEATURES The following features can all be accessed by using your monitor s on screen menu system Once are finished Making adjustments to a feature selecting the exit icon to turn off the men...

Страница 8: ...he OSD image horizontally left or right V Position To move the OSD image vertically up or down Exit To exit the sub menu 3 Language You can choose one of the muti languages you need 4 Reset Reset the currently highlighted control to the factory setting User must be using factory preset video mode to use this function 5 Auto Auto adjust display mode to its utmost performance according to VGA settin...

Страница 9: ...ntal size of image 9 V Position To move the picture image vertically up or down 10 H Position To move the picture image horizontally left or right 11 Contrast Adjust the image brightness in relation to the background 12 Brightness Adjust the overall image and background screen brightness Cool This control adjusts the color temperature of the screen image This item are preset by factory you can not...

Страница 10: ...Direct Access Features 15 1 12 1 8 9 10 2 3 4 5 6 7 640 640 640 720 800 800 480 480 350 400 600 600 800 600 72 75 60 60 66 72 75 70 70 60 Item Addressability Vertical Freq Hz 640 480 x x x x x x x x 1024 768 x 11 12 70 75 640 480 x 1024 768 x 1024 768 x ...

Страница 11: ...s today cannot guarantee an absolutely fault free screen display A few isolated constant lit or unlit pixels may be present The maximum permitted number of pixels faults is stipulated in the stringent international standard ISO 13406 2 Class II Example a 17 flat screen monitor with a resolution of 1280 x 1024 has 1280 x 1024 1310720 pixels Each pixel consists of three subpixels red green and blue ...

Страница 12: ... Adjust the brightness and contrast controls Monitor in power saving mode Display image is too large or small Use the OSD controls to adjust Auto Setup The colors are discord Signal cable properly connected Use OSD controls to adjust the color control setting The image is too light or too dark Use OSD controls to adjust the brightness and contrast 9 There is no sound or sound is low Check the audi...

Отзывы: