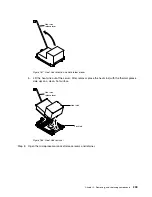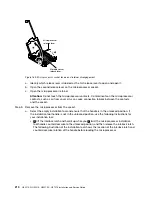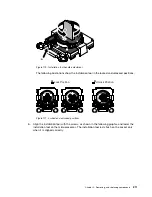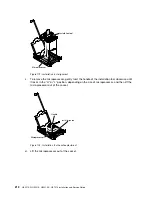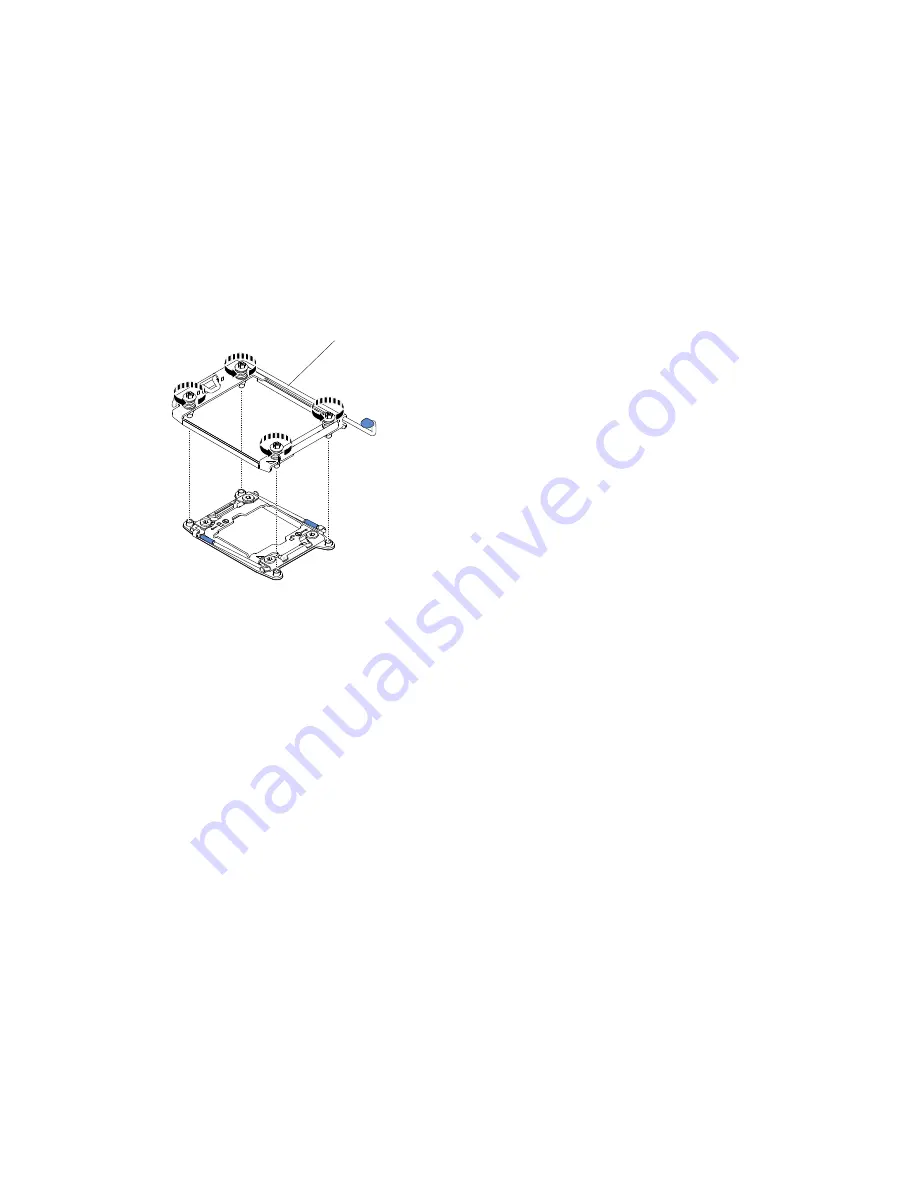
To install a heat-sink retention module, complete the following steps:
Step 1.
Read the safety information that begins on “Safety” on page v and “Removing and replacing
guidelines” on page 101.
Step 2.
Turn off the server and peripheral devices and disconnect the power cords and all external cables.
Step 3.
Remove the top cover (see “Removing the top cover” on page 116).
Step 4.
Remove the air baffle (see “Removing the air baffle” on page 119).
Step 5.
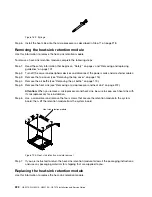
Align the retention module with the holes on the system board.
Step 6.
Use a screwdriver to reinstall the four screws.
Heat sink retention module
Figure 191. Heat-sink retention module installation
Step 7.
Reinstall the heat sink (see “Replacing a microprocessor and heat sink” on page 213).
Attention:
Make sure that you install each heat sink with its paired microprocessor.
Step 8.
Reinstall the air baffle (see “Replacing the air baffle” on page 120).
Step 9.
Install the top cover (see “Replacing the top cover” on page 118).
Step 10. Slide the server into the rack.
Step 11. Reconnect the power cords and any cables that you removed.
Step 12. Turn on the peripheral devices and the server.
Removing the system board
Use this information to remove the system board.
Notes:
1. When you replace the system board, you must either update the server with the latest firmware or
restore the pre-existing firmware that the customer provides on a diskette or CD image. Make sure that
you have the latest firmware or a copy of the pre-existing firmware before you proceed.
2. When you replace the system board, make sure that you remove the Integrated Management Module
Advanced Upgrade and place it on the new system board. For information about the Advanced
Upgrade, see “Using the remote presence and blue-screen capture features” on page 41.
To remove the system board, complete the following steps:
.
Removing, and replacing components
223
Содержание HX3510-G
Страница 1: ...HX3510 G HX5510 HX5510 C HX7510 Installation and Service Guide Machine Type 8695 ...
Страница 6: ...iv HX3510 G HX5510 HX5510 C HX7510 Installation and Service Guide ...
Страница 62: ...50 HX3510 G HX5510 HX5510 C HX7510 Installation and Service Guide ...
Страница 102: ...90 HX3510 G HX5510 HX5510 C HX7510 Installation and Service Guide ...
Страница 112: ...100 HX3510 G HX5510 HX5510 C HX7510 Installation and Service Guide ...
Страница 1222: ...1210 HX3510 G HX5510 HX5510 C HX7510 Installation and Service Guide ...
Страница 1229: ...People s Republic of China Class A electronic emission statement Taiwan Class A compliance statement Appendix E Notices 1217 ...
Страница 1230: ...Taiwan BSMI RoHS declaration 1218 HX3510 G HX5510 HX5510 C HX7510 Installation and Service Guide ...
Страница 1238: ...1226 HX3510 G HX5510 HX5510 C HX7510 Installation and Service Guide ...
Страница 1239: ......
Страница 1240: ......

