background image

E-7

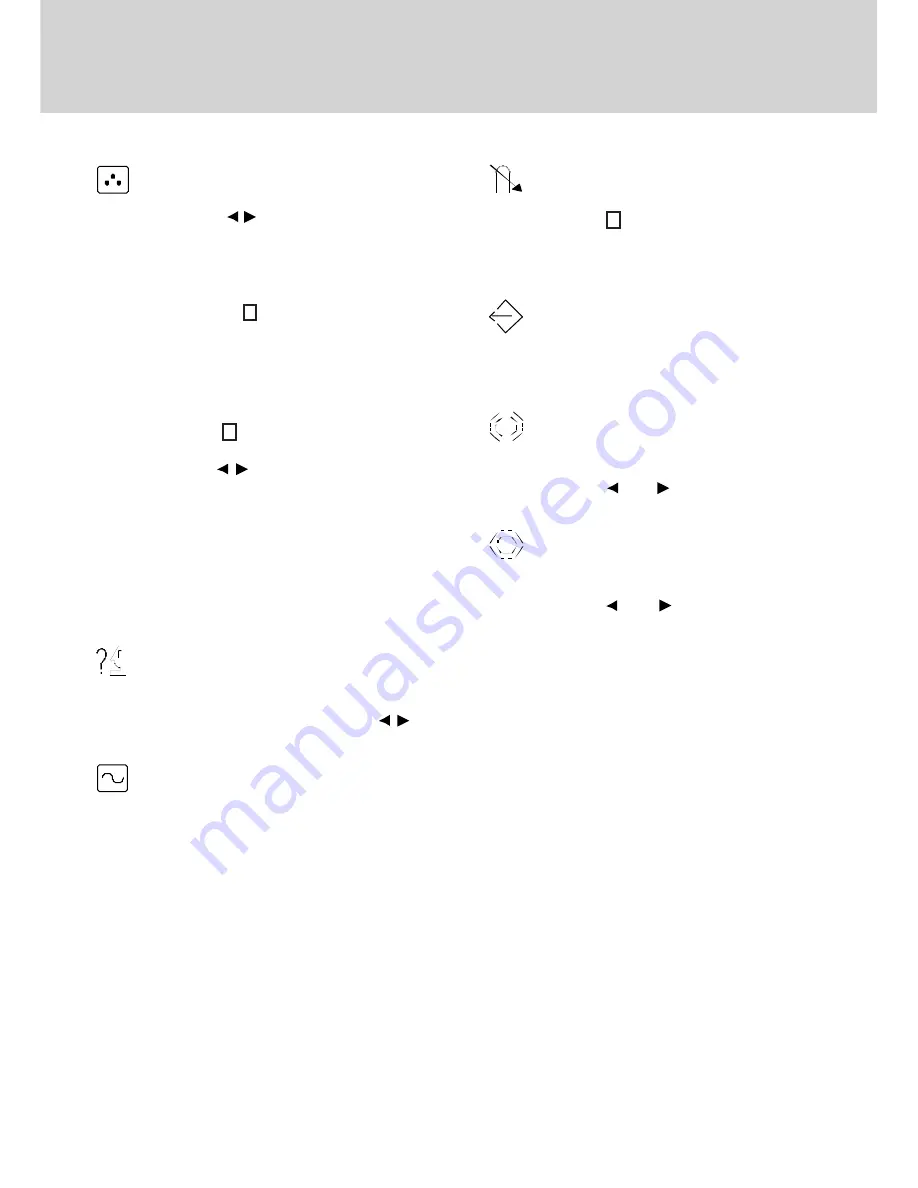
MANUAL DEGAUSSING

After moving the selector to the degauss icon,
press the      button. The degaussing action
takes place a few seconds later.
Note: A sharp snap noise may be heard when
degaussing occurs. This is normal.

MEMORY RECALL

It is possible to restore adjustments to the
original factory settings. If the monitor is
operating in a user defined mode, this control
has no effect.

HORIZONTAL MOIRE

Reduce the dark wavy line Moire pattern on
the screen.
Press the      or      button to minimize the
horizontal moire image on the screen.

VERTICAL MOIRE

Reduce the dark wavy line Moire pattern on
the screen.
Press the      or      button to minimize the
vertical moire image on the screen.

COLOR selection

The white in the image can be adjusted.
1) Use the          button to select: (1)9300

O

K,

(2)6550

O

K or (3)the user’s preferred color.

2) If the (3):the user’s color is selected, “2”

appears in the lower right of the On-Screen
Menu.

Press the front     button to display the USER
COLOR adjustment screen.

USER COLOR

The white in the video image can be adjusted
to the user’s preferred color.
1) Use the      button to select R (red) or B
(blue).
2) Use the          button to adjust the color as
desired.
*The GREEN color is fixed and cannot be

adjusted.
IMPORTANT-Memory recall of the user’s
color is not possible, so take note of the initial
setting before adjusting.
When the monitor is turned OFF, user color
keeps the last adjustment.

LANGUAGE selection

The language of the On-Screen Menu can be
selected among English, French, German,
Italian and Spanish. Select with the
buttons.

DISP. FREQ (Input frequency display)

This displays the input synchronization signal
frequency.
It identifies the horizontal and vertical
frequency sent to the monitor from the video
card currently in use.

2

2

2

Содержание C52

Страница 1: ...he receiver is connected Consult the dealer or an experienced radio TV technician for help This equipment has been certified to comply with the limits for a Class B computing device pursuant to part 15 of the FCC rules Only peripherals computer input output devices terminals printers etc certified to comply to the Class B limits may be attached to this computer Operation with non certified periphe...

Страница 2: ...fferent power saving states upon receiving control signals from the display controller this meets the EPA Environment Protection Agency Energy Star requirements and reduces power consumption The monitor will work in the following 4 states according to the VESA standard Display Power Management Signal The power saving states will be kept until a control signal has been detected or the keyboard or m...

Страница 3: ...n either 100 120V AC or 220 240V AC voltage area No user adjustment is required First connect the power cord into your monitor s power input socket and then plug the other end into a 3 pin AC outlet The power cord may be connected to either a wall socket or the power output socket on your PC de pending on the type of power cord supplied with your monitor For units to be used at 120V AC Use a UL Li...

Страница 4: ...LS AND INDICATORS a Displays menu exits menu b Scrolls through menu to choose an icon for adjustment Adjusts level of selected icon c Confirms menu selection 1 Power LED 2 Power ON OFF switch a b c 2 1 1 2 1 2 1 2 1 2 ...

Страница 5: ... T S A R T N O C S S E N T H G I R B E Z I S H N O I T I S O P H E Z I S V N O I T I S O P V N O I H S U C N I P D I O Z E P A R T N O I T A T O R R O L O C E G A U G N A L Q E R F P S I D S S U A G E D L L A C E R E R I O M H E R I O M V 1 H POSITION 50 1 2 Name of adjustment screen The adjustment level is shown by both a number and a bar It can be varied with the front buttons When the button is...

Страница 6: ...ve it to the right Press the key toggles between HORIZONTAL SIZE and HORIZONTAL POSITION 2 2 2 VERTICAL SIZE adjustment Fills the viewable area vertically Press the button to make the image smaller or press the button to make it larger Press the key toggles between VERTICAL SIZE and VERTICAL POSITION VERTICAL POSITION adjustment Shifts the image on the screen vertically Press the button to move it...

Страница 7: ... 2 6550O K or 3 the user s preferred color 2 If the 3 the user s color is selected 2 appears in the lower right of the On Screen Menu Press the front button to display the USER COLOR adjustment screen USER COLOR The white in the video image can be adjusted to the user s preferred color 1 Use the button to select R red or B blue 2 Use the button to adjust the color as desired The GREEN color is fix...

Страница 8: ...w o p r o t i n o M e l b a c l a n g i s d r o c r e w o p r o t c e n n o c r o h c t i w s r e w o p C P t s a r t n o c s s e n t h g i r B s l o r t n o c n o i t i s o p y a l p s i D r e t n e c f f o g n i r e t n e c l a c i t r e V s l o r t n o c e s a h p l a t n o z i r o h l l a m s o o t y a l p s i D e g r a l o o t r o e z i s l a t n o z i r o h l a c i t r e V s l o r t n o c t ...

Страница 9: ... s e n i L 4 2 0 1 x s t o D 0 8 2 1 g n i t a r e p O e r u t a r e p m e T C 5 3 o t C 0 1 y t i l i b i t a p m o C h t i w s e d o m c i h p a r g l l A s e i c n e u q e r f l a t n o z i r o h 9 6 o t z H K 0 3 n e e w t e b z H K e g a r o t S e r u t a r e p m e T C 5 6 o t C 0 4 n o i t a z i n o r h c n y S l a t n o z i r o H l a c i t r e V z H K 9 6 o t 0 3 z H 0 2 1 o t 5 5 y t i d i...

Страница 10: ... 4 X 0 2 7 4 1 3 0 7 8 8 6 7 x 4 2 0 1 3 8 4 0 6 2 0 8 4 x 0 4 6 4 1 3 0 6 9 0 0 6 x 0 0 8 6 3 5 5 8 3 0 8 4 x 0 4 6 0 5 3 6 6 0 1 8 6 7 x 4 2 0 1 4 6 5 0 7 4 0 0 6 x 0 0 8 8 7 3 0 6 1 1 8 6 7 x 4 2 0 1 0 0 6 5 7 5 0 8 4 x 0 4 6 5 7 3 5 7 2 1 4 2 0 1 x 0 8 2 1 3 4 6 0 6 6 0 8 4 x 0 4 6 3 3 4 5 8 3 1 8 6 7 x 4 2 0 1 6 8 6 5 8 7 0 0 6 x 0 0 8 8 6 4 5 7 ...

Отзывы: