


GB-23
BASIC OPERATION
MENU Function (For DVD Only)
Press
MENU
button while the disc is
playing and the disc menu will be
displayed. You can navigate with the
remote control navigation keys and
select a feature with the
ENTER
key.
TITLE Menu Function
(For DVD only)
If the DVD has multiple titles recorded on
the disc. It can select preferred title from
the title menu to start playback.
- Press
TITLE
during playback.
The title menu is display.
- Press the cursor button shown in TV
screen, select preferred title by the
cursor button and confirmed by
ENTER key.
Multi-subtitle Language Function
(For DVD only)
Press
SUBTITLE
during playback.
Each time the button is pressed, number
of the subtitle language changes in
sequential order.
Notes:
- The language number is different
according to the disc.
- Some discs only contain one subtitle
language.
- When no different subtitle language
are recorded,
will be displayed at
screen left top corner.
Multi-angle Function
(For DVD only)
Press
ANGLE
during playback.
Each time the button is pressed, number
of the angle changes in sequential order.
Notes:
- The angle number is different
according to the disc.
- The function only works for discs
having scenes recorded at different
angles.
- When no different angle are recorded,
will be displayed at screen left top
corner.
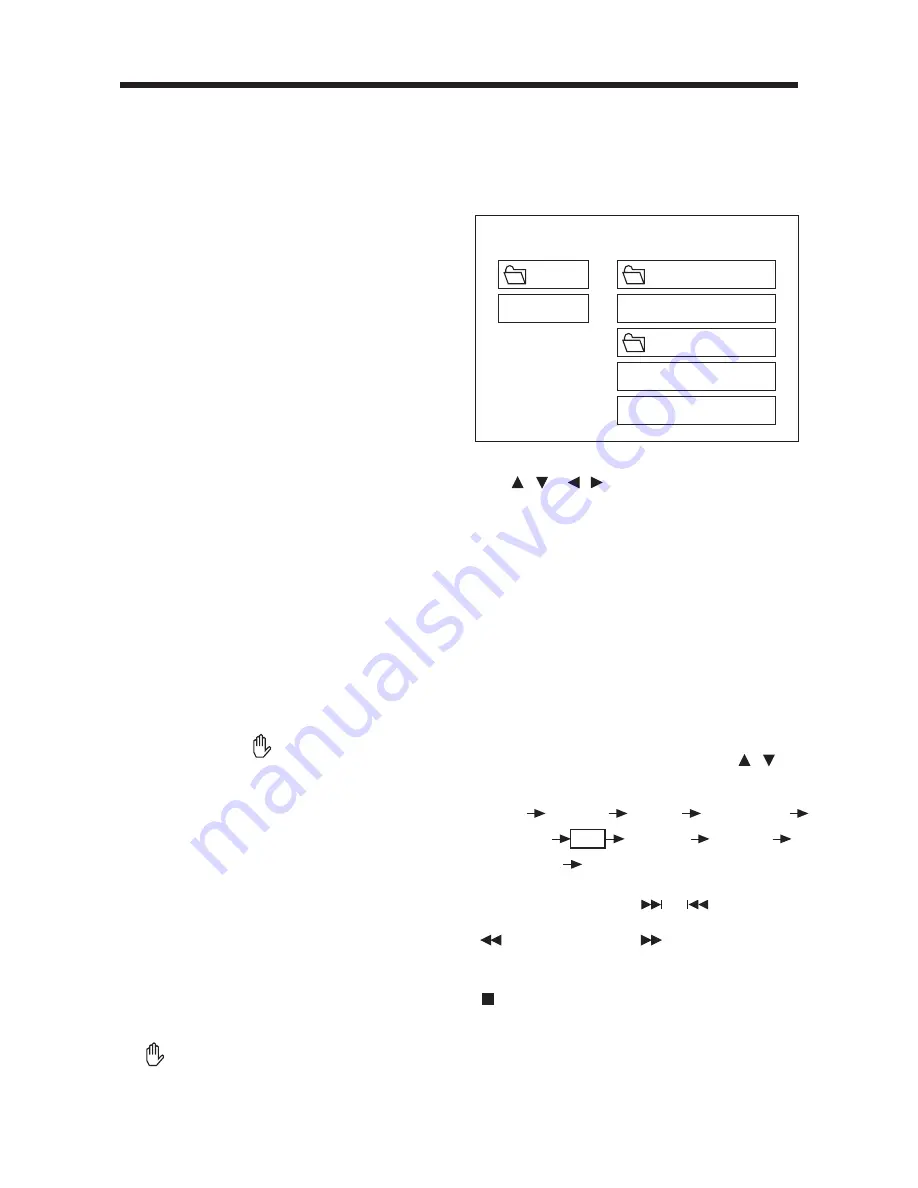
MP3 Disc Play
MP3 disc is playing as the format of
FOLDER.
For example:
Use / , / on the remote control
or on the front panel to select the item or
folder, then press
ENTER
button.
Pressing
REPEAT
button repeatedly can
select three kinds of repeat play mode.
REP-ONE:
Play the same song over and over
again.
FOLDER REPEAT:
Play all songs in the current directory
in sequence, over and over again.
FOLDER:
Play all songs in the current directory
once.
When select PLAY MODE, press / to
change between the following mode:
In the playback, use or to skip an
item ahead or back.
: Rapid reverse, : Rapid advance
Note: The FOLDER cannot be selected
during playing. It can be selected after
(Stop) button pressed.
ROOT
0
MP3 MUSIC
1
SKY
MP3 HEAR YOUR
DISC
ROOT
SMART NAVI
PLAY MODE
SINGLE
REP-ONE
FOLDER
FOLDER REP
DISC SCAN
DISC
DISC REP
RANDOM
SHUFFLE ON
PROGRAM PXXX
Содержание MES-205
Страница 32: ...MONITOR GB 32...


