


Adjust the volume level on your device. You should not have to pair your
iPhone/iPod/iPad again. The volume output level of music files varies.
If you prefer an even higher output level, check the settings in your
iPhone/iPod touch/iPad:
Set the EQ Off, the Sound
Check Off, and the Volume limit Off. If you
encounter a problem
Pairing, press the small arrow to the right of
“
LEMEGA
M4+
”
on
your
iPhone
/
iPod
touch/iPad display and select
“
Forget this Device
”,
then
repeat
the
Pairing
process
.
Depending
on your device.
You may need to make multiple
attempts
at
Pairing and/or Connecting to the
M4+
,
but
please
give
your
device
adequate
time
to
Pair
or
Connect before
repeating
the
process.
12
.
CD
Playback
Notice! Improper operation can result in material damages!
Do not insert any recording media that deviate from the standard
CD format
(eg: mini-discs) into the CD player. These may not be
played and ejected
correctly. Insert only one disc at a time into
the CD player.
Insert a disc (with printing side facing up) until it is drawn inside.
The CD
player will automatically
load the CD and start playback.
The display will say
“
Loading
”.
Disc
functions
will
not
work
while
the disc is
loading. Playback will begin automatically once the
table of contents is read.
The display will show
“
No Disc
”
when
the unit is set to CD mode and there is
no CD inside.
Insert the CD into the CD slot with the label side up, The display
shows the
following information in CD mode:
Ÿ
CD mode
Ÿ
Time
Ÿ
Elapsed playback time in minutes
Ÿ
Track number
Ÿ
Payback status(playing/pause)
To pause/resume playback of the CD, press the button.
To switch to the next track, press the button once.
To fast forward through a track, press and hold
To switch to the previous track, press and hold
To fast backward through a track, press and hold
To stop CD playback, press
Adjusting CD playback
,
You can choose different playback sequences to play
tracks by
press PRG on remote control. Press the menu button to open
the CD
32 of 38
menu for system settings.
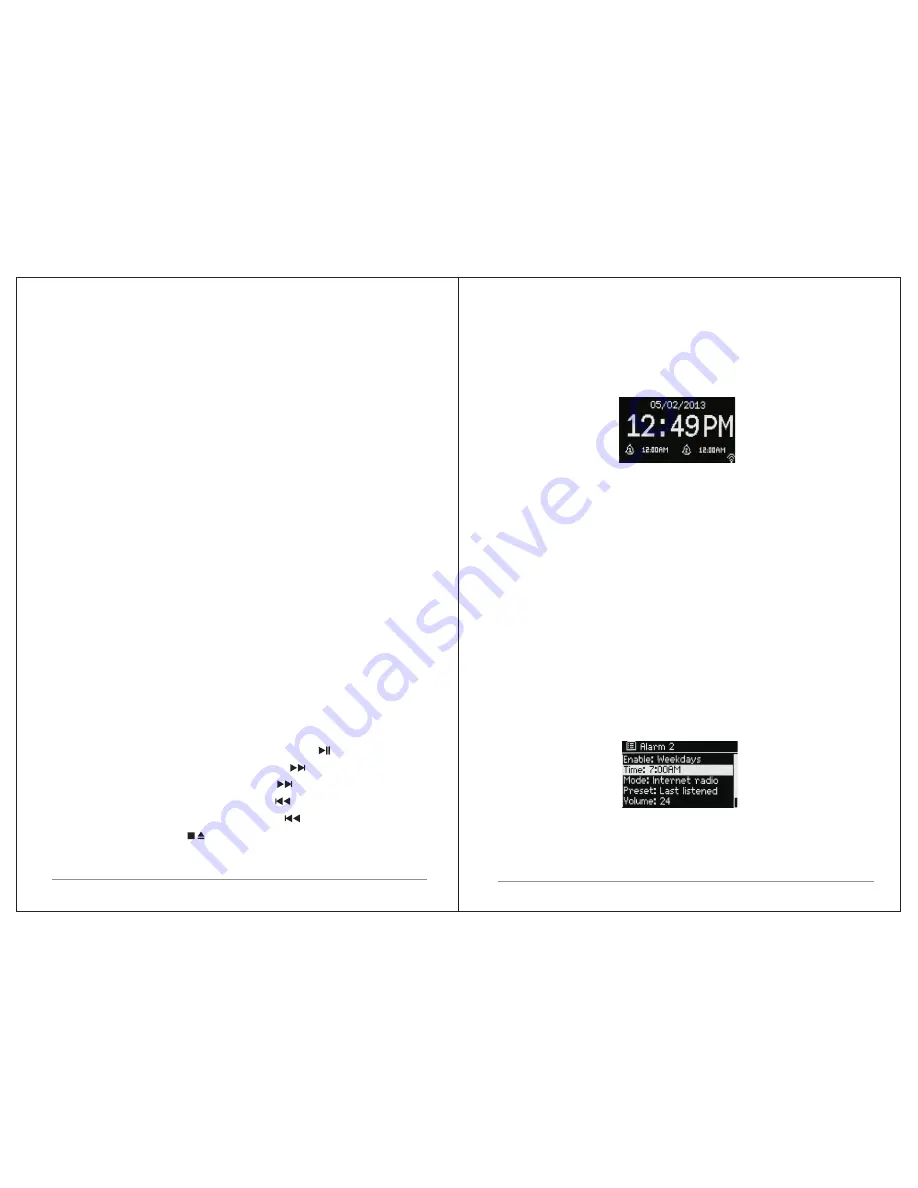
13. Alarms and sleep
As well as a clock/calendar, there are two
versatile
wake
-
up
alarms
with
snooze facility, and a sleep function to turn the system off after a set period.
Each alarm
can be set to start in a particular mode.
13.1 Alarms
To set or change an alarm, either press
Alarm
or select
Menu
>
Main Menu
>
Alarms
.
Select the alarm number (1 or 2) then configure
the following parameters:
Ÿ
Enable: on/off,
Ÿ
Frequency: Daily, Once, Weekends or
Weekdays,
Ÿ
Time,
Ÿ
Mode: Buzzer, Internet radio, DAB, FM, CD
Ÿ
Preset: Last listened or 1-20,
Ÿ
Volume: 0 - max.
To activate the new settings, scroll down and select Save.
The screen shows active alarms with an icon at the bottom left.
At the set time, the alarm will sound. To temporarily silence it, press
Snooze
.
You can change the snooze period with the
Select
control
if
you
like
.
The
radio returns to standby for the set period, with the silenced alarm icon
flashing.
13.2 Sleep
To set the sleep timer, select
Menu
>
Main
menu
>
Sleep
then
choose
from
Sleep OFF, 15 MINS,30 MINS, 45 MINS or 60 MINS.
33 of 38


