Structure
Assembling Golftrolley Taurus/ Quintum/
Spirit
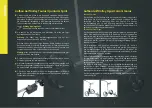
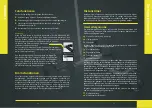
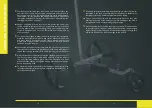
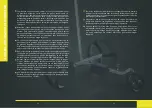
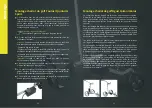
1. Take the axle in your hand and connect it to the front part. Slide the
front part up to the pin in the opening of the lateral axle.
Press the stainless steel pin into the frame and push the front part
completely into the lateral axle. Turn the two parts together so that
the pin can engage into the hole.
Caution, risk of pinching!
Hold the axle to the left or right of the central spar.
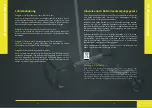
2. Take the rear wheels and install them on the lateral axle as described
below.
Danger:
Pay attention to the running direction of the rear wheels The
wheels are markedwith LE and RE on the inner site from the hub.
- Press the pin on the rim.
- Slide the wheels onto the first groove on the axle. This is the freewheel
position (for manual pushing).
- Push the wheel to the final position on the axle and engage. This is
the position for driving.
Important:
If the wheel is not in the drive position, there is no
propulsion of the device.
3. Now connect the vertical bar with the lateral axle. Proceed in the
same way as above.
4. With the side knob, you can adjust the handle height and ‘adjust’ the
upper bag holder individually to your bag size. Then tighten the lateral
fixing screw.
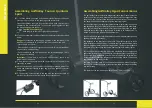
5. The battery is transported in the bag with the extension cable or
optionally attached to the frame with the battery basket.
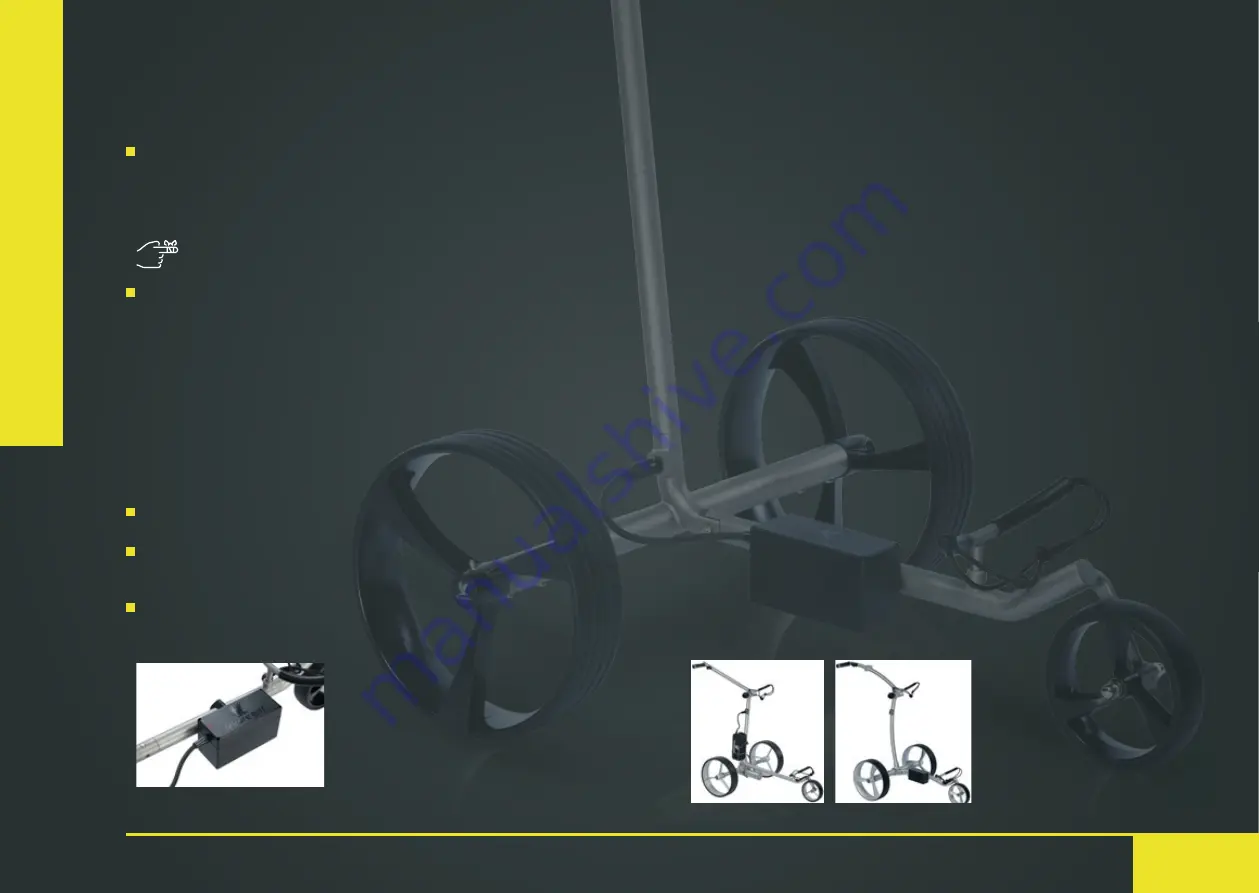
Assembling Golftrolley Figus/ Falcon/ Ikarus
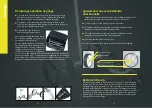
The golf trolley frame comes with a separate front wheel. Please loosen the
screw on the front part and slide the front wheel with the suspension over
the pin. You can only install the suspension in one direction. Then use the
hex key which has been supplied to tighten the screw again.
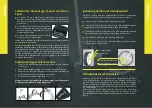
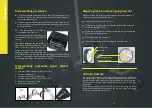
For the assembly of the rear wheels, please take a rear wheel in one hand
and push down the pin. Hold the trolley axle horizontally with the other hand.
Push the rear wheel onto the axle until it stops and release the pin again.
Move the rear wheel slightly until the pin is locked in its final position. To
loosen it, carry out the steps in the opposite order.
The rear wheels are generally removable and can be left permanently on the
device or attached prior to use.
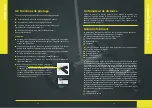
Pay attention to the direction of the profile. The profile must point in the
same direction as the front wheel. To activate the free-wheel function, move
the rear wheel outward from the locking position. The four driver heads are
then visible. The Ikarus have the same wheels as Taurus/ Quintum/ Spirit.
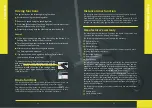
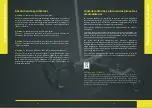
Set the vertical bar horizontally. Adjust the handlebar for your height and
tighten the locking screw. The golf trolley is designed so that the battery can
fit in your golf bag. Alternatively, we offer a battery holder for the vertical bar.
Please contact us. Insert the plug into the socket on the device. The trolley is
now switched on and ready for use
The battery can take place for the Falcon into the battery holder. The Figus
have a battery basket as option or the extension cable to storage the battery
into the Cartbag
The Ikarus has the same battery holder as Taurus/ Quintum/ Spirit.
20
21
Содержание GOLFTROLLEY
Страница 1: ...Elektro GOLFTROLLEY Bedienungsanleitung leisure golf leisure golf DE EN FR...
Страница 8: ...Electric GOLFTROLLEY User Manual leisure golf leisure golf DE EN FR 14 15...
Страница 15: ...Chariot de golf ELECTRIQUE Notice d utilisation leisure golf leisure golf DE EN FR 28 29...
Страница 22: ...Leisure and Sports GmbH Langer Acker 3 30900 Wedemark service leisure sports de www leisure sports de...


