


PXC Quick Setup Guide
4
PXC_QSG_0A_3.5.0_E
255-80-0059-00 RoHS
3.
Press
or
until the device's IP address is
displayed.
Step 2: Log in to the PXC Web Interface
The PXC supports common web browsers, including Microsoft
Internet Explorer
®
, Mozilla Firefox
®
, and Google
®
Chrome.
To access the PXC web interface:
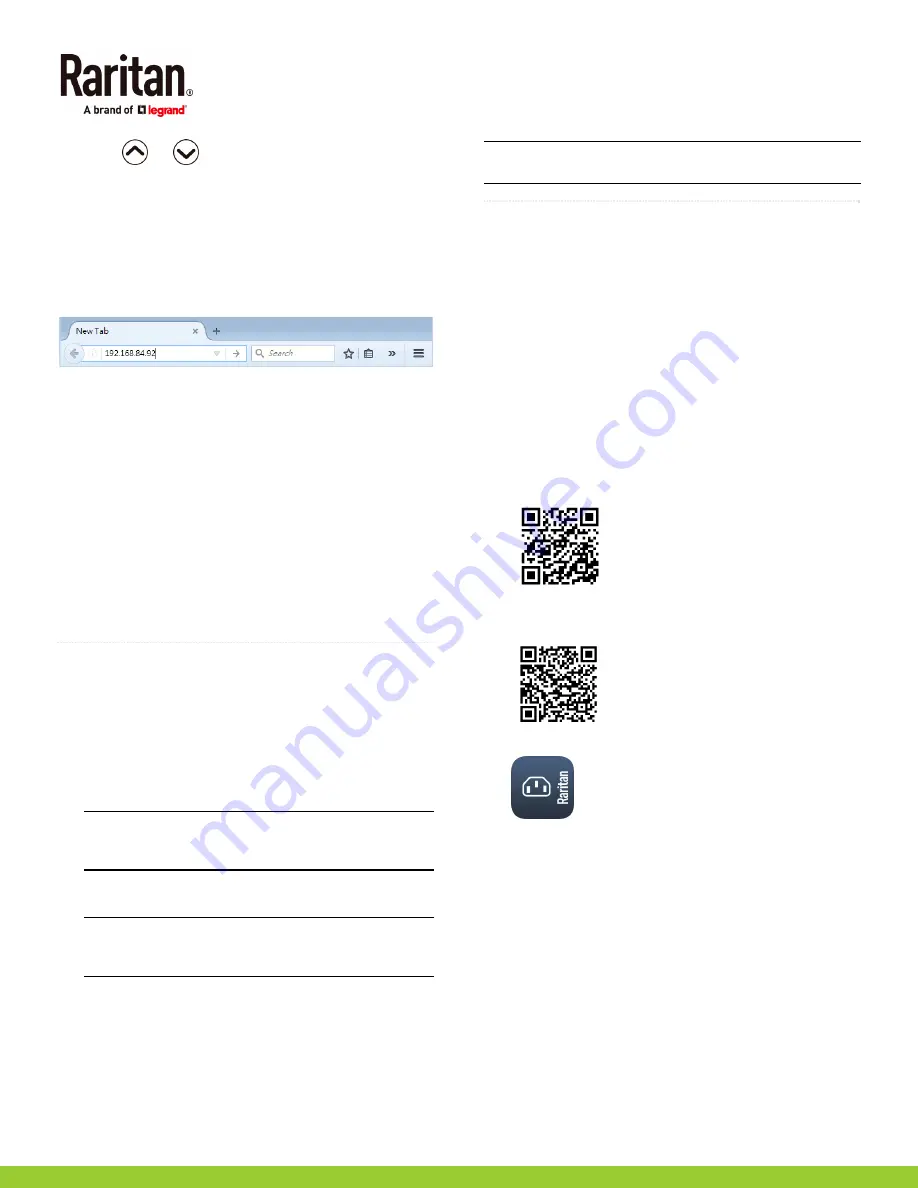
1.
Open a web browser and type the IP address of PXC.
2.
Accept any security warnings that may appear.
3.
Type the default user credentials and click Login.
User name:
admin
Password:
raritan
4.
When prompted to change the password, change or ignore
it.
To change it, type the new password and click Ok.
To ignore it for this time only, click Not Now.
To ignore it permanently, select "Do not ask again" and
click Not Now.
It is highly recommended to change the default password.
Make sure the new password is noted down and kept in a
secure place.
QS Rule
What To Do Next
1.
Connect IT equipment to the outlet(s) on the PXC.
2.
Launch the web browser if not yet. See
Step 2: Log in to
the PXC Web Interface
(on page 4).
3.
Choose Device Settings > Date/Time to configure the PXC
with the proper date and time or synchronize it with an
NTP server. The PXC device's time must be in sync with
the LDAP server to use LDAP authentication.
Note: If you are using Sunbird's Power IQ to manage the
PXC, you must configure Power IQ and the PXC to have
the same date/time or NTP settings.
4.
To change network settings, choose Device Settings >
Network.
Tip: You can enable both wired and wireless networking
so that the PXC can be accessed via either wired or
wireless IP address.
5.
The PXC is sent from the factory with all the outlets ON. If
your model is outlet-switching capable, turn OFF the
outlets without devices connected.
6.
Use the menu to the left to configure user profiles,
privileges, security, or inlet thresholds.
Note: Detailed instructions are available in the PXC online
help or user guide.
QS Rule
Appendix A: Configuration via a Mobile Device or
PDView
An iOS or Android mobile device, such as a smartphone or
tablet, can function as a local display of PXC. Note that the
Android device must support USB "On-The-Go" (OTG), or this
function does not work.
Step 1: Download the "PDView" App
Raritan's app "PDView" is required for the mobile device to
function as a local display. It is a free app.
To download PDView:
1.
Visit either Apple App or Google Play Store.
https://itunes.apple.com/app/raritan-pdview/id780382
738
https://play.google.com/store/apps/details?id=com.rar
itan.android.pdview
2.
Install PDView.
Step 2: Connect the Mobile Device to PXC
The USB cable and USB port to connect are determined by
your mobile operating system.
To connect your mobile device to PXC:
1.
Get an appropriate USB cable for your mobile device.
iOS
: Use the regular USB cable shipped with your iOS
mobile device.
Android
: Use an USB OTG adapter cable.
2.
Connect the mobile device to the appropriate USB port on
the PXC.
iOS
: USB-A port.


