


Chapter 6: Using the PX3TS
112
•
An internal hardware malfunction on the preferred inlet's circuitry may
lead to a less reliable power state.
Note: The PX3TS indicates an alarm through the Alarm indicator lamps. See
Alarm Indicator Lamps
(on page 118).
Tip: Per default the automatic retransfer can be performed only when both
inlets are in phase. You can disable this requirement. See
Transfer Switch
(on
page 193) or
Power Transfer Settings
(on page 203).
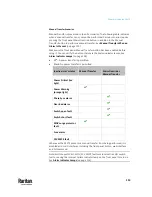
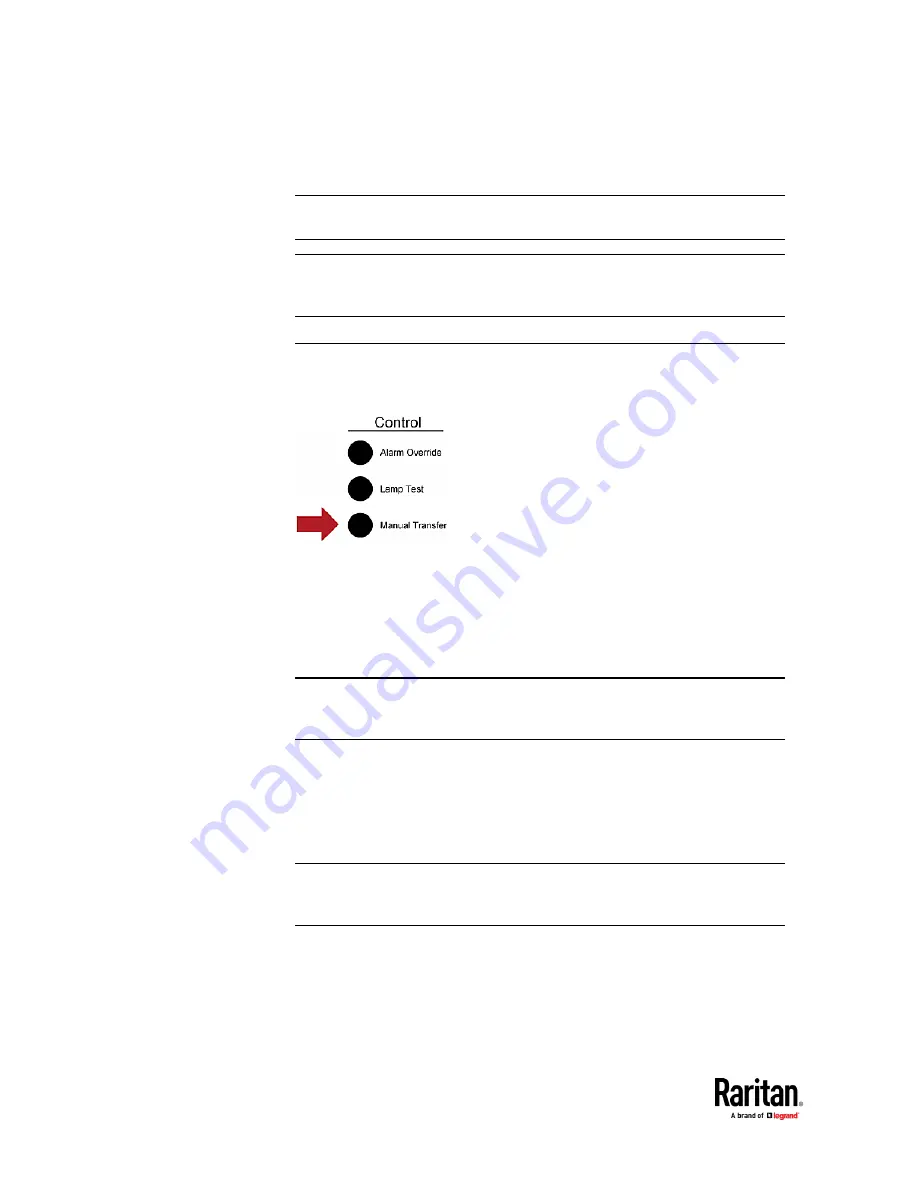
Manual Transfer
The Manual Transfer button transfers power from the active inlet to the other
inlet.
In addition to performing a power transfer, a manual transfer redefines the
newly-activated inlet as the preferred inlet. For example, if Inlet 1 is both the
preferred and active inlet, pressing the Manual Transfer button causes:
•
Power transfer from Inlet 1 to Inlet 2.
•
Inlet 2, the newly-activated inlet, to be configured as the new preferred
inlet.
Tip: To remotely perform manual transfer using the web interface, see
Transfer
Switch
(on page 193). To transfer using the CLI, see
Performing Manual
Transfer
(on page 564).
A manual transfer using the front panel button is prevented if:
•
Manual Transfer button has been disabled.
•
Inlets are out of phase.
•
The other inlet's power quality (voltage or frequency) enters the Critical
state, power is lost or there is any internal hardware malfunction.
Tip: To disable the Manual Transfer button or the inlet phase synchronization
requirement, see
Transfer Switch
(on page 193) or
Power Transfer Settings
(on
Содержание Raritan PX3TS
Страница 4: ......
Страница 6: ......
Страница 20: ......
Страница 52: ...Chapter 3 Initial Installation and Configuration 32 Number Device role Master device Slave 1 Slave 2 Slave 3...
Страница 80: ...Chapter 4 Connecting External Equipment Optional 60...
Страница 109: ...Chapter 5 PDU Linking 89...
Страница 117: ...Chapter 5 PDU Linking 97...
Страница 440: ...Chapter 7 Using the Web Interface 420 If wanted you can customize the subject and content of this email in this action...
Страница 441: ...Chapter 7 Using the Web Interface 421...
Страница 464: ...Chapter 7 Using the Web Interface 444...
Страница 465: ...Chapter 7 Using the Web Interface 445 Continued...
Страница 746: ...Appendix A Specifications 726...
Страница 823: ...Appendix I RADIUS Configuration Illustration 803 Note If your PX3TS uses PAP then select PAP...
Страница 824: ...Appendix I RADIUS Configuration Illustration 804 10 Select Standard to the left of the dialog and then click Add...
Страница 825: ...Appendix I RADIUS Configuration Illustration 805 11 Select Filter Id from the list of attributes and click Add...
Страница 828: ...Appendix I RADIUS Configuration Illustration 808 14 The new attribute is added Click OK...
Страница 829: ...Appendix I RADIUS Configuration Illustration 809 15 Click Next to continue...
Страница 860: ...Appendix J Additional PX3TS Information 840...
Страница 890: ...Appendix K Integration 870 3 Click OK...
Страница 900: ......


