


Chapter 6: Using the Web Interface
461
Upgrade Guidelines for Existing Cascading Chains
You must obey the following guidelines when upgrading a chain.
Otherwise, a networking issue occurs.
Firmware version 3.3.10 or later is NOT compatible with pre-3.3.10
firmware versions in terms of the cascading feature so all Raritan
devices in the cascading chain must run version 3.3.10 or later.
Alternative: You can also choose to have the USB-cascading chain
comprising Raritan devices run any pre-3.3.10 firmware. The
disadvantage is that you will not benefit from the latest software
enhancements and features.
To upgrade an existing Raritan USB-cascading chain from a
firmware version older than 3.3.10, you must start from the last
slave device and so on until the master device. See
Upgrade
Sequence in an Existing Cascading Chain
(on page 461).
Upgrade Sequence in an Existing Cascading Chain
Depending on the firmware version(s) of your cascading chain, there may
or may not be limitations for the firmware upgrade sequence in the
chain.
Upgrade from "pre-3.3.10" to 3.3.10 or post-3.3.10:
You must follow the firmware upgrade sequence below to upgrade a
cascading chain from a firmware version older than 3.3.10 to version
3.3.10 or later. If you do not follow this upgrade sequence, you will
not be able to access some cascaded devices over the Internet.
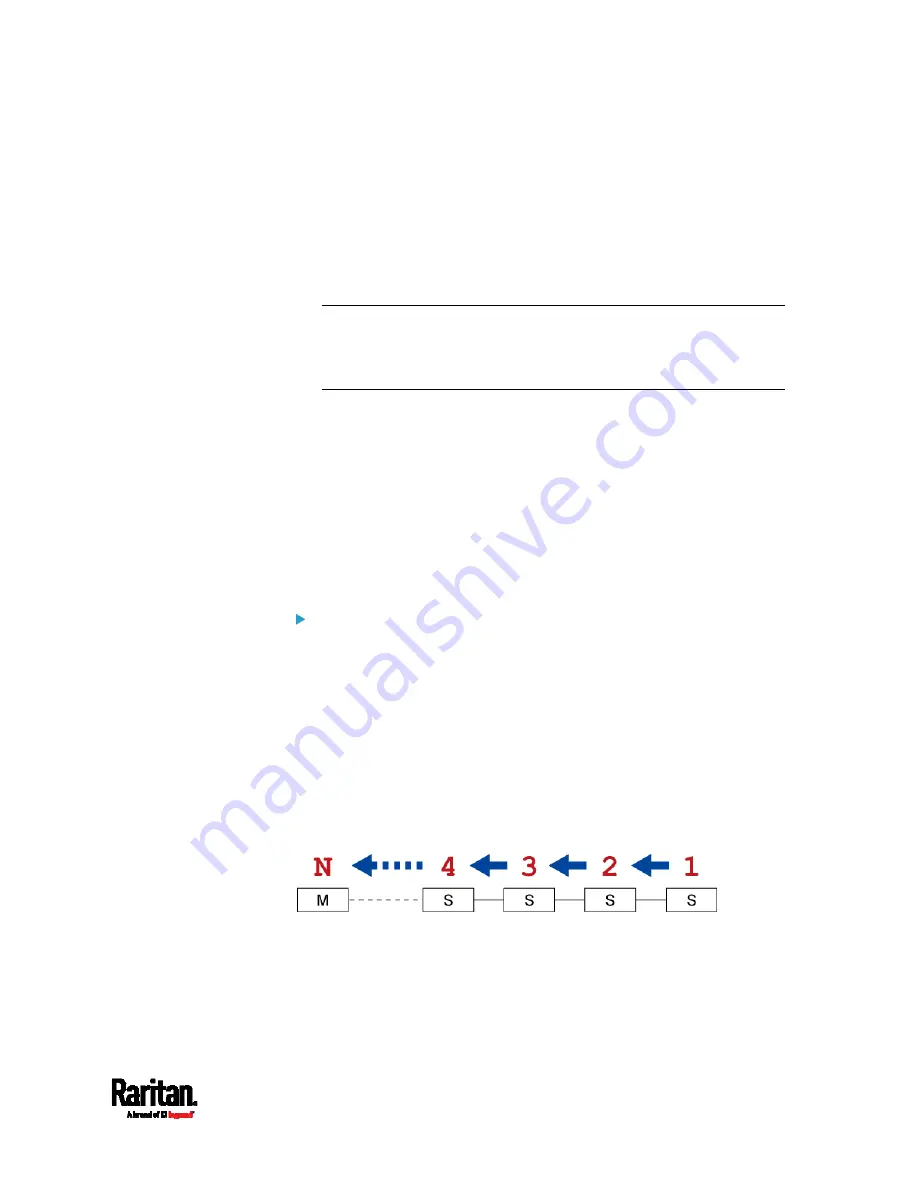
The upgrade must start from the last slave device (S), then the
second to last, the third to last, and so on until the master device
(M).
Red numbers below represent the appropriate upgrade sequence.
'N' is the final one to upgrade.
You must upgrade ALL devices in the chain to 3.3.10 or later. If
you upgrade only some devices in the chain, networking issues
occur on some cascaded devices.
Содержание Raritan PX3-3000 Series
Страница 5: ......
Страница 62: ...Chapter 3 Initial Installation and Configuration 41 Number Device role Master device Slave 1 Slave 2 Slave 3 ...
Страница 90: ...Chapter 4 Connecting External Equipment Optional 69 ...
Страница 423: ...Chapter 6 Using the Web Interface 402 If wanted you can customize the subject and content of this email in this action ...
Страница 424: ...Chapter 6 Using the Web Interface 403 ...
Страница 447: ...Chapter 6 Using the Web Interface 426 ...
Страница 448: ...Chapter 6 Using the Web Interface 427 Continued ...
Страница 885: ...Appendix K RADIUS Configuration Illustration 864 Note If your PX3 uses PAP then select PAP ...
Страница 886: ...Appendix K RADIUS Configuration Illustration 865 10 Select Standard to the left of the dialog and then click Add ...
Страница 887: ...Appendix K RADIUS Configuration Illustration 866 11 Select Filter Id from the list of attributes and click Add ...
Страница 890: ...Appendix K RADIUS Configuration Illustration 869 14 The new attribute is added Click OK ...
Страница 891: ...Appendix K RADIUS Configuration Illustration 870 15 Click Next to continue ...
Страница 921: ...Appendix L Additional PX3 Information 900 ...
Страница 954: ...Appendix M Integration 933 3 Click OK ...