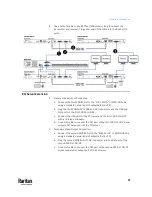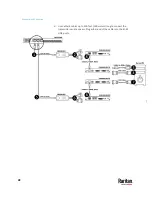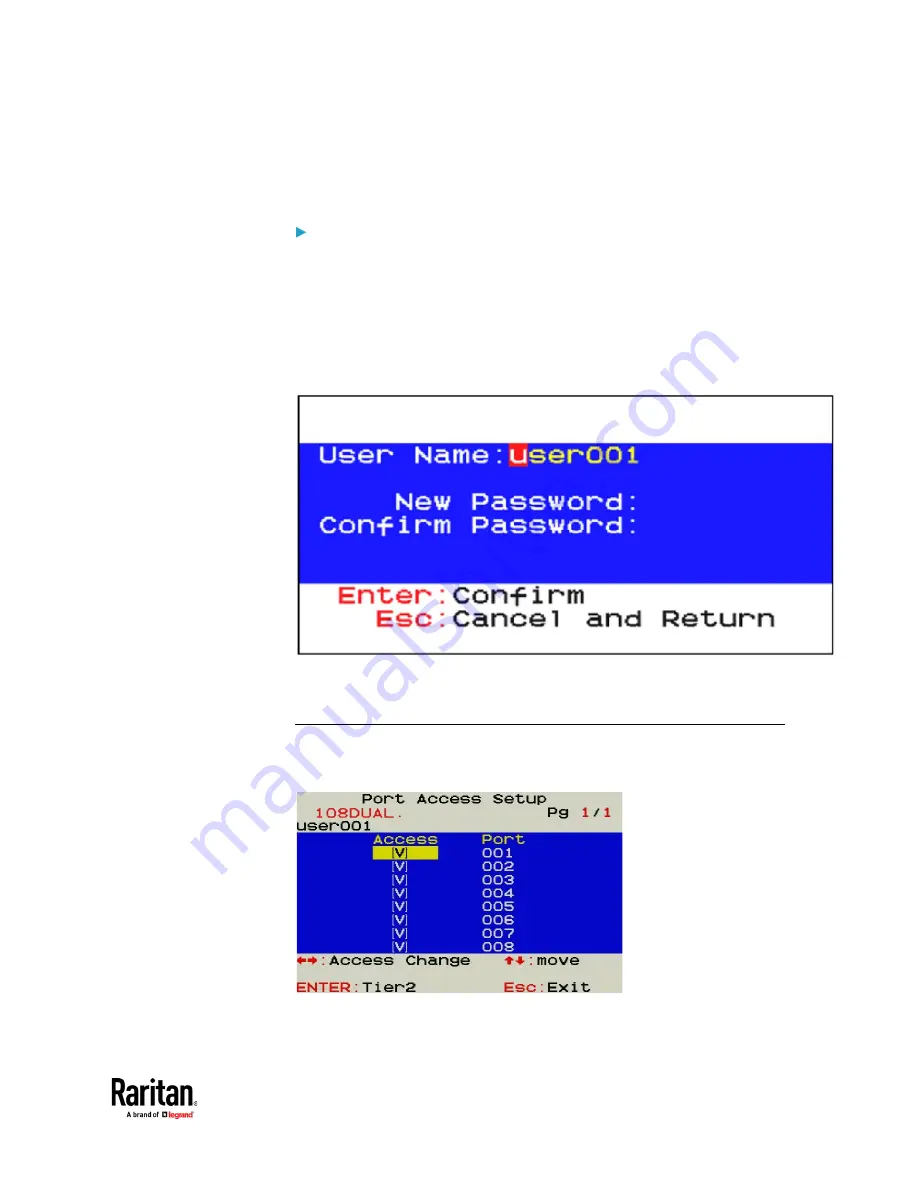
background image


Chapter 4: On-Screen Display Interface 


19


Important: It is strongly recommended to change the admin password. Make a 

note of it and keep it in a secure place. If you forget the password, contact the 

local dealer for RMA service. 


To rename a user account and/or change the password: 

1.


To rename it, type the new name in the User Name field, and press Enter. 

The name can comprise up to 16 characters. To keep the user name 

unchanged, simply press Enter without typing any characters. 

2.


In the New Password field, type the new password, and press Enter. A 

password comprises up to 8 characters. 

3.


Re-type the password, and press Enter. To abort the changes, press Esc 

instead. 


Important: It is recommended to note down all user names and passwords, and 

keep the data in a secure location. 


Port Access Setup 

On the User Configuration Menu, press F1. The User Port Access Setup Menu 

displays. 


Содержание Raritan MasterConsole MCD-104-DUAL

Страница 1: ...MasterConsole Digital DUAL Dual Display Cat5 KVM switches User Guide v1 0 Copyright 2020 Raritan Inc MCD DUAL UserGuide 0A v1 0 November 2020 255 20 0011 00...

Страница 2: ...FCC Rules These limits are designed to provide reasonable protection against harmful interference in a commercial installation This equipment generates uses and can radiate radio frequency energy and...

Страница 3: ...ear View 4 Chapter 2 Installation 6 Console Connection 6 Select Proper MDCIMs or MDUTPs 7 Computer Connection 8 Chapter 3 Hotkeys 11 Hotkey Summary Table 11 Chapter 4 On Screen Display Interface 13 Lo...

Страница 4: ...Mouse Switching 21 Setup 21 Enable Borderless Mouse Switching 23 Using Mouse Switching 24 Chapter 6 KVM Extension 25 Console Extension 25 PC Server Extension 27 Chapter 7 Maintenance 29 Firmware Upgr...

Страница 5: ...l computers to an MCD DUAL switch and you will be able to switch among computers connected to the MCD DUAL switch If cascading MCD DUAL switches to form a two tier MCD DUAL system the number of access...

Страница 6: ...ith lighting Inter socket CAT5 Connector 8 16 RJ45 ports Supports MDCIMs DVI HDMI DP CAT5 distance max 45 meter 150 feet Supports MDUTP Cables VGA Audio 2 4 6 15 meter Operate with hotkeys on screen d...

Страница 7: ...x micro USB Female Reset button port 1 x Tact Switch Power 1 x AC Socket with light power switch LEDs Operation Indication Online 4 White 8 White Selected 4 Green 8 Green Power Power On 1 White Video...

Страница 8: ...ront View 1 Power LED White LED lights on after powering on the MCD DUAL 2 Channel LEDs inactive channels with LEDs light off active channels with White LEDs light on being accessed channels with Gree...

Страница 9: ...x DVI I Connector Monitor A Monitor B Connect monitors OSD will show on Monitor A only If your monitor does not have a DVI connector an appropriate video converter or adapter is required 7 Firmware U...

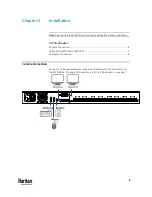
Страница 10: ...In This Chapter Console Connection 6 Select Proper MDCIMs or MDUTPs 7 Computer Connection 8 Console Connection Connect a USB keyboard mouse speaker and monitors to the connectors on the MCD DUAL If u...

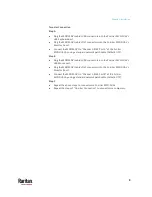
Страница 11: ...CIM type Video type Audio transmission MDUTP cables VGA Support analog audio MDCIM HDMI HDMI Support digital audio MDCIM DVI DVI NO support MDCIM DP Display Port NO support Note If the MDCIM or MDUTP...

Страница 12: ...at5e 6 UTP The MDUTP is combined with a standard network patch cable you can use it to connect with MCD DUAL directly Repeat the above steps to connect more computers Note Please make sure the MDCIM o...

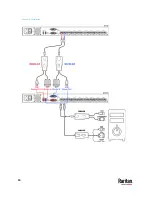
Страница 13: ...D DUAL by using a standard network patch cable Cat5e 6 UTP Step B Plug the MDCIM DVI cable s USB connectors into the 2nd tier MCD DUAL s USB Mouse port Plug the MDCIM DVI cable s DVI connectors into t...

Страница 14: ...Chapter 2 Installation 10...

Страница 15: ...ummary Table Hotkeys are executed using only the keyboard The default hotkey is Scroll Lock and can be changed in OSD menu Keying Hotkey command must be completed with 6 seconds or it will be aborted...

Страница 16: ...croll Lock Scroll Lock D Enter 5 Hotkey Hotkey H Enter See Borderless Mouse Switching on page 21 Mouse Cursor Calibration Make sure Borderless Mouse Switching is on Press the hotkey twice then the let...

Страница 17: ...lt password raritan User Accounts Default names user001 through user015 Default passwords are NOT available Note Before logging into the OSD set your keyboard language layout 1 Press Ctrl F1 to modify...

Страница 18: ...account and password 1 Device ID The model name of your device 2 User Port The ID number of your console 3 User Name 16 Characters Long Password 8 Characters Long The fields for entering user credent...

Страница 19: ...able channel names of current page The channel connected with a 2nd tier MCD DUAL will be marked with the symbol 8 CIM Resolution The current resolution setting of MDCIM or MDUTP 9 Operation Keys Freq...

Страница 20: ...Chapter 4 On Screen Display Interface 16 Setup On the Selection Menu press F1 The SETUP Menu displays...

Страница 21: ...interval of 5 seconds This determines how long each channel s video is displayed during the channel scan ID Display 5 to 25 seconds or ALL This determines how long each channel s ID appears onscreen a...

Страница 22: ...ser Press Page Up or Page Down if the desired user is not shown on the current page Press Enter and that user s password change page displays Then follow either procedure below After finishing the use...

Страница 23: ...and press Enter The name can comprise up to 16 characters To keep the user name unchanged simply press Enter without typing any characters 2 In the New Password field type the new password and press E...

Страница 24: ...can adjust the brightness and contrast of the channel that is being accessed 1 Select the desired channel to have its video shown on the screen 2 Press the hot key twice then the letter C or D and fin...

Страница 25: ...rom Hibernate Mode or reset the port s resolution you have to calibrate the mouse cursor again by pressing Hotkey Hotkey H Enter In This Chapter Setup 21 Enable Borderless Mouse Switching 23 Using Mou...

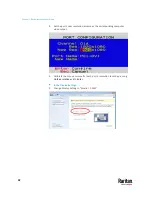
Страница 26: ...Set the port s new resolution as same as the corresponding computer video output 4 Calibrate the mouse cursor after each port s resolution reset by pressing Hotkey Hotkey H Enter In the Display Settin...

Страница 27: ...ing video output is connected to the RJ45 Port A Finally align these two monitor icons to the top In Mouse Settings 1 Adjust Pointer Speed in the middle value to and turn off Enhance Pointer Precision...

Страница 28: ...e the mouse cursor hitting the left of monitor border and then the MCD DUAL will switch to prior channel 2 Move the mouse cursor hitting the right side of monitor border and then the MCD DUAL will swi...

Страница 29: ...d DVI IN port of the first C5R DVI HD TX 2 Use a USB type A B cable to connect either USB mouse or keyboard port of the MCD DUAL and the USB port of the first C5R DVI HD TX 3 Connect the speaker port...

Страница 30: ...J 45 LINK ports Secondary Monitor Connection 1 Use a DVI cable to connect the DVI port Monitor B of the MCD DUAL and DVI IN port of the second C5R DVI HD TX 2 Plug the secondary DVI monitor for local...

Страница 31: ...and DVI ports of the first C5R DVI HD RX c Connect the USB ports of the PC server and the first C5R DVI HD TX with a USB type A B cable d Use a DVI cable to connect the DVI port of the first C5R DVI...

Страница 32: ...Chapter 6 KVM Extension 28 d Use Cat5e 6 cables up to 330 feet 100 meters long to connect the transmitters and receivers Plug either end of the cable into the RJ 45 LINK ports...

Страница 33: ...he firmware filename for USB Host is MCD_USB_HOST_xxx usb OSD Update for on screen display functions The firmware filename for OSD is MCD_OSD_xxx osd To update the firmware 1 Disconnect all the KVM ca...

Страница 34: ...r 7 Maintenance 30 6 Use the micro USB cable to connect KVM firmware update port and the USB port of computer which runs the firmware update utility 7 The utility will scan the KVM programmer automati...

Страница 35: ...ect the target by enabling the check box for example USB Host and click the file browsing button to select the firmware file to update 9 Select the firmware file to update 10 Click the Program button...

Страница 36: ...Chapter 7 Maintenance 32 11 A status bar is shown under the panel to indicate the update progress 12 The firmware is updated successfully...

Страница 37: ...og in 14 Press Enter to restore the device Resetting to Factory Defaults 1 Press F4 to log out and show the Login screen 2 Press Ctrl Shift F10 The following message appears 3 Press Enter to proceed w...

Страница 38: ...es and uses radio frequency and may cause interference to radio and television reception if not installed and used properly This has been tested and found to comply with the limits of a Class B comput...

Страница 39: ...Table 11 Hotkeys 11 I Installation 6 Introduction 1 K KVM Extension 25 L Login Screen 12 14 M Maintenance 29 O On Screen Display Interface 13 Overview 1 P Package Contents 2 PC Server Extension 27 Por...

Отзывы: